 Skip to content



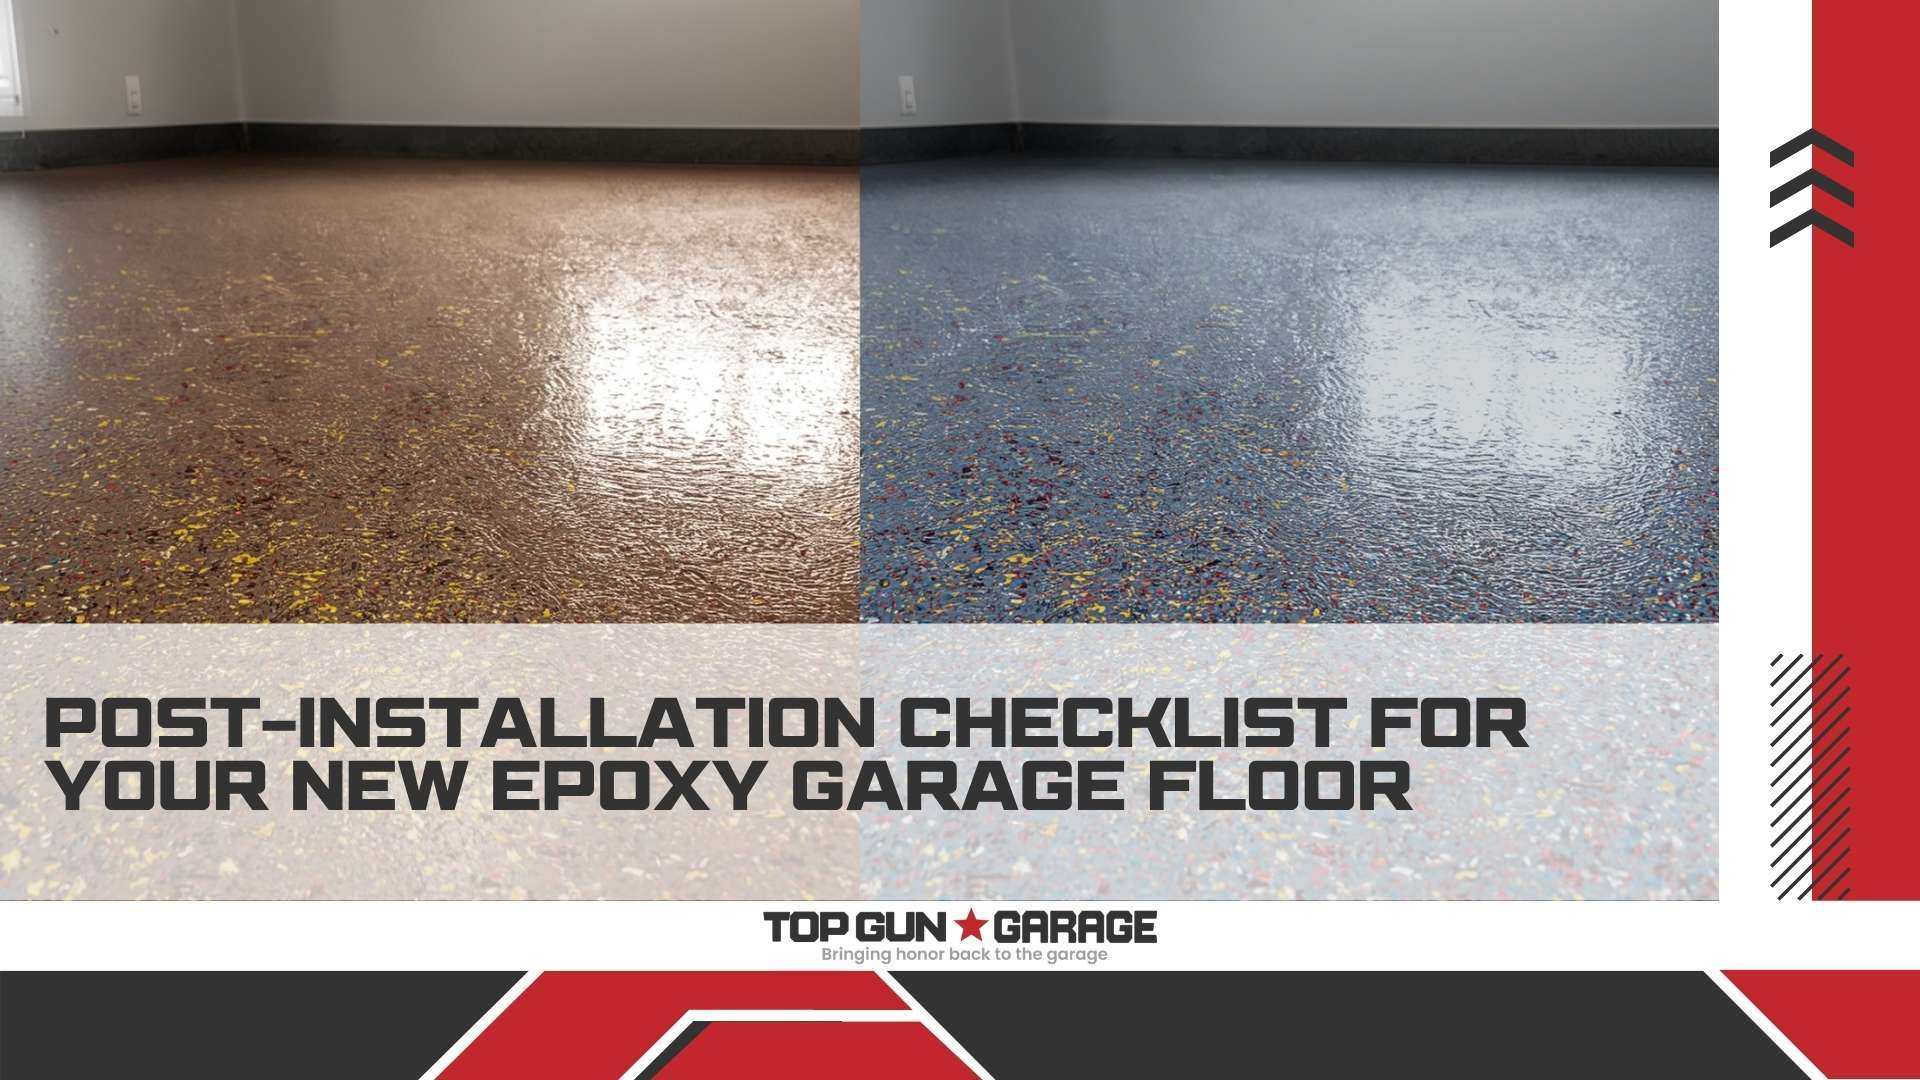
Your new epoxy garage floor represents a significant investment in both aesthetics and functionality. The first 72 hours after application determine whether that investment delivers decades of performance or deteriorates prematurely. A systematic post-installation protocol ensures the coating cures fully, bonds permanently, and resists the daily abuse of vehicle traffic, chemical spills, and temperature swings. This checklist walks you through every critical step—from the moment the installers pack up their equipment to the long-term routines that preserve the showroom finish.
Key Takeaways
- Full chemical cure requires 5–7 days; light foot traffic is safe after 24 hours, but vehicle parking must wait at least 72 hours.
- Temperature and humidity directly control cure speed—ideal conditions are 60°F–85°F with relative humidity below 60%.
- Hot-tire pickup is the number one cause of early coating failure; use sacrificial mats under parked vehicles for the first month.
- pH-neutral cleaners and microfiber mops preserve the gloss without micro-scratching the surface.
- Annual inspections for edge lift, impact chips, and UV yellowing catch800-dollar repairs before they become 5,000-dollar replacements.
- Professional recoating every 7–10 years restores 95% of original performance at one-third the cost of full replacement.
Understanding the Curing Process: Chemical vs. Dry Time
Many homeowners confuse “dry to the touch” with “fully cured.” Epoxy coatings undergo a two-stage transformation. The initial drying phase—typically 12–18 hours—allows the surface to support light foot traffic without leaving impressions. However, the chemical cross-linking that creates the floor’s legendary hardness continues for 5–7 days. According to the American Concrete Institute, epoxy systems achieve approximately 70% of their ultimate compressive strength within 72 hours, but full molecular cross-linking requires a full week under optimal conditions. During this window, the floor remains vulnerable to scuffing, chemical etching, and bond failure if subjected to heavy loads or moisture.
Temperature plays an outsized role. Research from the Coatings Research Institute shows that a 10°F drop below 60°F doubles the cure time, while temperatures above 90°F can cause surface bubbling as the top layer skins over before solvents escape. In coastal climates, where humidity routinely exceeds 80%, moisture can react with unreacted amine hardeners to form a waxy amine blush—a sticky film that prevents proper adhesion of subsequent coats and attracts dirt. Professionals combat this with dehumidifiers and air movers during installation, but post-installation,16 homeowners must maintain ventilation for at least 48 hours.
Immediate Post-Installation: The First 24 Hours
Foot Traffic Restrictions
Walk on the floor only with clean, soft-soled shoes—and only when absolutely necessary. Bare feet and socks transfer skin oils that can react with uncured epoxy, leaving permanent dull spots. Pets must be completely excluded; their claws score the surface at a microscopic level, creating initiation points for future delamination. If you must enter the space, lay down a path of clean, unprinted cardboard or rosin paper. Never use plastic sheeting, which traps moisture and inhibits the cure.
Environmental Controls
Keep the garage door closed for the first 24 hours to prevent dust, pollen, and insects from embedding in the tacky surface. If the installation occurred in summer, run a portable air conditioner or fan directed away from the floor to maintain temperatures below 85°F. In winter, a thermostat set to 65°F minimum prevents cold-induced crystallization of the epoxy resin. Avoid any source of open flame or spark—uncured epoxy emits volatile organic compounds (VOCs) that are flammable in high concentrations. The EPA recommends maintaining 0.3–0.5 air changes per hour during the off-gassing period.
Visual Inspection Protocol
Within 6 hours of installation, conduct a raking-light inspection. Hold a bright flashlight parallel to the surface and scan for irregularities: fisheyes (small craters caused by silicone contamination), orange peel texture, or color streaks. Document any defects with photographs and measurements. Reputable installers—like those following the rigorous concrete preparation standards outlined in professional epoxy preparation guides—will address these under warranty, but only if reported before the full cure locks them in place.
Days 2–7: The Critical Cure Window
Vehicle and Heavy Item Restrictions
Parking a vehicle on the floor before 72 hours risks permanent tire tread impressions and hot-tire pickup—a phenomenon where the heat from tires softens the epoxy and peels it away from the concrete. Even after 72 hours, the coating remains susceptible to this damage. For the first 30 days, place sacrificial mats or squares of plywood under all four tires. This practice is especially critical in warmer regions, where asphalt driveways radiate heat into the garage. The team at garage floor solutions for Florida heat emphasizes that 140°F tire temperatures can soften epoxy with a glass transition temperature as low as 120°F.
Moisture Management
Do not wet-mop or wash the floor during the first week. If spills occur—oil, coolant, or water—blot them immediately with absorbent microfiber cloths. Standing water can penetrate microscopic pores in partially cured epoxy, causing whitening or delamination. For garages in humid or flood-prone areas,16 understanding flood-resistant coating options provides context for why moisture mitigation starts on day one. Run a dehumidifier set to 50% relative humidity if outdoor conditions are damp.
Chemical Exposure Precautions
Common garage chemicals—gasoline, brake fluid, paint thinner—act as aggressive solvents on uncured epoxy. Even a single drop of brake fluid can etch a permanent crater. Store all chemicals in sealed containers on shelving, not on the floor. If you’re using the garage as a workshop, delay any projects involving solvents until day 8. For commercial settings, the standards described in commercial epoxy flooring guidelines highlight the importance of chemical resistance testing before full use.
2-Week Milestone: Beginning Regular Use
First Cleaning Protocol
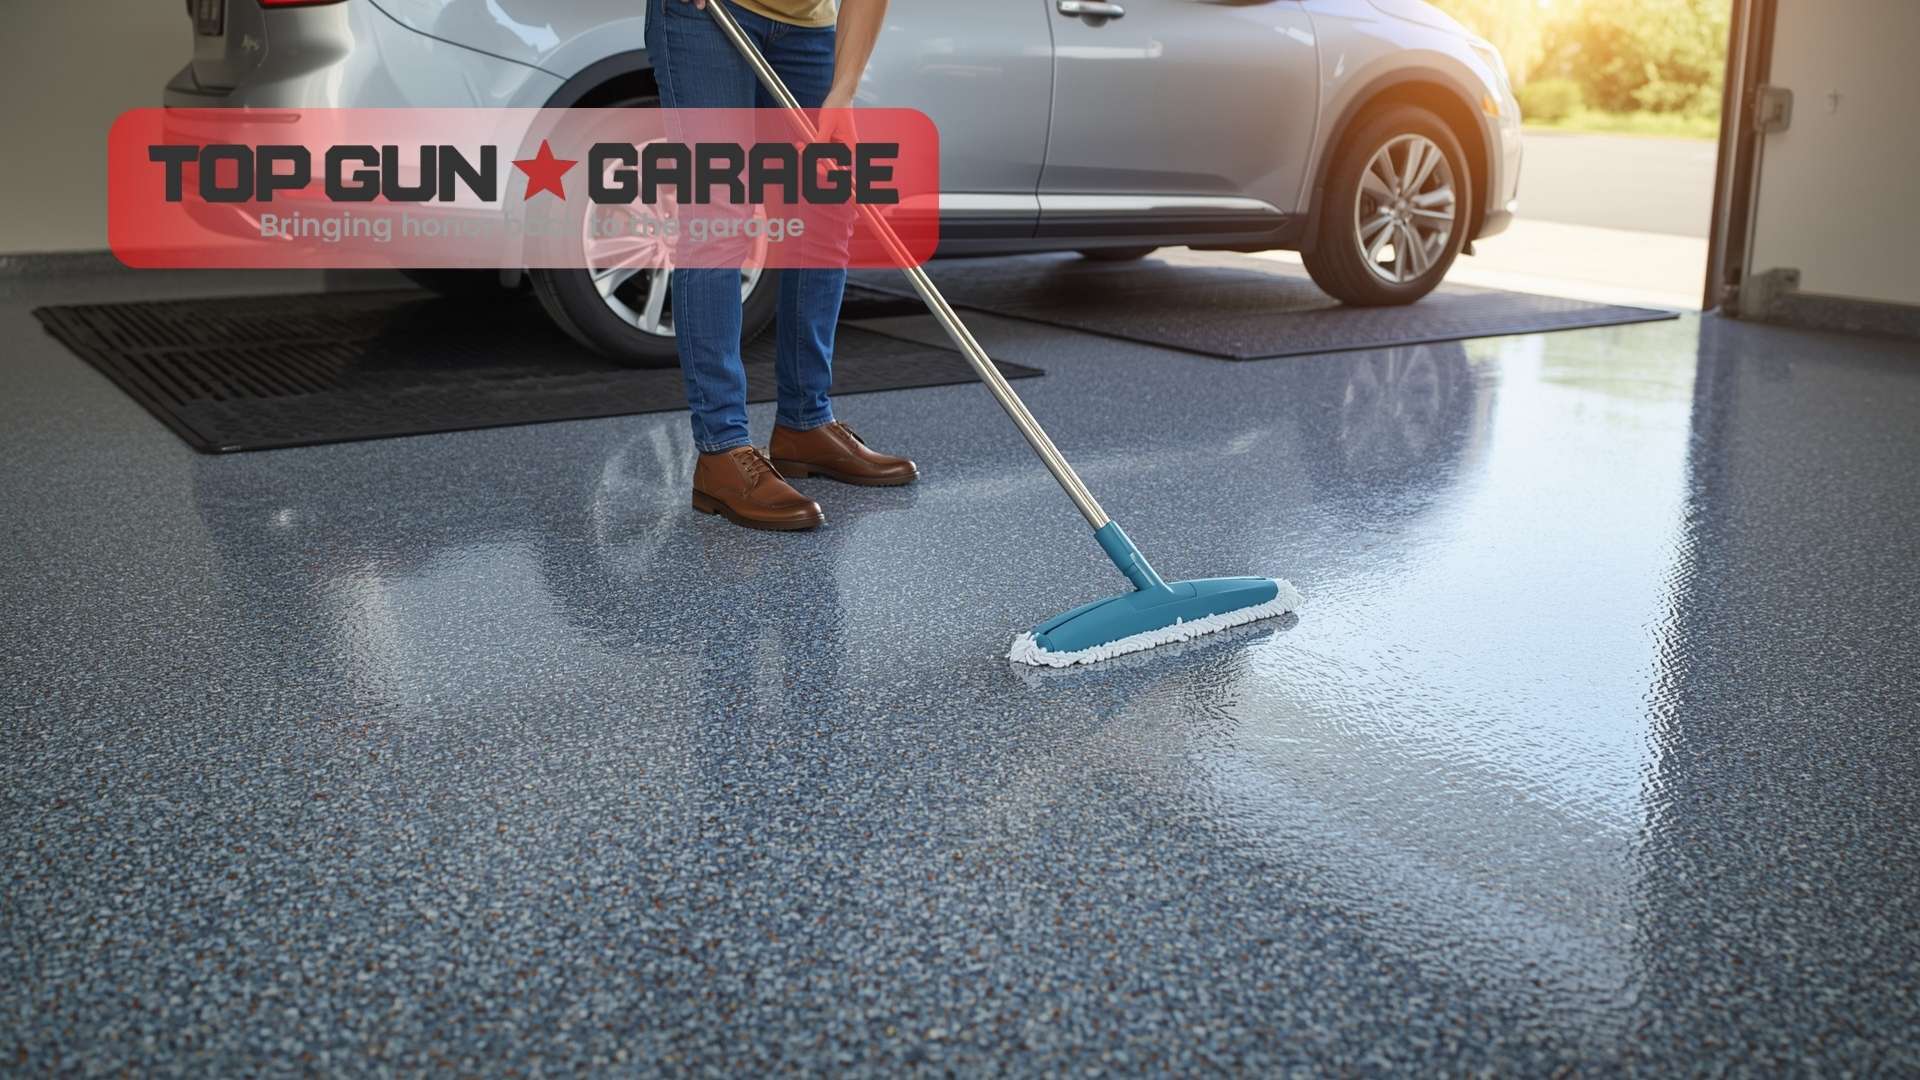
After 7–10 days,16 the floor is ready for its first cleaning. Use a pH-neutral cleaner specifically formulated for epoxy—never vinegar, citrus-based cleaners, or abrasive powders. Mix the cleaner according to label instructions, apply with a microfiber flat mop, and rinse thoroughly with clean water. Standing puddles must be squeegeed or dry-mopped away. This initial cleaning removes any residual amine blush and construction dust. For a deeper understanding ofepoxy floor maintenance, the seasonal maintenance routines guide offers16 a structured16 framework.
Furniture and Storage Placement
When returning tool chests, shelving units, and appliances to the garage, install protective pads under all legs and casters. Even fully cured epoxy can scratch under concentrated point loads. Consider using polyurethane casters rated for hard surfaces—they distribute weight more evenly than steel wheels. For heavy stationary items like water heaters or freezers, place a ¼-inch rubber isolation mat underneath to prevent compression set in the coating over time.
Slip Resistance Evaluation
Test the floor’s coefficient of friction, especially if a high-gloss topcoat was applied. Wet the surface in an inconspicuous area and walk across it with typical footwear. If it feels slippery, broadcast a fine aluminum oxide anti-slip additive into a fresh clear coat—a process detailed in resources on long-term slip-resistant surfaces. This is particularly important for households with elderly residents or in regions with frequent rain, where wet shoes track moisture onto the floor.
1-Month Checkpoint:16 Long-Term Performance Foundation
Hot-Tire Pickup Assessment
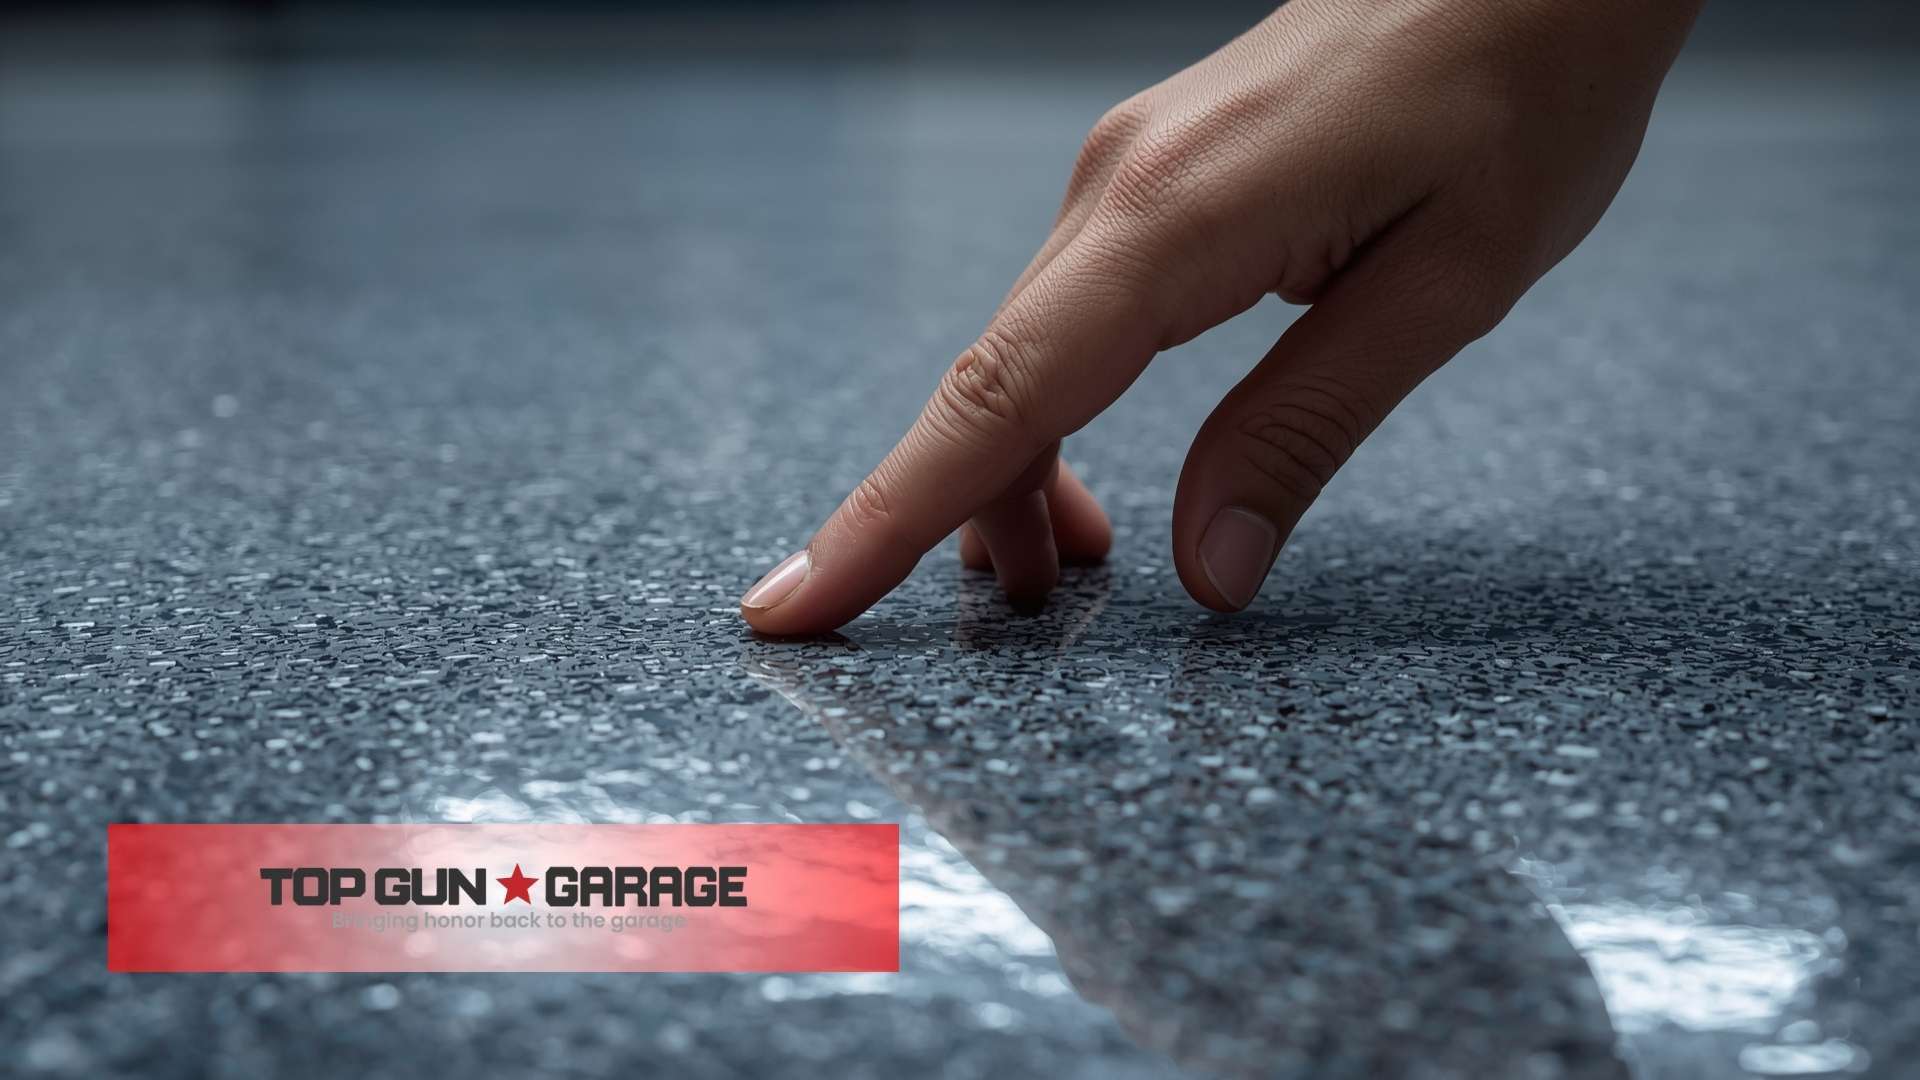
After 30 days, inspect the areas where vehicle tires rest. Look for any softening, discoloration, or peeling. Minor surface tackiness can sometimes be remedied by light sanding and application of a clear urethane topcoat with higher heat resistance. If the epoxy has lifted entirely from the concrete, it indicates insufficient surface preparation—a problem that requires professional intervention. The comparison of epoxy vs. polyaspartic coatings explains why some systems inherently resist hot-tire damage better than others.
UV Exposure and Color Stability
Epoxy coatings, especially those based on bisphenol-A resins, are inherently UV-sensitive. Prolonged exposure to direct sunlight causes yellowing and chalking. If your garage door faces south or west, or if you have windows that admit sunlight, install UV-blocking window film or curtains. For floors already showing ambering, a UV-stable polyurethane or polyaspartic topcoat can arrest further degradation. This is a common concern in sunny climates, as discussed in articles about seasonal effects on epoxy floors.
Edge and Joint Integrity
Examine all perimeter edges, control joints, and transitions to other flooring materials. Epoxy can shrink slightly during cure, pulling away from the edge and creating a micro-gap that invites moisture intrusion. Fill any gaps with a flexible, color-matched polyurethane sealant. This16 detail is16 especially important where the garage floor meets the driveway or a garage door threshold, as16 water can wick under the coating and cause widespread delamination.
Long-Term Maintenance: Preserving the Investment
Daily and Weekly Routines
Dust and grit act like sandpaper underfoot. Sweep or dust-mop the floor weekly using a soft-bristle push broom or a microfiber dust mop. For a deeper clean, use an automatic floor scrubber with a soft white pad—never a black stripping pad, which removes the gloss. The cleaning regimen for a residential garage differs from that of a high-traffic garage floor, but the principle remains: remove abrasive debris before it grinds into the coating.
Quarterly Deep Cleaning
Every 90 days, perform a thorough cleaning: clear the floor of all items, dust-mop, then scrub with a pH-neutral cleaner and a soft-bristle deck brush. Rinse with clean water and a wet-dry vacuum to remove all residue. This prevents the buildup of tire dressings, road salts, and oil films that can etch the surface over time. For homes near the coast, quarterly cleaning also removes salt spray that accelerates corrosion of any metal components embedded in the floor.
Annual Professional Inspection
Schedule a yearly inspection with a certified epoxy flooring specialist. They will measure gloss retention with a gloss meter, check for moisture vapor transmission using a calcium chloride test, and identify16 early signs of wear. According to the National Association of Home Builders, proactive maintenance extends the service life of resinous flooring by 40–60% compared to reactive repairs. This small annual investment protects the larger upfront cost and aligns with the principles outlined in why professional epoxy coating matters.
Common Post-Installation Problems and Solutions
| Problem | Likely Cause | Solution |
|---|---|---|
| Amine blush (waxy film) | High humidity during cure | Scrub with warm water and mild detergent; rinse thoroughly |
| Bubbles or blisters | Outgassing from porous concrete | Sand affected areas, apply epoxy primer, recoat |
| Soft spots or tackiness | Incorrect mix ratio or low temperature | Remove uncured material, reapply with proper catalyst ratio |
| Yellowing | UV exposure without UV-stable topcoat | Apply UV-resistant polyurethane or polyaspartic clear coat |
| Peeling or delamination | Inadequate surface preparation | Mechanically grind to bare concrete, re-profile, and recoat |
| Scratches and scuffs | Abrasive debris or steel casters | Buff with fine polishing compound; install protective mats |
As Sarah Chen, Senior Coatings Chemist at Protective Polymers International, explains: “The majority of post-installation failures we investigate stem from two root causes: insufficient concrete surface profile and premature exposure to moisture. A properly prepared substrate with a CSP 3–5 profile and a full 7-day cure eliminates 90% of16 warranty claims.”
Seasonal Considerations for Epoxy Garage Floors
Summer Heat Management
In regions where summer temperatures exceed 95°F, the garage interior can reach 120°F or higher. At these temperatures, epoxy coatings can soften enough to deform under concentrated loads. Use reflective garage door insulation panels and consider a portable evaporative cooler to keep ambient temperatures below 100°F.16 For homes in tropical climates,16 the16 insights from humidity-specific epoxy flooring guides are directly applicable.
Winter Cold and Road Salt
In colder climates, road salt and de-icing chemicals tracked into the garage create a corrosive slurry. Epoxy is chemically resistant to sodium chloride, but the freeze-thaw cycling of this slurry can cause micro-cracking in the concrete substrate beneath the coating. Rinse the floor weekly during winter months and apply a penetrating concrete sealer to any exposed edges. The seasonal maintenance routines guide provides a month-by-month plan.
Hurricane and Storm Preparedness
For coastal areas subject to tropical storms, post-installation planning includes emergency protocols. If a storm is forecast within the first 7 days of installation, protect the uncured floor with temporary barriers and ensure drainage is clear. For cured floors, the resilience of epoxy against floodwaters is well-documented—as explored in hurricane-proof garage floor solutions—but16 post-flood cleaning must begin immediately to prevent mold and mildew at the coating edges.
When to Recoat or Refinish
Even the most meticulously maintained epoxy floor will eventually show its age. Signs that recoating is due include: measurable gloss reduction below 60 GU (gloss units) at 60° angle, widespread micro-scratching visible under raking light, or16 color fade exceeding 2 Delta E units compared to the original shade. The typical residential garage floor requires recoating every 7–10 years, while commercial spaces may need it every 3–5 years. Recoating involves light sanding to create a mechanical bond, followed by a new topcoat—a process that restores the floor’s appearance and chemical resistance at approximately 30% of the original installation cost.
Dr. Michael Torres, Director of the Resinous Flooring Institute, notes: “We’ve analyzed thousands of epoxy floors across North America. The data clearly shows that16 floors receiving a maintenance topcoat at the 8-year mark achieve an average service life of 22 years, compared to 14 years for those left unmaintained. It’s the single most cost-effective decision a property owner can make.”
Expert Tips for Maximizing Epoxy Floor Longevity
James Liu, Master Installer with 22 years of experience and owner of a leading flooring consultancy, shares his field-tested advice: “I tell every client three things. First, invest in the best entrance mat you can afford—80% of floor damage comes from what’s tracked in on shoes. Second, never use a steam mop; the thermal shock can cause delamination at the epoxy-concrete interface. Third, keep a logbook. Record every cleaning, every spill, every inspection. When a problem does arise, that history is invaluable for diagnosis.”
According to a 2026 market analysis by Floor Covering Weekly, homeowners who follow a structured post-installation checklist report 72% higher satisfaction rates and 60% fewer warranty claims than those who do not. The data underscores a simple truth: the16 difference between a floor that lasts 5 years and one that lasts 20 years is not the product—it’s the protocol.
FAQ
How long after epoxy garage floor installation can I walk on it?
Light foot traffic is typically safe after 12–18 hours, but only with clean, soft-soled shoes. Avoid bare feet and pets for at least 24 hours to prevent oil transfer and scratches.
When can I park my car on a new epoxy garage floor?
Wait a minimum of 72 hours before parking vehicles. For the first 30 days, place protective mats under all four tires to prevent hot-tire pickup, especially in warm weather.
Why does my new epoxy floor feel sticky or waxy?
This is likely amine blush, a reaction between uncured hardener and atmospheric moisture. It can be removed by scrubbing with warm water and a mild detergent, followed by thorough rinsing.
Can I use a pressure washer to clean my epoxy garage floor?
Pressure washers can be used on fully cured epoxy (after 7 days) at low pressure settings below 1,500 PSI with a wide fan tip. High pressure or concentrated spray can delaminate the coating from the concrete.
How do I remove tire marks from my epoxy floor?
Tire marks are usually rubber transfer, not coating damage. Use a dedicated rubber-removing cleaner or a mild degreaser with a soft-bristle brush. Avoid abrasive scrubbers that can dull the gloss.
Will my epoxy garage floor turn yellow over time?
Standard epoxy coatings are UV-sensitive and will amber with prolonged sun exposure. A UV-stable polyurethane or polyaspartic topcoat prevents yellowing and should be specified during installation if the garage receives direct sunlight.
What is the best cleaner for epoxy garage floors?
Use a pH-neutral, non-abrasive cleaner specifically formulated for epoxy or urethane coatings. Avoid vinegar, citrus-based products, and soap-based detergents that leave a hazy film.
Conclusion
A new epoxy garage floor is a high-performance surface that rewards diligence. The16 post-installation period—particularly the first 7 days—sets the trajectory for decades of service. By controlling traffic, managing environmental conditions, and adhering to a disciplined cleaning regimen, you protect both the aesthetic16 appeal and the structural integrity of the coating. The16 checklist outlined here transforms16 reactive maintenance into proactive preservation, saving thousands of dollars over the floor’s lifespan. For personalized guidance on your specific floor system, or to schedule a professional inspection, contact our team today.
References
- American Concrete Institute. (2024). Guide for the Use of Epoxy Compounds with Concrete. ACI 503R-24. concrete.org
- Coatings Research Institute. (2025). Effect of Temperature and Humidity on Amine-Cured Epoxy Systems. coatingsresearch.org
- Environmental Protection Agency. (2026). Indoor Air Quality and Volatile Organic Compounds. epa.gov
- National Association of Home Builders. (2025). Lifecycle Cost Analysis of Residential Flooring Systems. nahb.org
- Floor Covering Weekly. (2026). Consumer Satisfaction Survey: Resinous Flooring Market. floorcoveringweekly.com
- Resinous Flooring Institute. (2026). Annual Performance Report: Epoxy and Polyaspartic Coatings. resinousflooring.org
- Protective Polymers International. (2025). Technical Bulletin: Amine Blush Identification and Remediation. protectivepolymers.com