A successful garage floor coating starts before the crew ever arrives. Following a garage floor preparation checklist ensures the installation goes smoothly and the coating bonds properly to your concrete. For Southwest Florida homeowners, this preparation matters even more given the region’s humidity and moisture challenges. Taking a few hours to prepare your space correctly protects your investment and helps deliver lasting results that stand up to Naples heat, coastal air, and daily use.
Top Gun Garage handles the technical work—grinding, crack repair, and coating application. Your role as the homeowner involves clearing the space, managing access, and understanding what happens on installation day. This guide covers everything you need to do before the coating crew shows up.
Overview
This article walks through the complete preparation process for a professional garage floor coating installation. Topics include clearing your garage, protecting belongings, managing environmental conditions, coordinating with installers, and understanding what not to do. Each section provides actionable steps that apply specifically to Southwest Florida conditions and professional coating systems.
Key Takeaways
Remove all items from the garage floor at least 24 hours before the scheduled installation
Turn off HVAC systems connected to the garage to prevent dust and fumes from entering your home
Do not power wash, scrub, or wet the floor—leave surface preparation to the professionals
Notify the installer about any moisture issues, previous coatings, or cracks you have observed
Ensure clear driveway access and inform the crew of any property quirks or gate codes
Plan to stay off the floor for the full curing period specified by your installer
Clear Everything From the Floor
Every item sitting on your garage floor needs to be moved before the crew arrives. This includes vehicles, tools, storage bins, lawn equipment, workbenches, and anything else touching the concrete. Professional installers grind the entire surface to create the proper profile for coating adhesion. Any items left behind create gaps in coverage and prevent even application. The crew cannot work around obstacles, and trying to coat sections at different times produces inconsistent results. A completely empty floor allows the team to prepare the concrete uniformly and apply the coating in one continuous process.
Heavy items like refrigerators, deep freezers, and water softeners also need to move. If relocating these appliances presents difficulties, contact Top Gun Garage before your installation date. The team may offer assistance or discuss whether coating around the item makes sense for your situation. Water heaters and permanently plumbed fixtures typically require cutting around them, which your installer will plan for in advance.
Where to Store Your Belongings
Finding temporary storage for garage contents depends on what you have and how long installation takes. Common solutions include moving smaller items to a spare room, basement, or covered patio. Larger equipment can go to a storage unit, portable pod, or a neighbor’s garage. If items must stay in the driveway, cover them with tarps and secure any appliances that could attract children. Plan storage for the full installation and curing window, typically two to three days for most coating systems.
Protect Adjacent Areas and Turn Off Connected Systems
Professional coating installation involves grinding concrete, which generates fine dust. Southwest Florida’s humidity already creates challenges for coating adhesion, and drawing moisture-laden air through the space during application worsens the problem. Turn off any HVAC units that serve the garage or share ductwork with it. This prevents dust from being pulled into your home and stops conditioned air from interfering with the curing process.
Keep the HVAC off until the top coat has been applied and the installer confirms it is safe to resume normal operation. This typically takes one full day after the final coat goes down. If you have air purifiers, dehumidifiers, or exhaust fans in the garage, turn those off as well. The coating crew will manage airflow and ventilation during application using their own equipment.
Wall-mounted items above 36 inches from the floor can usually stay in place. Anything closer to the floor may interfere with grinders working along the perimeter and should come down. If you have valuable wall decor, tools, or electronics near the work area, removing or covering them with plastic sheeting provides extra protection.
Do Not Clean, Scrub, or Wet the Floor
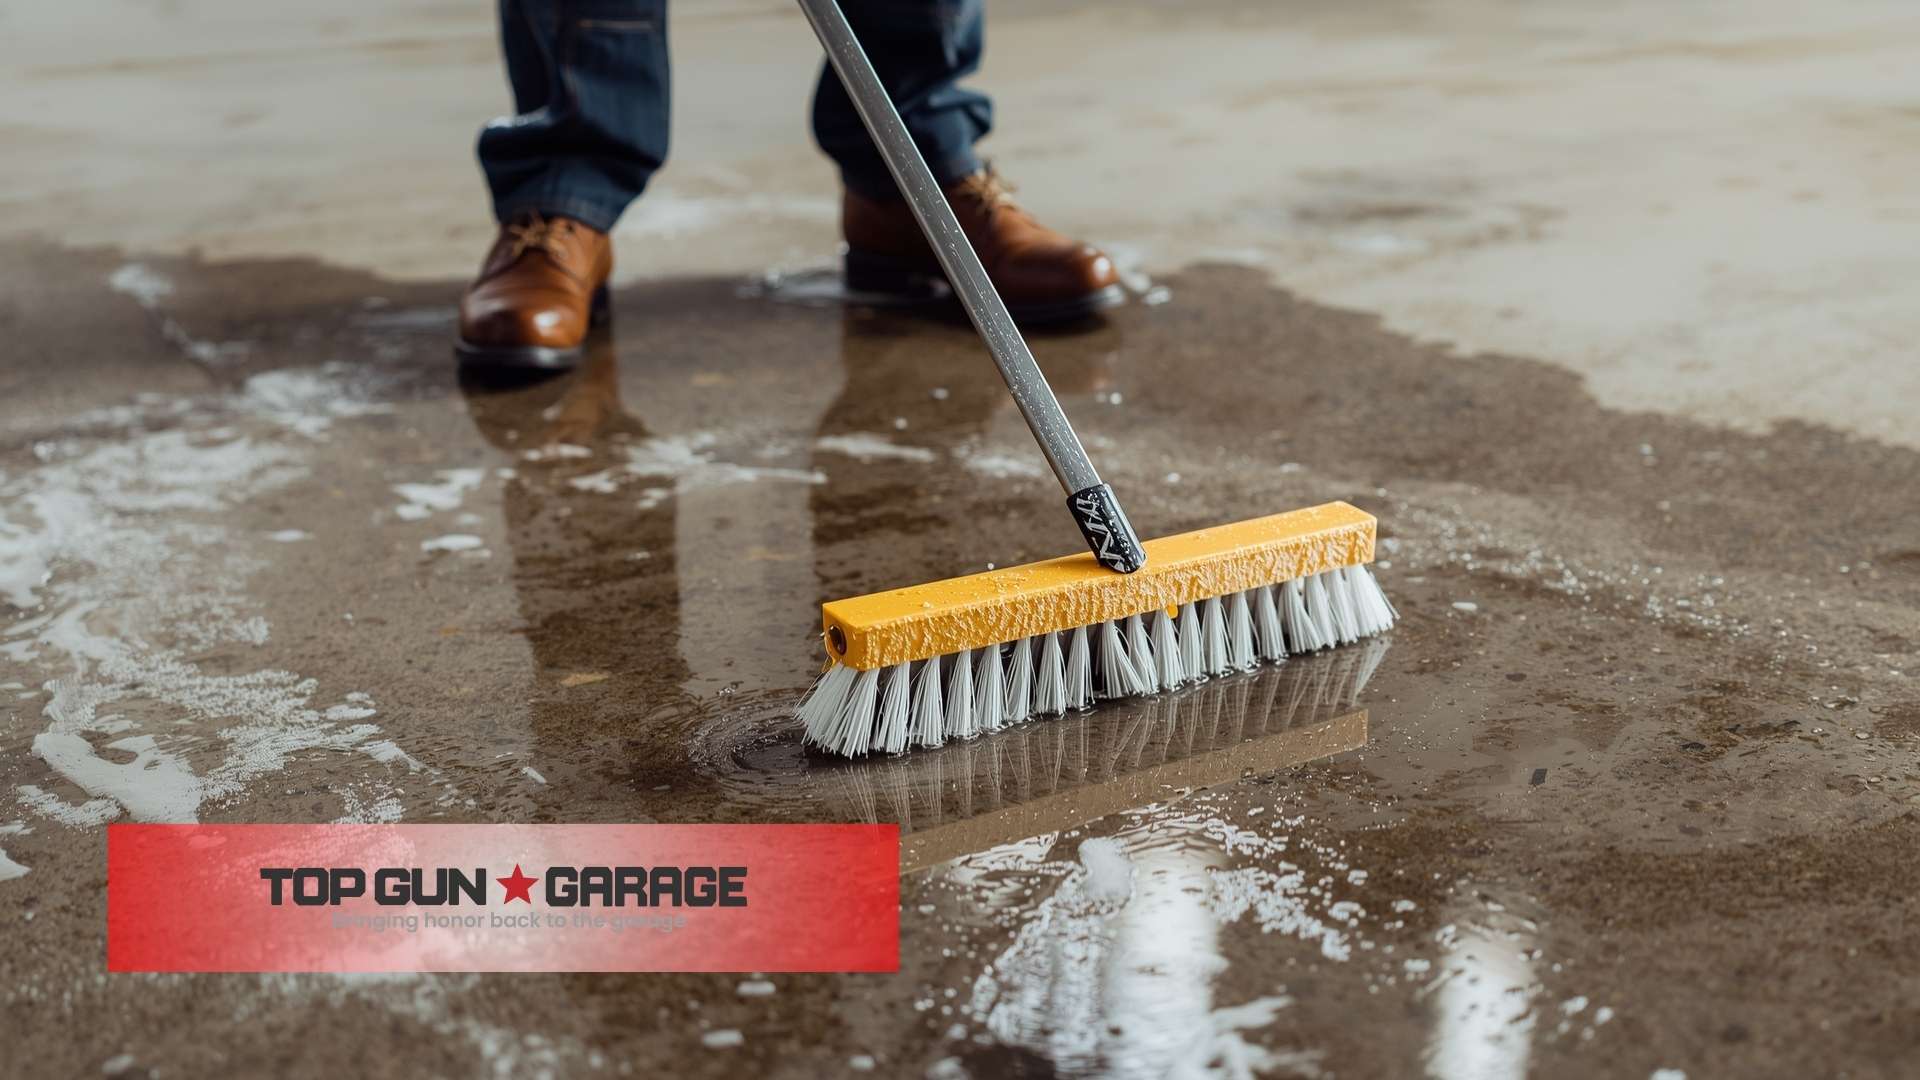
One of the most common mistakes homeowners make is power washing or deep cleaning the garage floor before the crew arrives. This introduces moisture into the concrete, which can take days to fully dry. In Southwest Florida’s humid environment, wet concrete is a serious problem. Trapped moisture interferes with coating adhesion and can cause bubbling or delamination weeks after installation.
Leave all surface preparation to the professionals. The grinding process removes dirt, oil stains, and contaminants while creating the profile needed for proper coating bond. A simple sweep to remove loose debris is sufficient. Do not apply degreasers, acid etches, or other cleaning products. Many retail cleaning solutions leave residues that interfere with professional coating systems.
If your floor has visible oil stains, paint splatters, or drywall compound from previous projects, note their locations but do not attempt removal. Diamond grinding handles these issues as part of standard surface preparation. The crew has the equipment and experience to address contamination correctly.
Communicate Known Floor Conditions
Before installation day, inform your installer about any conditions you have observed with your garage floor. This includes areas where water pools after rain, spots that seem perpetually damp, cracks that have appeared or grown over time, and any previous coatings or sealers applied to the concrete. These details help the crew prepare the right materials and techniques for your specific situation.
Moisture vapor transmission is a significant concern in Florida. Concrete is porous, and water vapor naturally moves upward through the slab. High humidity and local water table levels increase this movement. If the crew knows about moisture issues beforehand, they can perform additional testing and select primers or systems designed to handle vapor transmission.
Previous coatings require different preparation methods. If someone applied an epoxy paint kit or sealer to your floor in the past, that material must be completely removed before a professional system can be installed. Knowing this in advance lets the crew bring the appropriate grinding attachments and allocate enough time for proper removal.
Pause Yard Work and Nearby Projects
On installation day and while the coating cures, avoid activities that generate dust or debris near the garage. Mowing the lawn, trimming hedges, using leaf blowers, or doing other yard work kicks up particles that can settle on wet coating and ruin the finish. Sand, pollen, and grass clippings carried by wind create imperfections in an otherwise smooth surface.
If you have home improvement projects scheduled, coordinate timing with your coating installation. Painting, drywall work, or construction generates dust that travels easily. Wait until the floor has fully cured before resuming these activities near the garage area.
Ensure Clear Access for the Crew
Installation crews arrive with grinding equipment, coating materials, and sometimes generators. Make sure your driveway is clear of vehicles and obstacles so the team can park close to the garage and unload efficiently. If you have a shared driveway, low-hanging branches, tight turns, or locked gates, let your installer know beforehand.
Provide any gate codes, garage door opener codes, or access instructions the crew will need. If you will not be home during installation, arrange for someone to let the crew in and answer questions if issues arise. Clear communication about access prevents delays and keeps the project on schedule. For a free estimate or to discuss access logistics, contact Top Gun Garage directly.
Understand the Curing Period
After the coating is applied, your floor needs time to cure before it can handle traffic. Most polyaspartic systems allow foot traffic within 24 hours, but vehicle traffic typically requires waiting 48 to 72 hours. Full chemical cure, when the floor reaches maximum hardness and chemical resistance, takes about seven days. Temperature and humidity influence these timelines, so follow the specific instructions your installer provides.
During the curing period, keep the garage door closed as much as possible. Avoid walking on the floor unless necessary, and do not drag items across the surface. When returning belongings to the garage, lift rather than slide to prevent scratching the coating before it reaches full hardness.
Do not run fans, heaters, or air conditioning to speed drying unless your installer specifically recommends it. Forced airflow or temperature changes during early curing can interfere with proper cross-linking and adhesion.
What the Professional Crew Handles
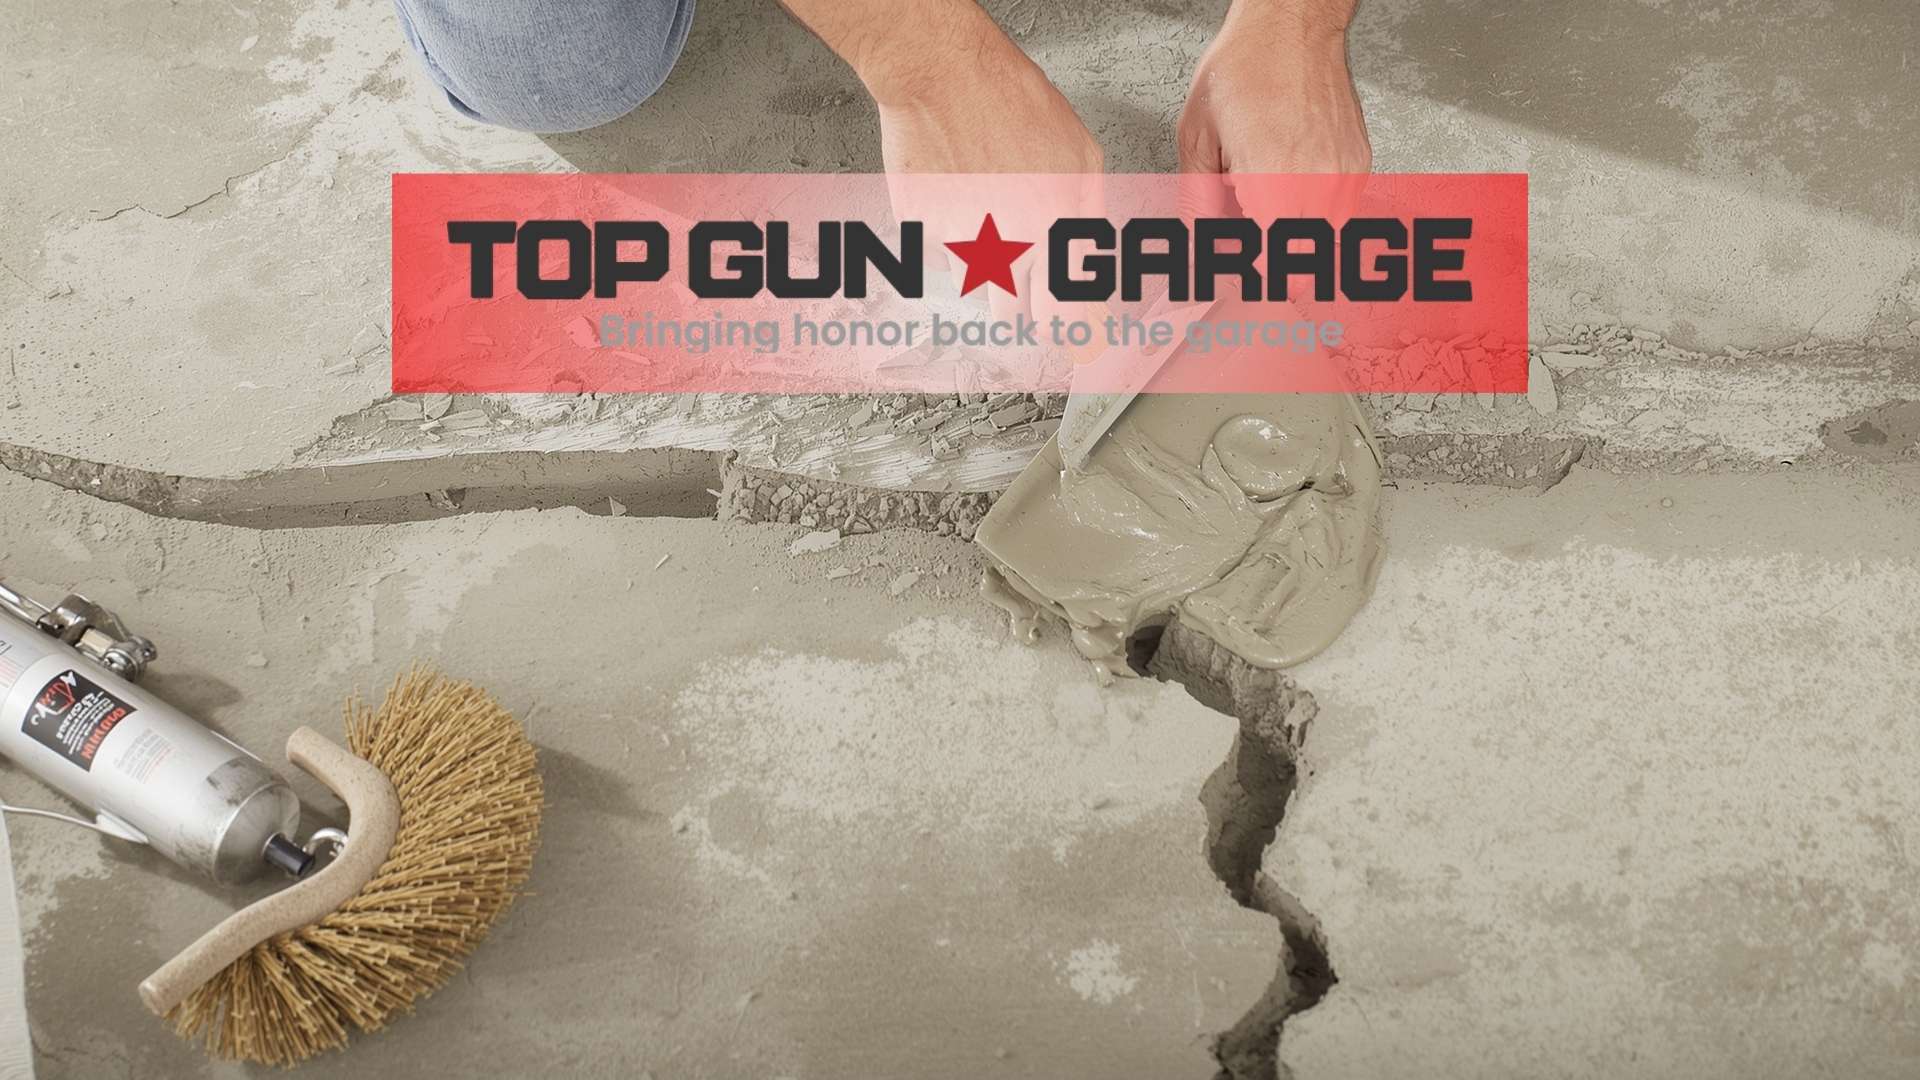
Professional coating installation includes comprehensive surface preparation that goes far beyond what homeowners can achieve with retail products. The crew handles concrete grinding to create proper surface profile, crack repair with materials compatible with the coating system, and removal of any existing coatings or sealers.
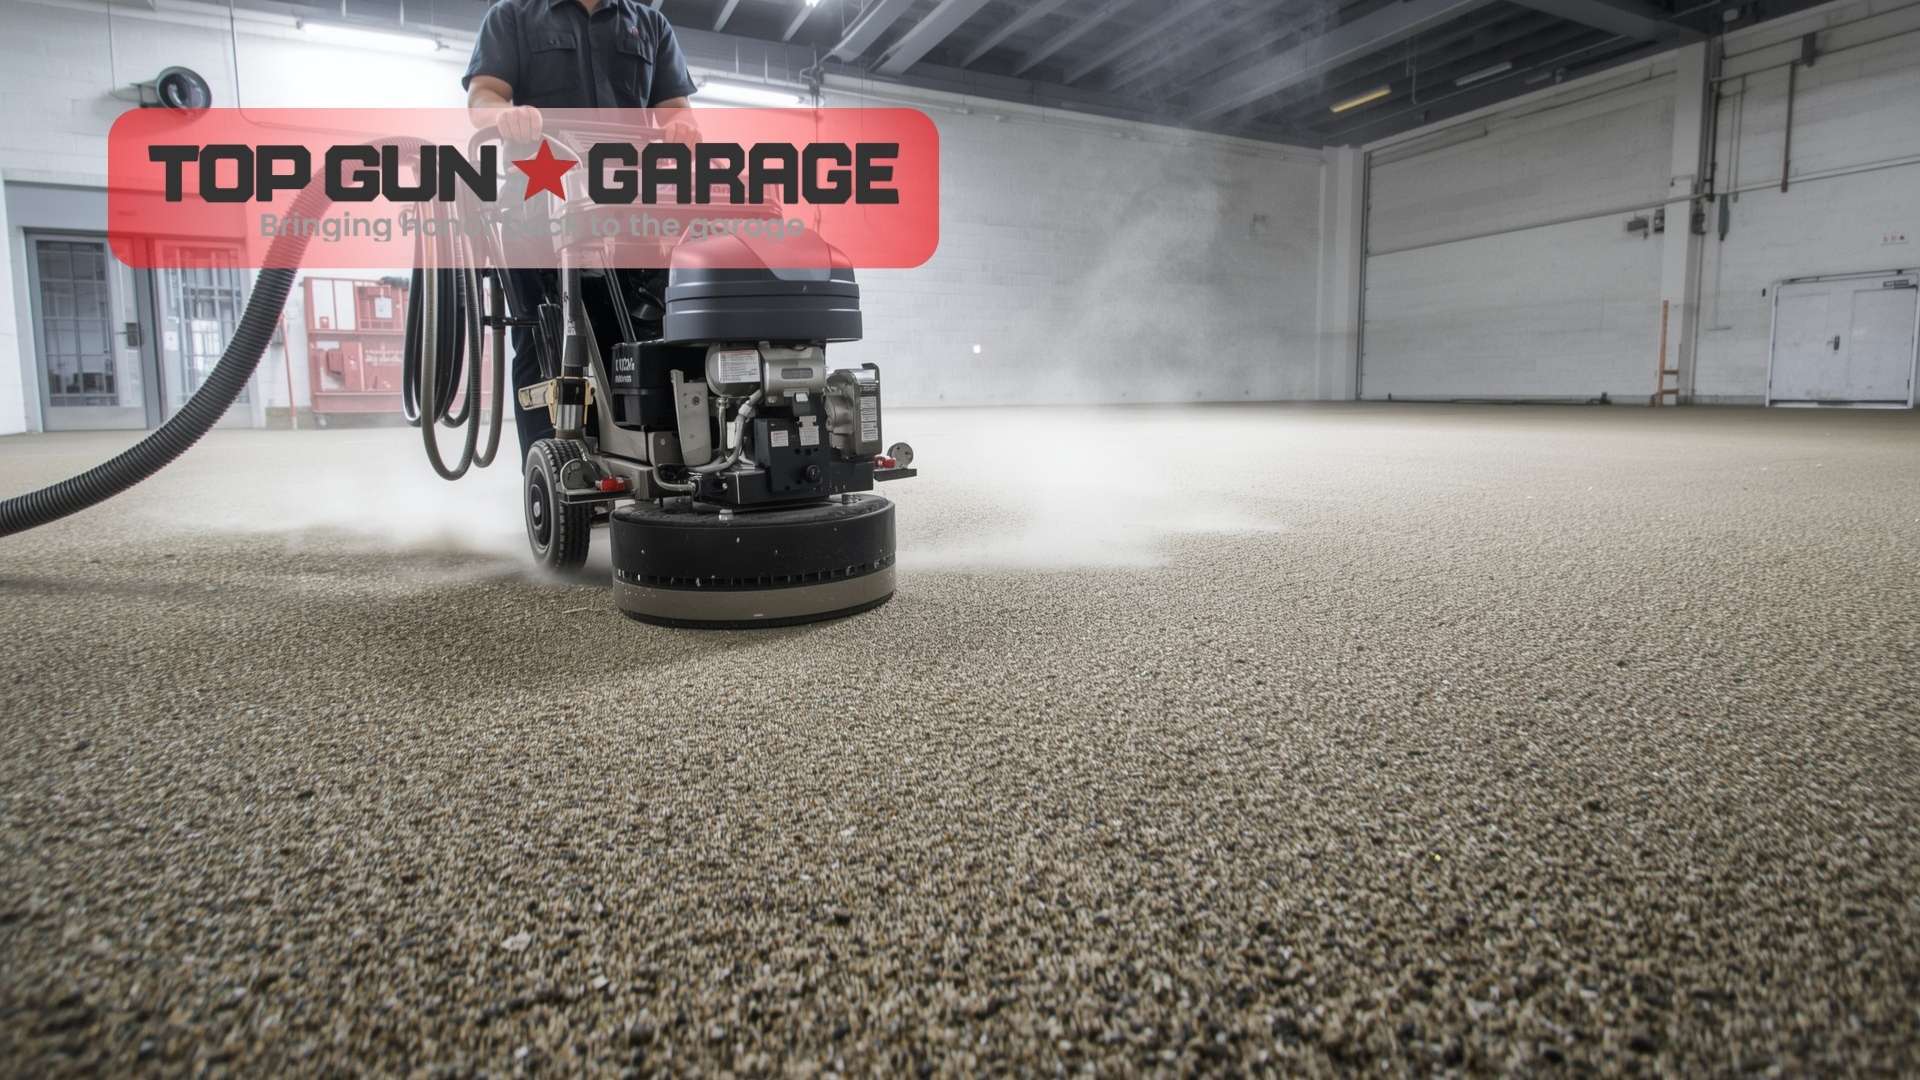
Surface preparation accounts for the largest portion of a successful installation. The grinding process removes the thin layer of weakened concrete at the surface, opens the pores of the slab, and creates a texture that allows mechanical bonding between concrete and coating. This step determines whether your floor will perform for years or begin peeling within months.
The crew also manages dust collection, applies primers when moisture conditions require them, broadcasts decorative flakes for texture and aesthetics, and finishes with protective top coats that resist chemicals, UV exposure, and abrasion. Your job is simply to provide them with a clear, accessible space to work.
Frequently Asked Questions
How far in advance should I clear my garage?
Plan to have the garage completely empty at least 24 hours before installation. This gives you time to address any items that prove difficult to move and ensures no last-minute delays on installation day.
Can I leave wall-mounted cabinets or shelving in place?
Wall-mounted items more than 36 inches above the floor can typically stay. Anything lower may interfere with grinding equipment and should be removed. Check with your installer if you are unsure about specific items.
What if I cannot move a heavy appliance like a water heater?
Contact Top Gun Garage before installation day. The team can discuss options including coating around the item or arranging assistance with relocation.
Should I turn off the sprinklers near the garage?
Yes. Turn off any irrigation that could spray water near the garage door or slab edges. Excess moisture from sprinklers can interfere with coating adhesion and curing.
Do I need to repair cracks myself before the crew arrives?
No. Do not fill cracks or joints with retail repair products. Most consumer-grade fillers are incompatible with professional coating systems and will need to be removed. The crew uses specialized materials designed to bond with the coating and withstand Florida conditions.
How long until I can park my car in the garage?
Most polyaspartic coatings allow vehicle traffic within 48 to 72 hours. Your installer will provide specific guidance based on the system used and current weather conditions.
Can I do half the garage at a time to keep using the space?
This approach is not recommended. Coating the floor in sections creates seams and inconsistencies. The weight and movement of items on the uncoated side can also affect airflow and curing in the coated area.
What happens if it rains on installation day?
Professional crews monitor weather conditions and will reschedule if rain threatens the installation. High humidity from storms can affect curing, so waiting for better conditions protects your investment.
Is there a smell during installation?
Some odor is normal, particularly with certain coating types. The smell typically dissipates within 24 to 48 hours with adequate ventilation. Keep the garage door slightly ajar when weather permits to accelerate this process.
How do I maintain the floor after it cures?
Coated floors require minimal maintenance. Regular sweeping and occasional mopping with mild soap and water keep the surface clean. Avoid harsh chemicals, abrasive scrubbers, and bleach-based cleaners.
Following this garage floor preparation checklist sets the stage for a coating that performs in Southwest Florida’s demanding conditions. Top Gun Garage specializes in polyaspartic and epoxy floor coatings engineered for Naples, Fort Myers, Bonita Springs, and surrounding communities. Get a free estimate and start planning your garage transformation today.
 Skip to content




 Heavy items like refrigerators, deep freezers, and water softeners also need to move. If relocating these appliances presents difficulties, contact Top Gun Garage before your installation date. The team may offer assistance or discuss whether coating around the item makes sense for your situation. Water heaters and permanently plumbed fixtures typically require cutting around them, which your installer will plan for in advance.
 If you have home improvement projects scheduled, coordinate timing with your coating installation. Painting, drywall work, or construction generates dust that travels easily. Wait until the floor has fully cured before resuming these activities near the garage area.
 Surface preparation accounts for the largest portion of a successful installation. The grinding process removes the thin layer of weakened concrete at the surface, opens the pores of the slab, and creates a texture that allows mechanical bonding between concrete and coating. This step determines whether your floor will perform for years or begin peeling within months.
The crew also manages dust collection, applies primers when moisture conditions require them, broadcasts decorative flakes for texture and aesthetics, and finishes with protective top coats that resist chemicals, UV exposure, and abrasion. Your job is simply to provide them with a clear, accessible space to work.
Surface preparation accounts for the largest portion of a successful installation. The grinding process removes the thin layer of weakened concrete at the surface, opens the pores of the slab, and creates a texture that allows mechanical bonding between concrete and coating. This step determines whether your floor will perform for years or begin peeling within months.
The crew also manages dust collection, applies primers when moisture conditions require them, broadcasts decorative flakes for texture and aesthetics, and finishes with protective top coats that resist chemicals, UV exposure, and abrasion. Your job is simply to provide them with a clear, accessible space to work.