 Skip to content



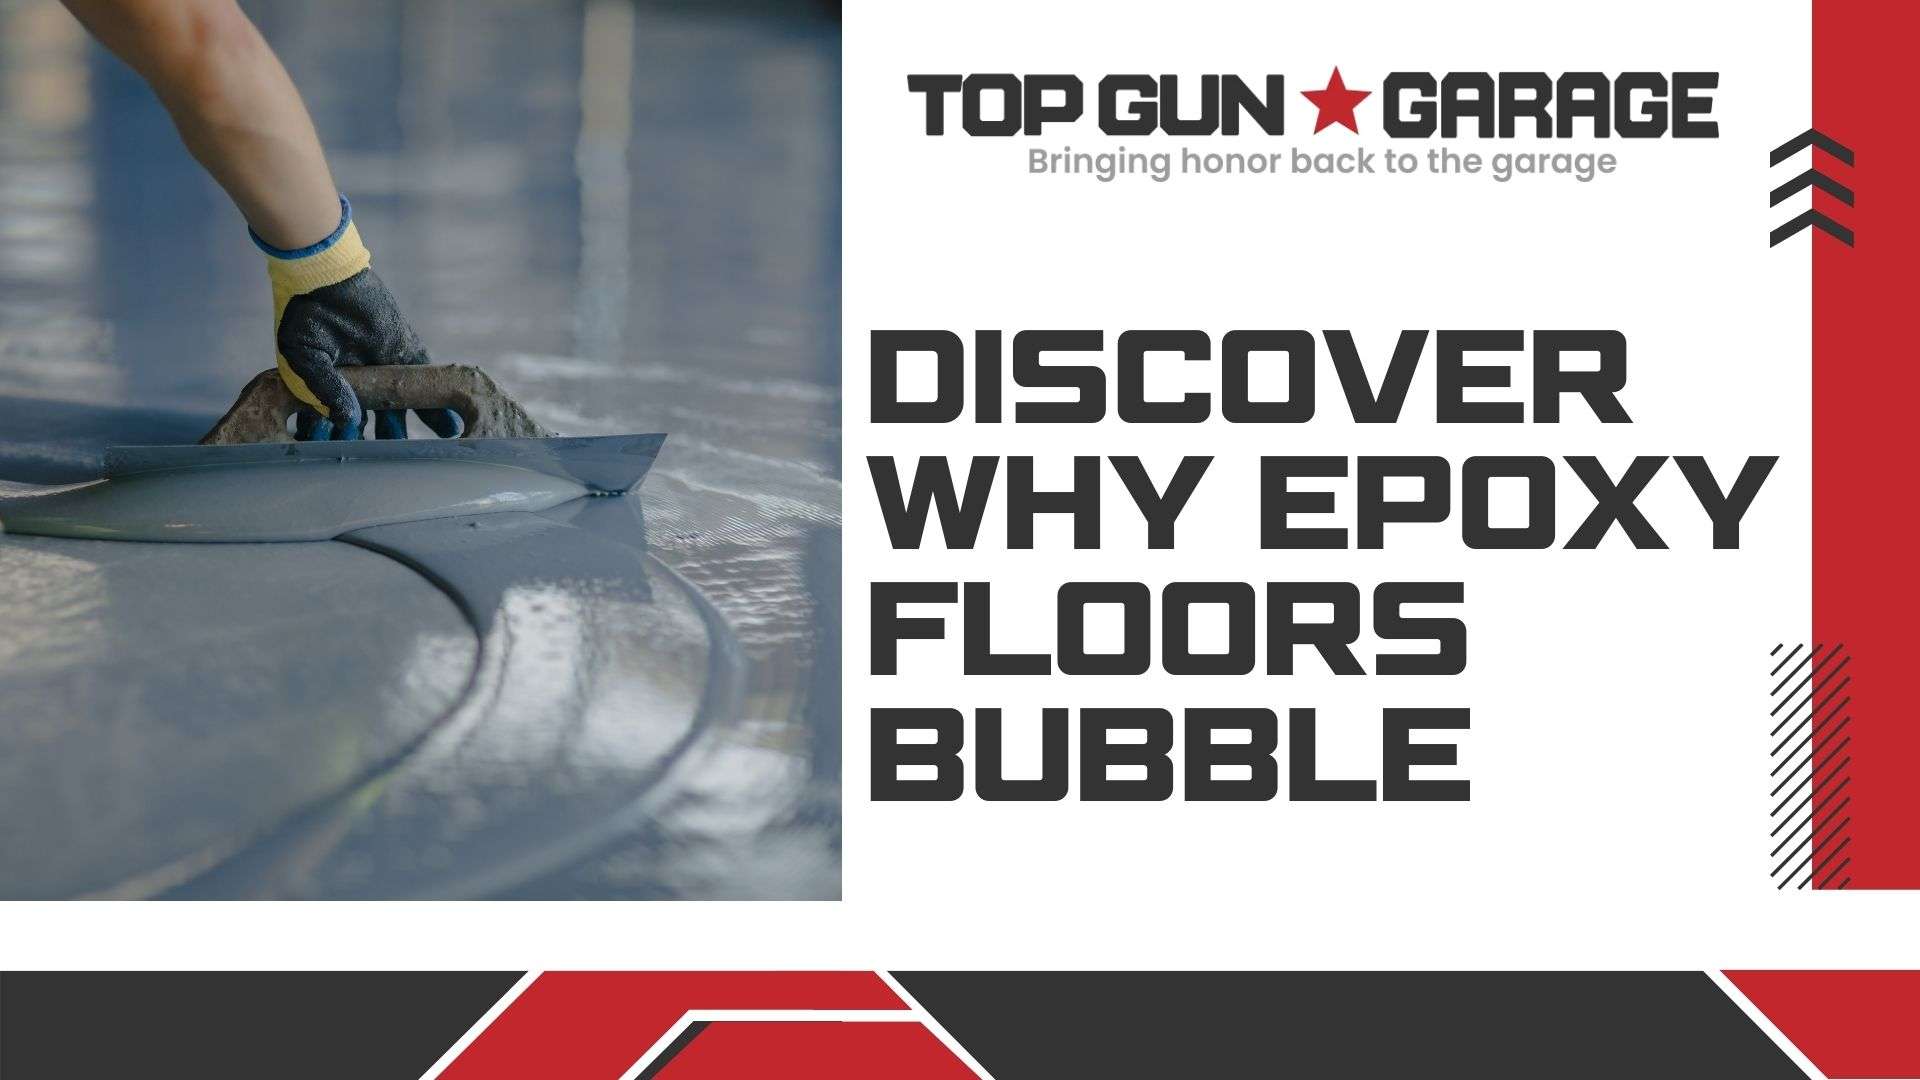
Key Takeaways
- Outgassing in concrete causes air pockets under protective coatings
- High humidity accelerates moisture-related adhesion issues
- Surface preparation reduces failure risks by 40% (industry data)
- Specialized contractors identify hidden substrate problems
- Climate-specific techniques improve coating durability
Understanding Epoxy Floor Bubbles and Outgassing Mechanisms
Surface treatments sometimes develop circular marks that reveal hidden challenges. These imperfections often appear as clusters of small domes, ranging from pinhead-sized dots to quarter-inch circles. Environmental factors like humidity and temperature changes push trapped gases upward through porous materials.Recognizing Common Imperfection Types
Three primary patterns emerge when gases escape during installation:| Pattern Type | Size Range | Visual Clues |
|---|---|---|
| Pinhole clusters | 1-3 mm | Tiny openings with raised edges |
| Ring formations | 5-10 mm | Concentric circles without breaks |
| Ridge networks | 10-25 mm | Interconnected raised lines |
Gas Release Dynamics During Installation
Substrate outgassing occurs when air pockets rise through materials during curing. Professionals like Top Gun Garage combat this using specialized tools:- Metal porcupine rollers to release trapped gases during priming
- Moisture meters verifying substrate readiness (under 4% content)
- Infrared scanners identifying hidden trouble spots
Exploring Why Epoxy Floors Bubble in Southwest Florida
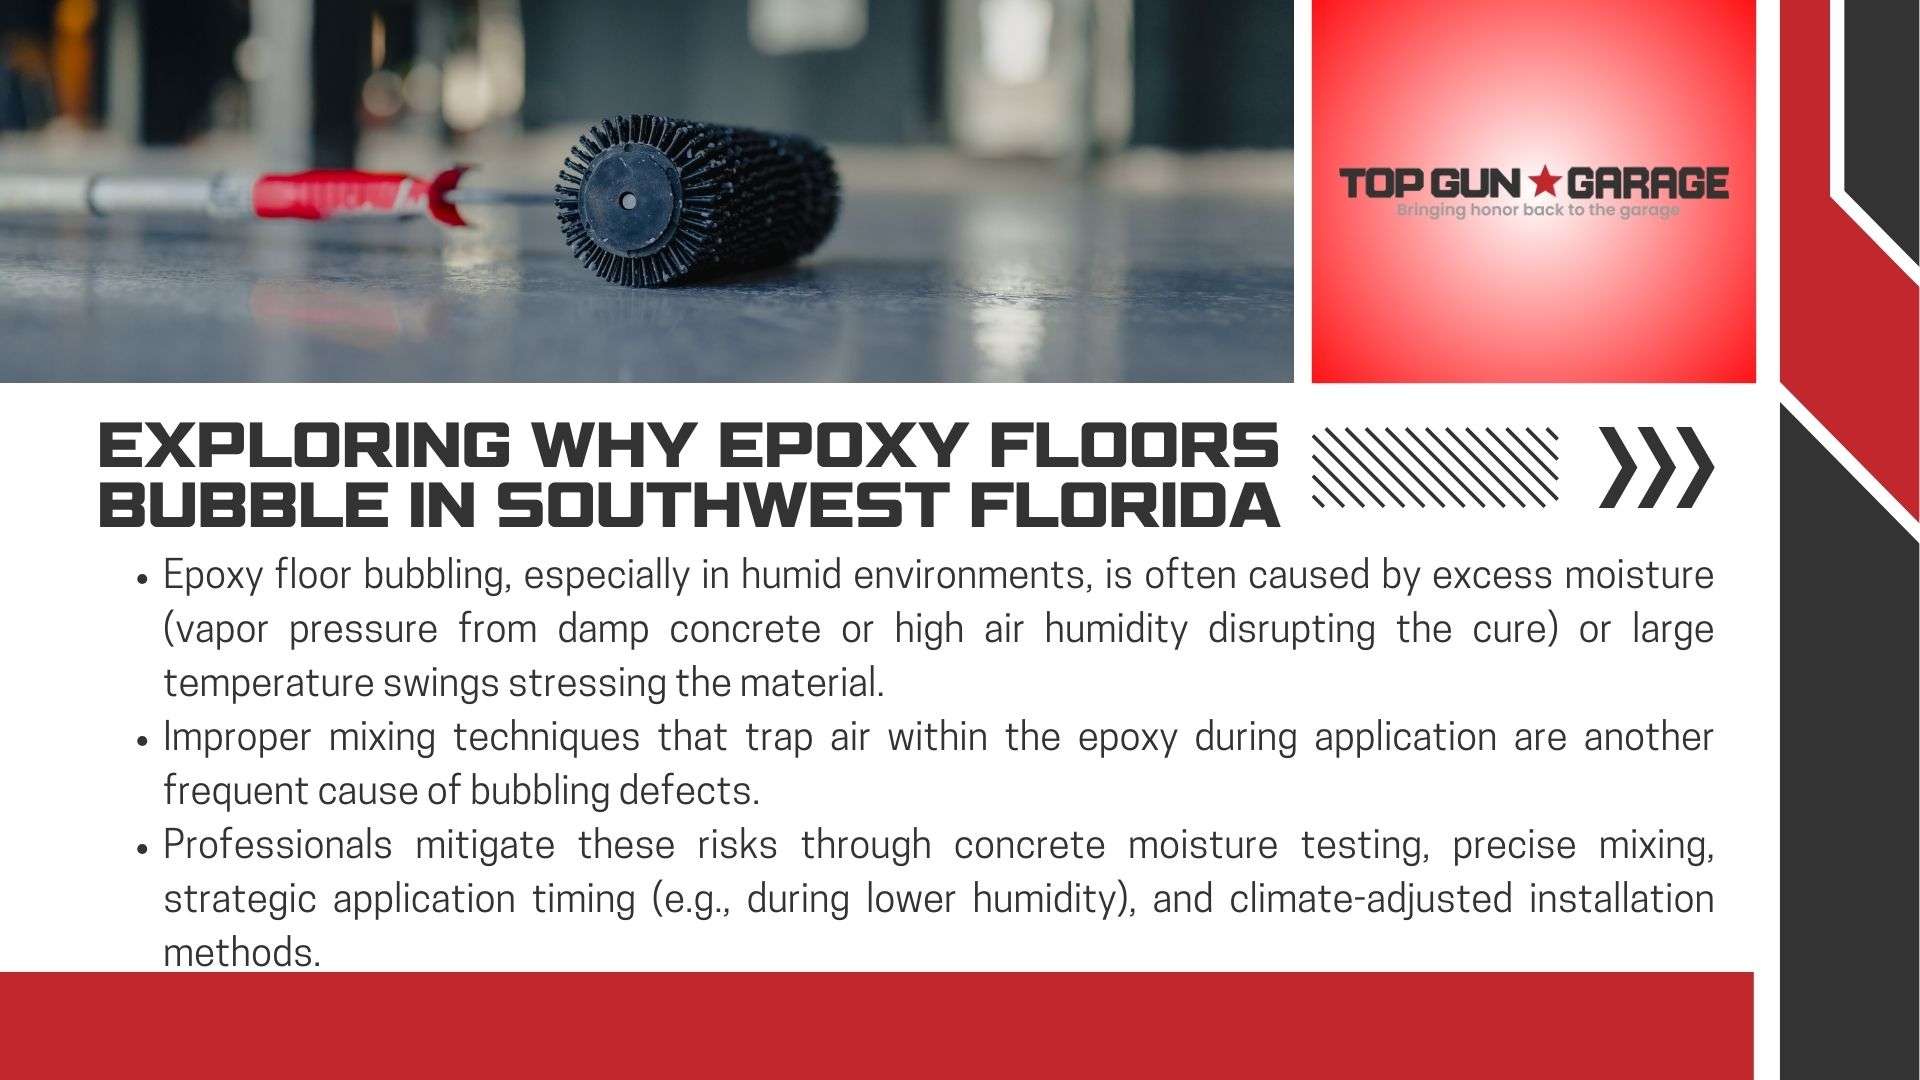 Coastal regions present unique challenges for durable surface treatments. High humidity and rapid temperature changes create demanding conditions for material adhesion and curing processes.
Moisture, Temperature, and Substrate Challenges
Concrete acts like a sponge in humid environments. When moisture content exceeds 4%, vapor pressure pushes through coatings during curing. This creates visible imperfections and weakens bond strength. Key environmental factors affecting projects:- Relative humidity above 75% slows curing times
- Daily temperature swings exceeding 20°F cause material expansion/contraction
- Salt air accelerates substrate degradation in coastal zones
Impact of Air Entrapment and Curing Conditions
Proper mixing techniques prevent air pockets from forming during application. Contractors use specialized tools to monitor these critical factors:| Factor | Optimal Range | Measurement Tool |
|---|---|---|
| Surface Temp | 55-90°F | Infrared thermometer |
| Dew Point | 5°F below air temp | Psychrometer |
| Material Viscosity | 30-45 seconds | Zahn cup #4 |
Advanced Installation Techniques and Preventative Solutions
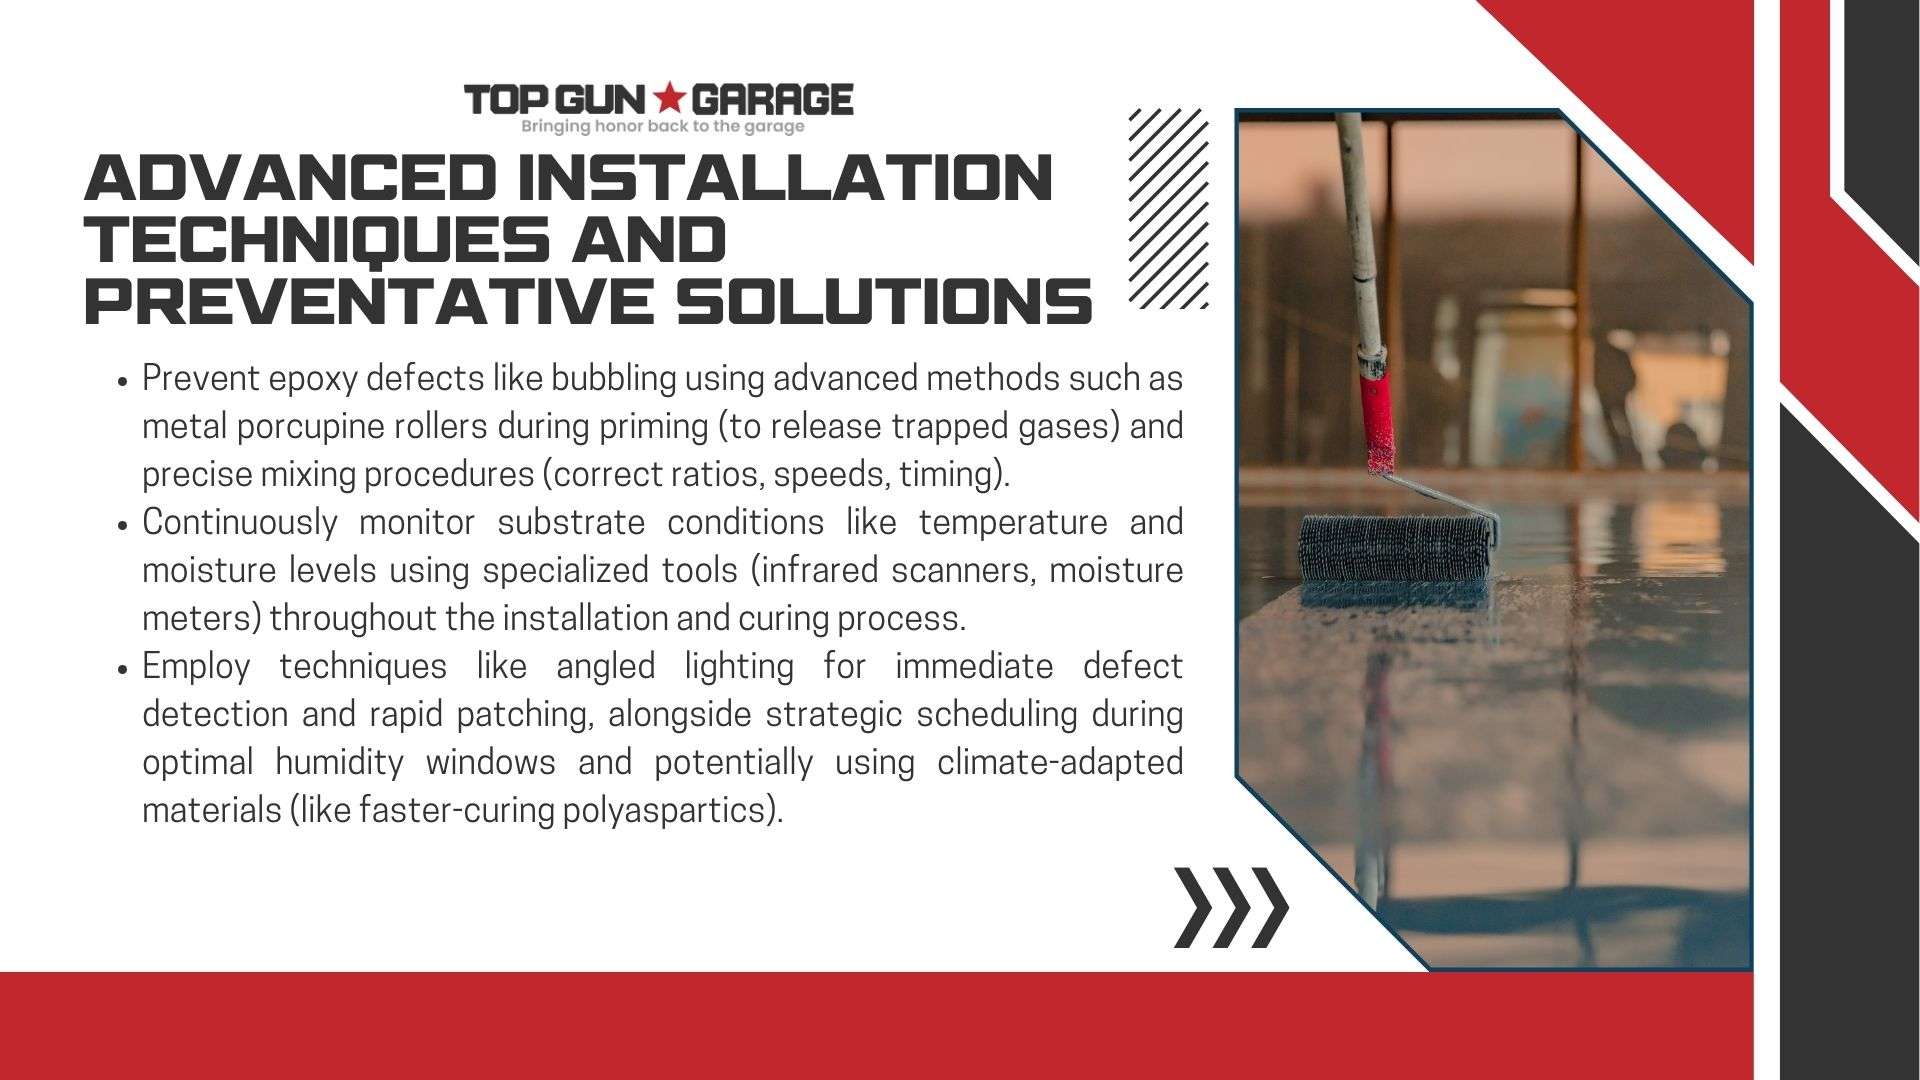 Expert installers employ advanced strategies to maintain flawless surface finishes in demanding environments. Specialized tools and timed workflows counteract humidity and temperature shifts that threaten coating integrity. Precision-driven approaches separate professional results from DIY attempts.
Professional Methods for Preventing Bubble Formation
Seasoned contractors use metal porcupine rollers during primer application. These tools release trapped gases before topcoats seal the surface. Infrared scanners map substrate temperatures, while moisture meters verify content stays below critical thresholds. Re-priming strategies activate when sensors detect vapor pressure changes. Top Gun Garage’s Naples team schedules installations during optimal humidity windows. Their process reduces air entrapment by 80% compared to standard methods.Essential Equipment and Correct Mixing Procedures
High-shear mixers ensure uniform material consistency without introducing bubbles. Technicians follow strict speed guidelines:- 450 RPM for base components
- 90-second blending cycles
- Immediate transfer to application tools
How Contractors Address Surface Imperfections
Immediate defect detection allows real-time corrections. Professionals use angled lighting to spot pinholes during flash-off periods. Rapid patching blends repairs seamlessly into surrounding areas.| Coating Type | Cure Time | Humidity Tolerance |
|---|---|---|
| Traditional Epoxy | 24-48 hours | Up to 65% RH |
| Polyaspartic | 2-4 hours | Up to 85% RH |
Conclusion
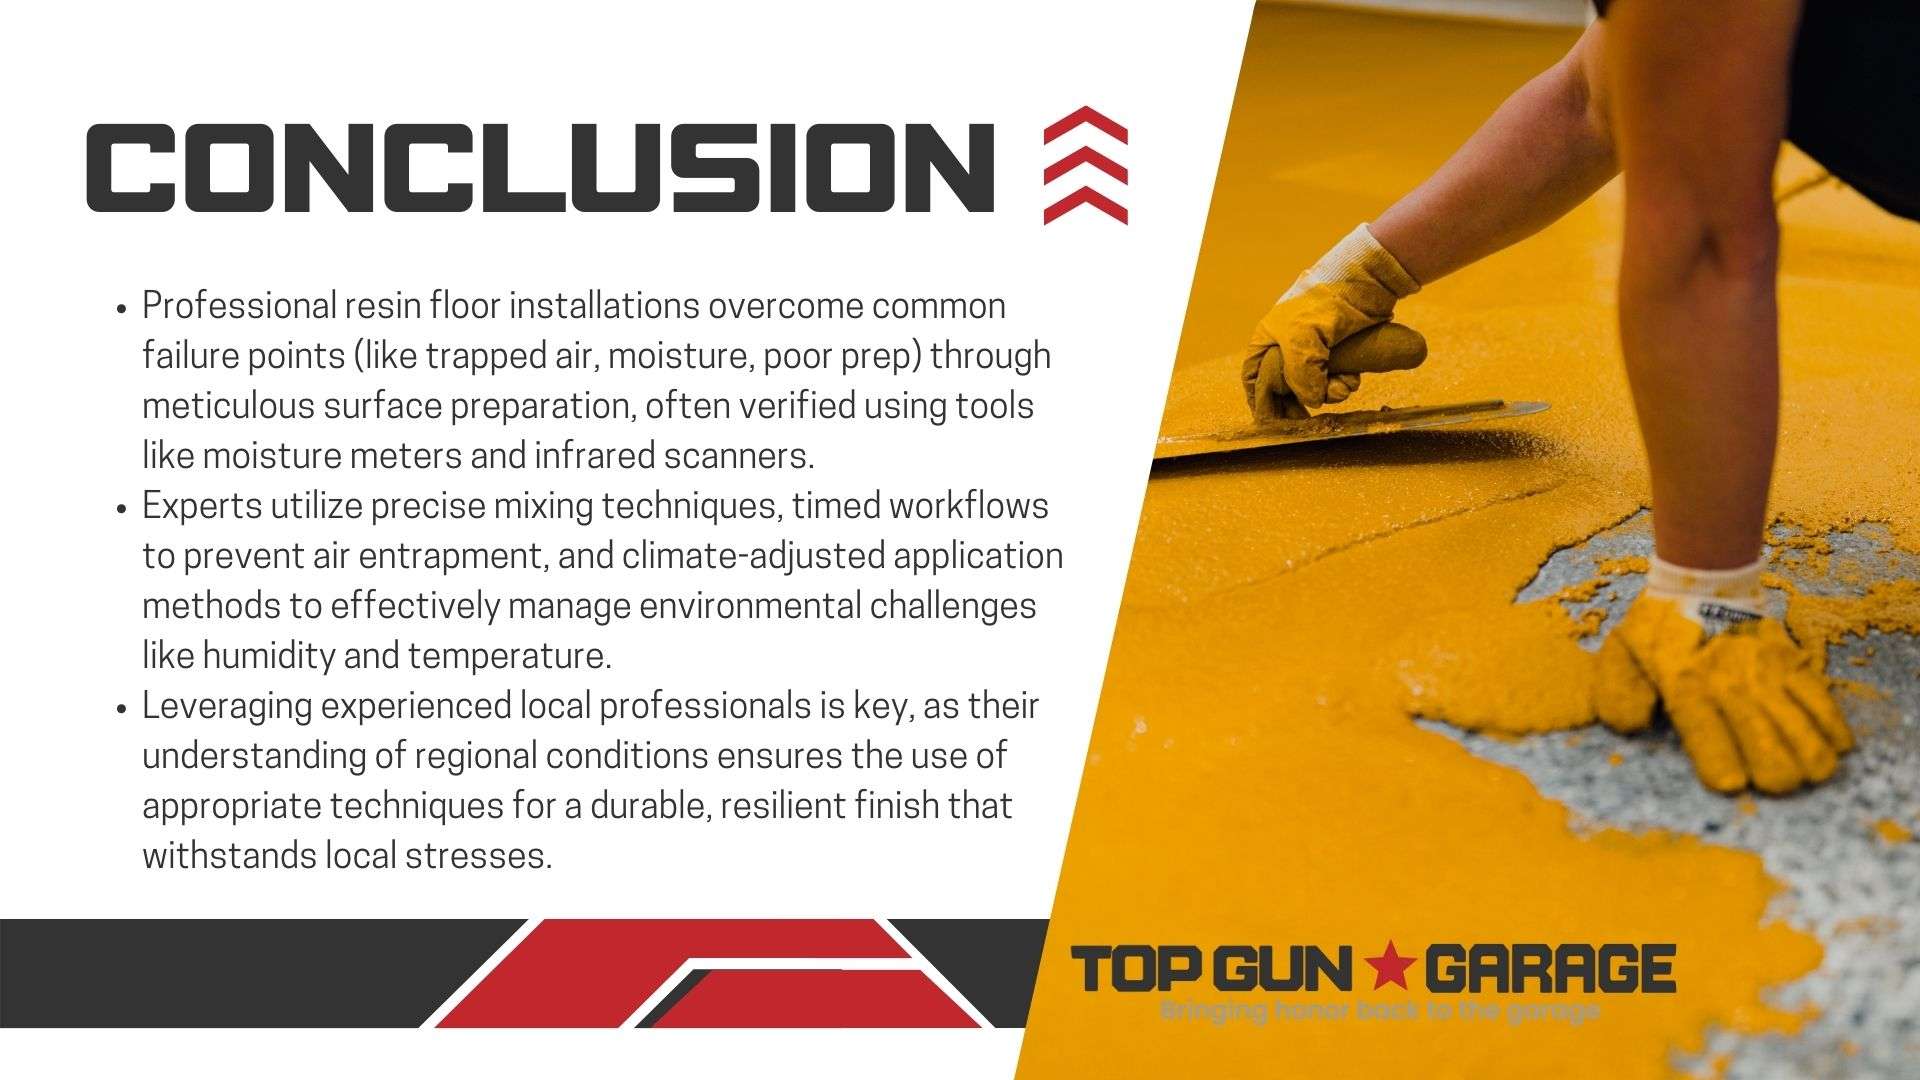 Professional flooring installations demand precision in challenging environments. Three core factors drive coating imperfections: trapped air, excess moisture, and inadequate concrete preparation. Advanced techniques like substrate scanning and climate-adjusted application methods address these issues effectively.
Surface preparation remains critical – industry data shows proper methods reduce project failures by 40%. Contractors use floor moisture testing for epoxy to ensure optimal conditions before application. Correct mixing ratios and timed workflows prevent air entrapment during the process.
Choosing experienced professionals makes all the difference. Local experts understand regional humidity patterns and substrate behaviors. Their expertise ensures durable finishes that withstand environmental stresses.
For lasting results in coastal areas, trust Top Gun Garage’s Naples-based team. With 15+ years specializing in moisture control and concrete repairs, they deliver bubble-free surfaces. Call (239) 488-7000 for a consultation on achieving flawless, long-lasting flooring.
Professional flooring installations demand precision in challenging environments. Three core factors drive coating imperfections: trapped air, excess moisture, and inadequate concrete preparation. Advanced techniques like substrate scanning and climate-adjusted application methods address these issues effectively.
Surface preparation remains critical – industry data shows proper methods reduce project failures by 40%. Contractors use floor moisture testing for epoxy to ensure optimal conditions before application. Correct mixing ratios and timed workflows prevent air entrapment during the process.
Choosing experienced professionals makes all the difference. Local experts understand regional humidity patterns and substrate behaviors. Their expertise ensures durable finishes that withstand environmental stresses.
For lasting results in coastal areas, trust Top Gun Garage’s Naples-based team. With 15+ years specializing in moisture control and concrete repairs, they deliver bubble-free surfaces. Call (239) 488-7000 for a consultation on achieving flawless, long-lasting flooring.
FAQ
What causes bubbles to form in epoxy floor coatings?
Bubbles often result from moisture trapped beneath the surface or air entrapment during mixing. High humidity and rapid temperature changes in Southwest Florida can worsen these issues by affecting the curing process.
How does humidity impact installation in coastal regions?
Elevated humidity levels slow evaporation, leading to improper curing. Contractors use moisture-tolerant products and monitor ambient conditions to ensure a durable, bubble-free finish.
Can existing surface flaws lead to bubbling after application?
Yes, cracks or uneven substrates trap air and moisture. Professionals grind or patch imperfections before applying coatings to enhance adhesion and longevity.
What equipment ensures a smooth, professional finish?
High-quality rollers, spike shoes, and industrial mixers reduce air pockets. Proper tool selection prevents uneven spreading, which contributes to surface defects.
Are certain products better suited for humid climates?
Moisture-resistant primers and 100% solid epoxy coatings perform well in high-humidity areas. These solutions mitigate risks linked to temperature fluctuations and substrate challenges.
How long should surfaces cure before use?
Most installations require 24–72 hours, depending on humidity and product specifications. Rushing this phase risks premature wear and reduces the system’s durability.