 Skip to content



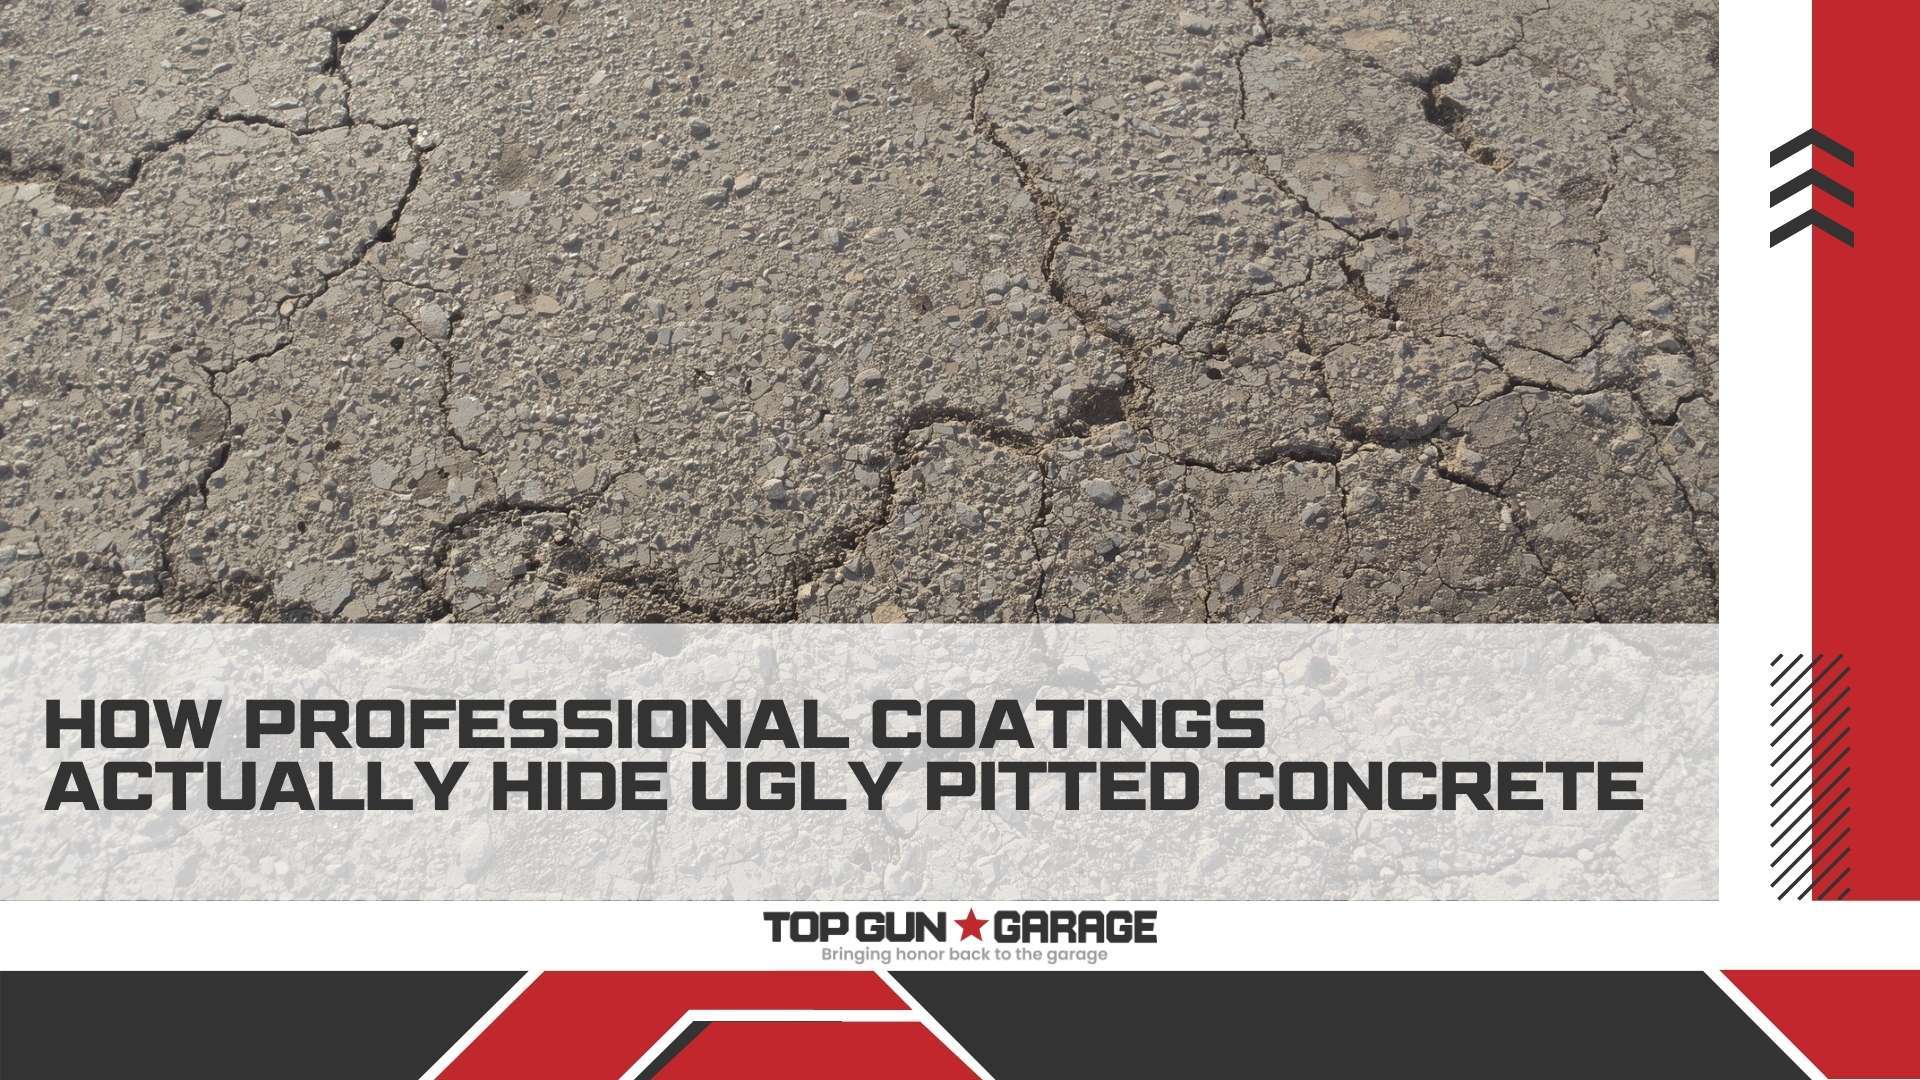
Pitted garage floors don’t have to stay that way. If your concrete looks like it’s been through battle, there’s a practical solution that many Southwest Florida homeowners are discovering. Garage floor pitting repair coating systems do more than just cover damage. They fix it, protect it, and transform it into something that looks factory-finished.
This article explains what causes concrete pitting, how professional coating systems actually work, and what to expect from a proper installation. Whether you have a few scattered pits or widespread damage, understanding the repair process helps you make an informed decision.
Overview
Concrete pitting creates small crater-like depressions across garage floors. While annoying to look at, these holes also create places where moisture, oil, and debris collect. Left alone, pitting gets worse over time. Professional coating systems address the problem through surface preparation, filling, and multi-layer protection. This creates a uniform surface that hides imperfections while adding durability that bare concrete simply cannot provide.
Key Takeaways
- Pitting forms from improper curing, chemical exposure, freeze-thaw cycles, and natural aging
- Diamond grinding prepares the surface and removes weak concrete while creating optimal coating adhesion
- Polyurea fillers repair pits permanently before coatings are applied
- Decorative flakes naturally camouflage minor imperfections while adding texture
- Multi-layer coating systems create seamless surfaces stronger than the original concrete
- Professional installation matters because proper prep determines how long the floor lasts
What Causes Concrete Pitting in Garage Floors
Understanding why pitting happens helps explain why certain repair methods work. Concrete pitting develops when small holes and craters form across the surface. These depressions range from shallow surface marks to deeper holes that seem to grow over time.
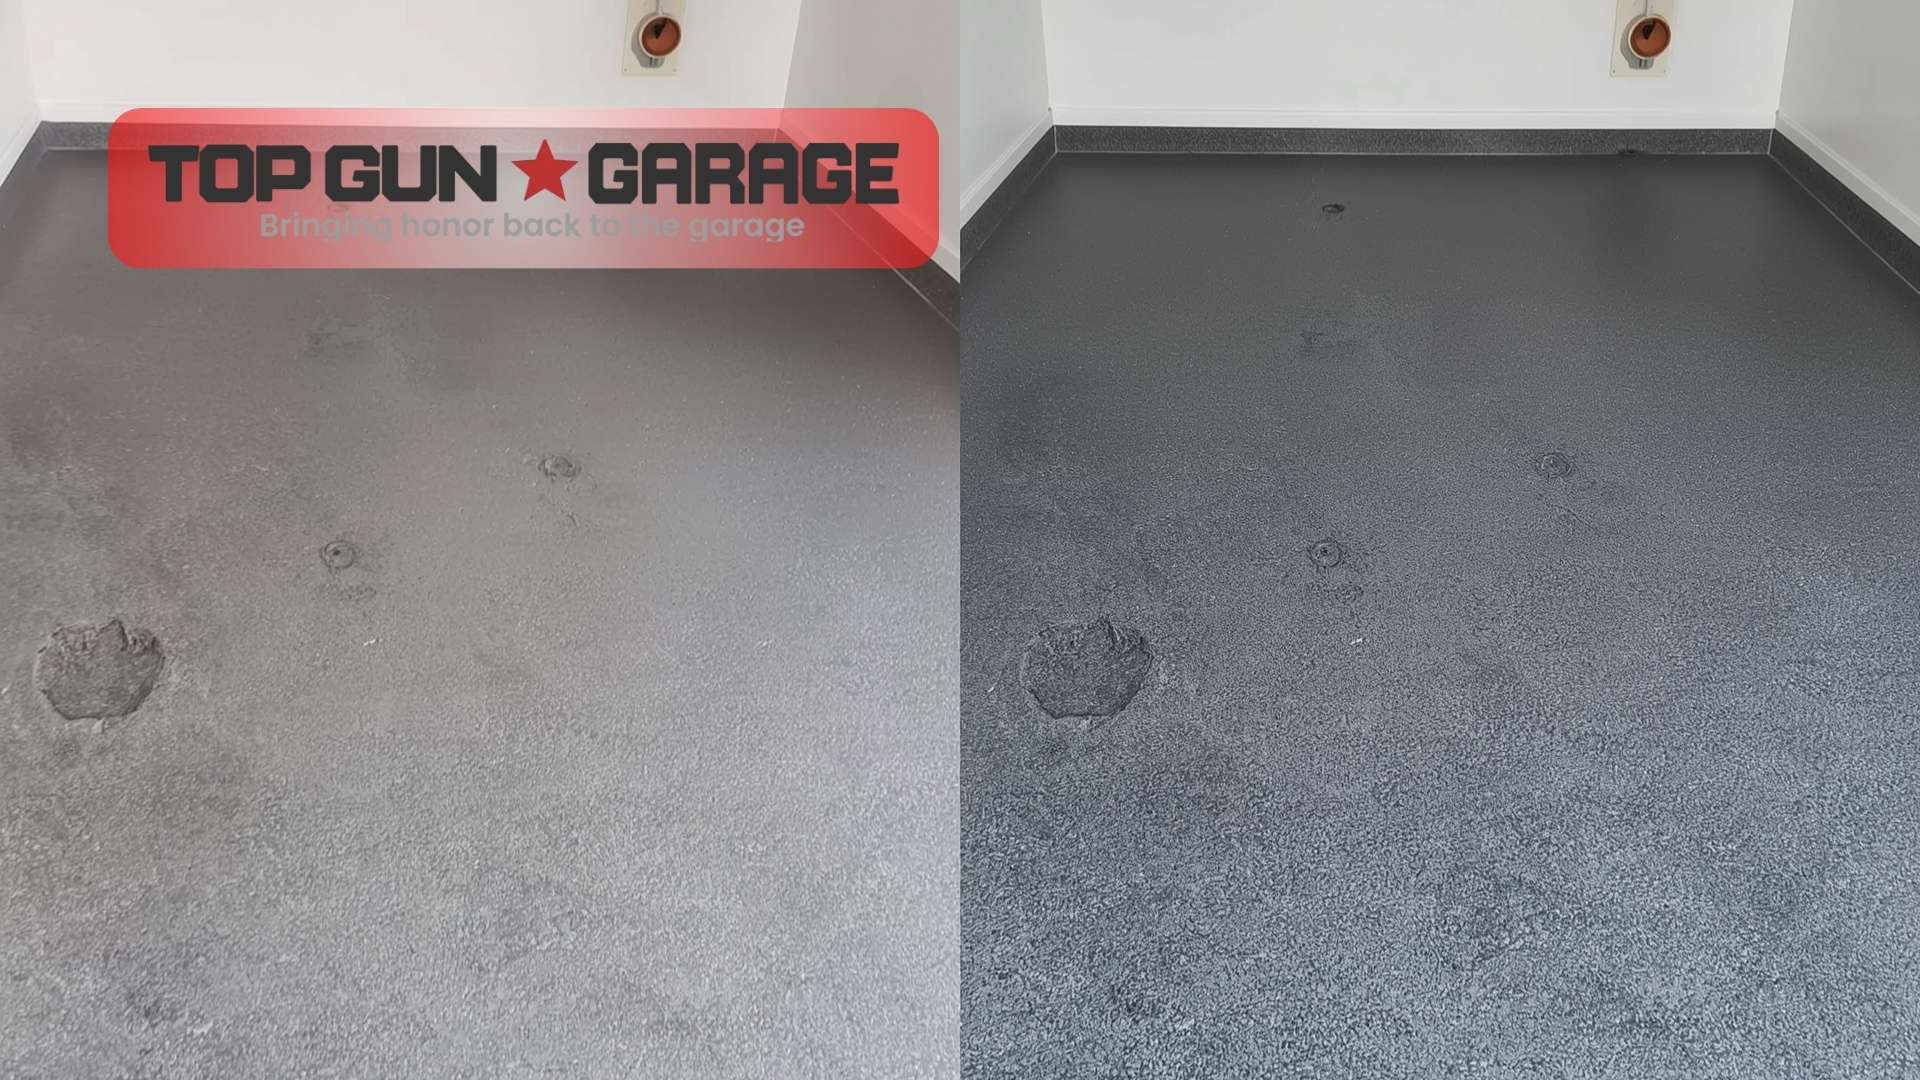
Several factors cause this damage. Improper finishing when the concrete was first poured leaves the surface vulnerable. If workers over-troweled the wet concrete or used accelerators incorrectly, the top layer becomes weak. Poor concrete mix ratios create similar problems. Too much water in the mix results in a porous surface that breaks down faster.
Chemical exposure causes significant damage in Florida garages. Road salts tracked in from trips north, battery acid drips, and certain cleaning products eat away at concrete. Hot tire pickup from vehicles also contributes. The heat from tires after driving causes the surface to soften slightly, and repeated cycles pull away the weakened material.
Moisture plays a major role in pitting progression. Water seeps into tiny pores and cracks within concrete. Temperature changes cause this moisture to expand and contract repeatedly. Over time, the stress fractures the surface layer, creating and enlarging pits. Even in Fort Myers where hard freezes are rare, temperature swings still stress concrete.
Age naturally weakens concrete surfaces. Years of foot traffic, vehicle movement, and general use wear down even properly installed floors. Pitting often appears after 10-15 years in garages that see regular use.
Why Simple Paint Won’t Fix Pitted Concrete
Some homeowners try painting over pitted floors. This approach fails for important reasons. Paint cannot fill the pits. It simply coats them. The depressions remain visible, and the thin paint layer peels away quickly because it has no solid substrate to grip inside the damaged areas.
Standard DIY epoxy kits present similar challenges. Without proper surface preparation and pit repair, thin coatings cannot create a smooth finish. They follow the contour of every imperfection, making damage more noticeable under certain lighting conditions.
Professional coating systems take a fundamentally different approach. Rather than covering over problems, they eliminate them through systematic preparation, repair, and multiple protective layers. The process transforms the floor rather than disguising it temporarily.
How Professional Surface Preparation Works
Surface preparation determines whether a coating succeeds or fails. The International Concrete Repair Institute (ICRI) establishes standards that professional contractors follow. These guidelines ensure coatings bond properly and last for years.
Diamond grinding represents the preferred preparation method for garage floors. This process uses machines equipped with diamond-impregnated discs that mechanically abrade the concrete surface. The grinding accomplishes several critical tasks simultaneously.
First, it removes the weak top layer of concrete. This layer, called laitance, consists of fine particles that accumulated on the surface when the concrete was first poured. Coatings cannot bond securely to laitance. Diamond grinding strips this material away to reveal sound concrete beneath.
Second, grinding opens the concrete’s pores. This creates texture at a microscopic level that allows coating materials to penetrate and grip. According to industry standards, coatings for residential garages typically require a Concrete Surface Profile (CSP) of 2-3. This means the surface has enough texture for mechanical bonding without being overly rough.
Third, diamond grinding levels the floor. It removes high spots, smooths transitions at control joints, and corrects minor unevenness. This matters because coating systems follow the floor’s contour. A level starting point produces a level finished surface.
Professional contractors use industrial-grade equipment for this work. Walk-behind planetary grinders handle large areas efficiently. Hand grinders address edges and corners. Dustless vacuum systems capture debris during the process, keeping the workspace clean and ensuring nothing interferes with coating adhesion.
Repairing Pits Before Coating Application
After grinding reveals the true extent of surface damage, repair work begins. This step separates professional results from disappointing DIY attempts. Every pit, crack, and void must be addressed individually.
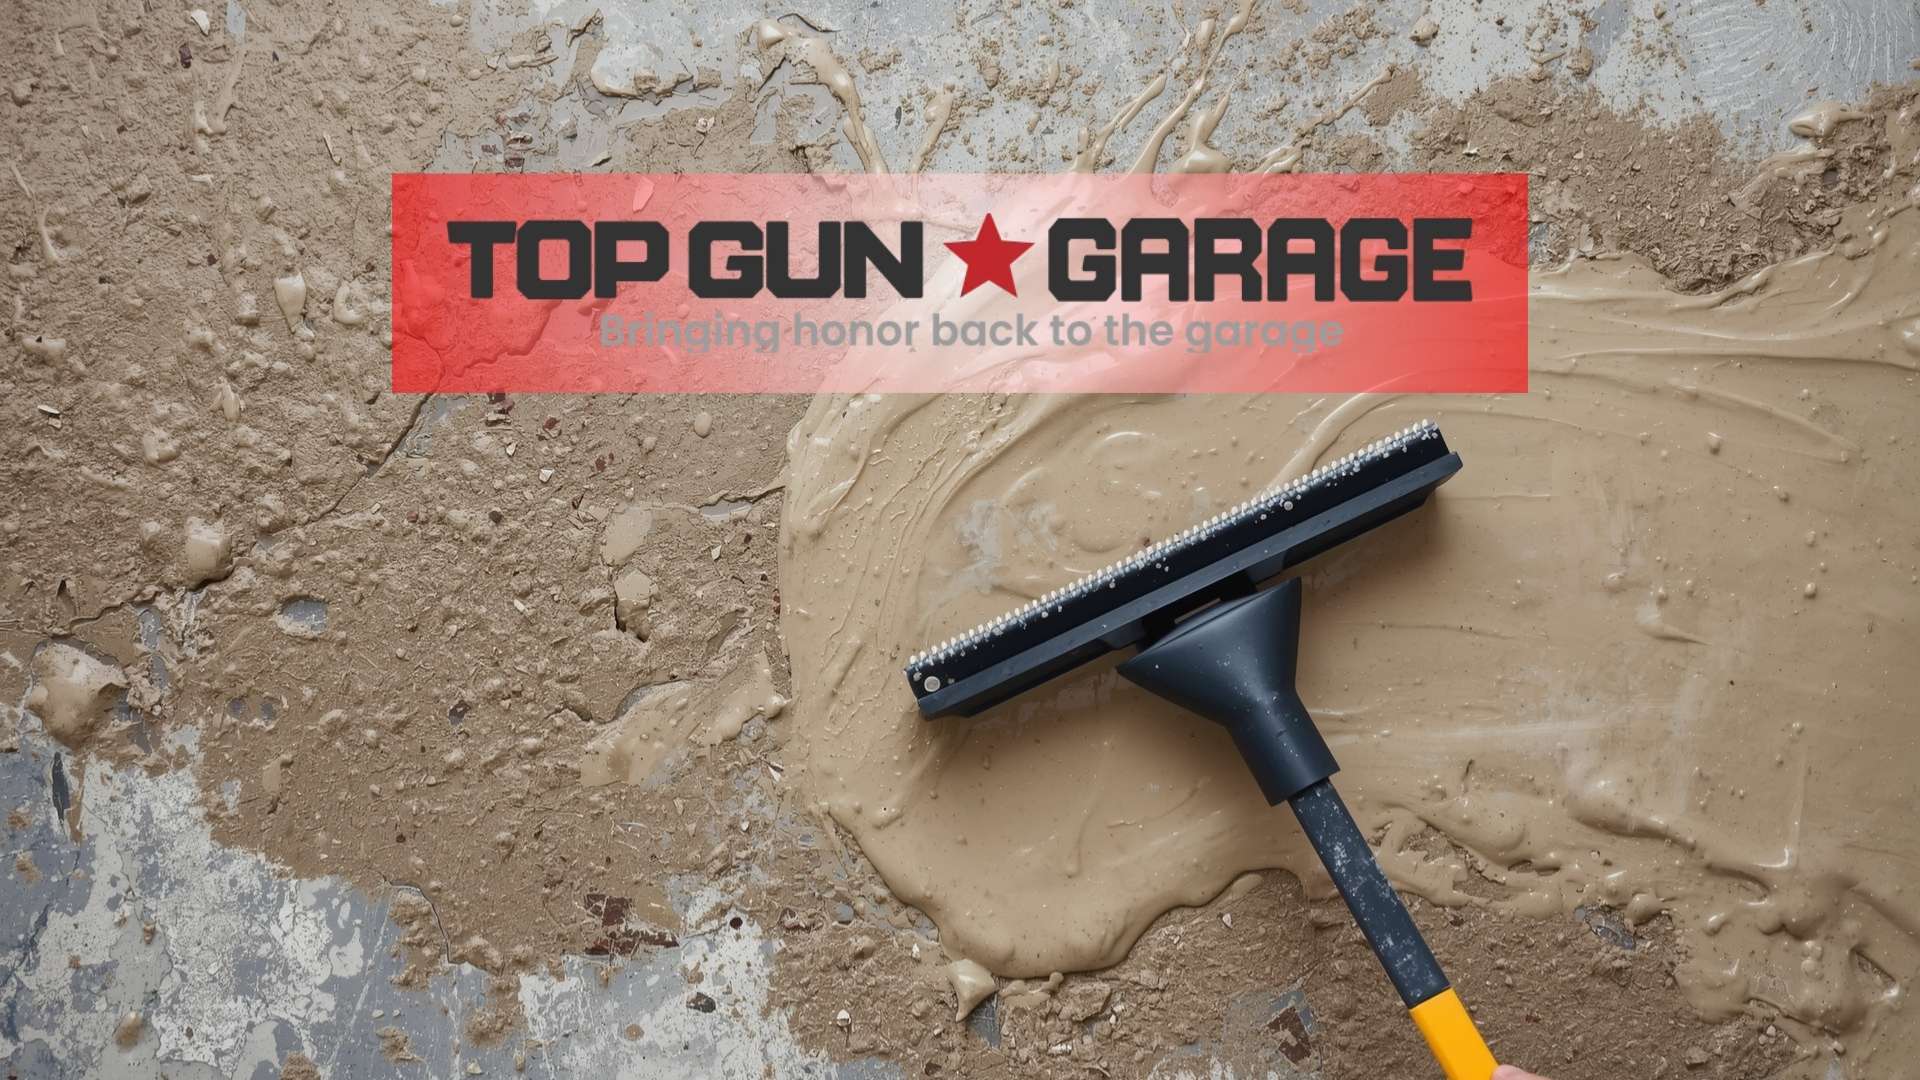
Polyurea filler compounds work well for concrete repair. These materials cure quickly and bond chemically to the concrete substrate. Unlike standard patching compounds that rely only on mechanical adhesion, polyurea forms molecular bonds that create repairs stronger than the original concrete.
For deeper pits, contractors use epoxy-based repair mortars mixed with sand aggregate. This combination fills larger voids while providing structural integrity. The sand helps the repair material shrink less during curing, preventing the common problem of patches sinking below the surrounding surface.
The repair process follows a specific sequence. First, any loose or crumbling concrete around each pit is removed with a chisel or grinder. This creates clean edges for the repair material to bond against. Second, the area is cleaned of all dust and debris. Third, filler material is applied and worked into the depression. Fourth, excess material is scraped or ground smooth once cured.
Spalling repair follows similar principles but covers larger areas where the surface has flaked away in layers. These sections require more aggressive grinding to remove all compromised material before filling begins.
The Multi-Layer Coating System Explained
Professional garage floor coatings use multiple layers, each serving a specific purpose. This systematic approach creates the seamless appearance that hides previous damage while building genuine long-term protection.
Polyurea Base Coat
The foundation layer consists of a polyurea base coat. This material bonds directly to the prepared concrete, creating the primary protective barrier. Polyurea offers exceptional flexibility. It moves with the concrete as temperature changes cause expansion and contraction. This flexibility prevents the cracking and delamination that rigid coatings like epoxy sometimes experience.
Polyurea also tolerates moisture better than many alternatives. Florida’s humidity presents challenges that some coatings cannot handle. Polyurea resists moisture vapor transmission, preventing the bubbling and peeling caused by trapped water vapor.
Decorative Flake Broadcast
While the base coat remains wet, installers broadcast decorative vinyl flakes across the entire surface. These flakes serve multiple purposes beyond appearance. The random pattern naturally camouflages minor surface imperfections that remain after repairs. Small variations in the repaired areas become invisible within the overall visual texture.
The flake system also provides practical benefits. The texture improves traction, reducing slip hazards even when the floor gets wet. The varied colors hide everyday dirt and dust between cleanings, keeping the floor looking better longer with less maintenance.
Polyaspartic Clear Top Coat
The final layer seals everything beneath it. Polyaspartic top coats offer UV stability that prevents yellowing over time. Standard epoxy coatings amber when exposed to sunlight streaming through garage doors and windows. Polyaspartic maintains its clarity for years.
This top coat also provides the high-gloss finish that makes coated floors so distinctive. Light reflects off the sealed surface, brightening the entire space. The sealed surface resists staining from oil, chemicals, and other common garage contaminants. Cleanup becomes simple because liquids cannot penetrate the coating.
Why Decorative Flakes Help Hide Imperfections
The visual effect of decorative flakes deserves additional explanation. When pits are properly filled and coated, they become level with the surrounding surface. However, lighting conditions sometimes reveal slight variations in texture or sheen. The flake broadcast solves this potential problem elegantly.
Random flake distribution creates a busy visual pattern. The eye perceives the overall texture rather than focusing on any single point. Minor variations in the repaired areas simply blend into the surrounding visual noise. This principle applies throughout the floor, making the coating system naturally forgiving of small inconsistencies.
Top Gun Garage offers multiple color options in their flake systems. Homeowners can choose combinations that complement their home’s style or create contrast that makes the garage feel like a showroom. Popular choices in Southwest Florida include neutral tones that hide dirt and coastal-inspired blues and grays.
Professional Installation vs. DIY Attempts
The gap between professional results and DIY attempts comes down to equipment, materials, and experience. Understanding these differences explains why professional work costs more but often proves more economical over time.
Equipment Differences
Professional contractors use commercial-grade diamond grinders that cost thousands of dollars. These machines remove material consistently across large areas, creating uniform surface preparation. Rental grinders available to homeowners lack the power and precision of professional equipment.
Dustless grinding systems represent another major equipment difference. Professional vacuums capture particles during grinding, preventing contamination that could interfere with coating adhesion. DIY grinding creates massive dust problems and often leaves residue on the floor.
Material Quality
Professional-grade polyurea and polyaspartic coatings differ substantially from consumer products. They contain higher percentages of solids, meaning more actual coating material per gallon. They cure faster and harder. They resist chemicals, abrasion, and UV exposure more effectively.
Consumer coating kits from home improvement stores use diluted formulations designed for easy application rather than maximum performance. The difference becomes apparent within a few years when DIY coatings begin peeling, yellowing, or wearing through.
Experience Matters
Professional installers understand how temperature and humidity affect coating application. They know how to adjust working techniques for Florida’s climate conditions. They recognize when concrete has moisture problems that must be addressed before coating. This experience prevents failures that waste time and money.
What to Expect During Professional Installation
Knowing what happens during installation helps homeowners prepare properly. The typical coating process follows predictable steps over one to two days depending on floor size and condition.
Day One: Preparation and Repair
Contractors begin by moving stored items and protecting adjacent surfaces. Diamond grinding follows, typically taking several hours for a standard two or three-car garage. The grinding creates significant noise but minimal dust with proper vacuum equipment.
After grinding, repair work addresses all identified damage. Polyurea fillers cure within about 25 minutes, allowing multiple repairs in sequence. Once repairs harden, installers grind any excess material flush with the surrounding surface.
The floor receives final cleaning to remove all dust and debris. Some contractors use a degreaser or light acid wash depending on the floor’s history. The prepared surface must be absolutely clean before coating application begins.
Day Two: Coating Application
Base coat application happens quickly. Professional polyurea products allow only limited working time before they begin curing. Installers work in sections, applying product and broadcasting flakes systematically across the floor.
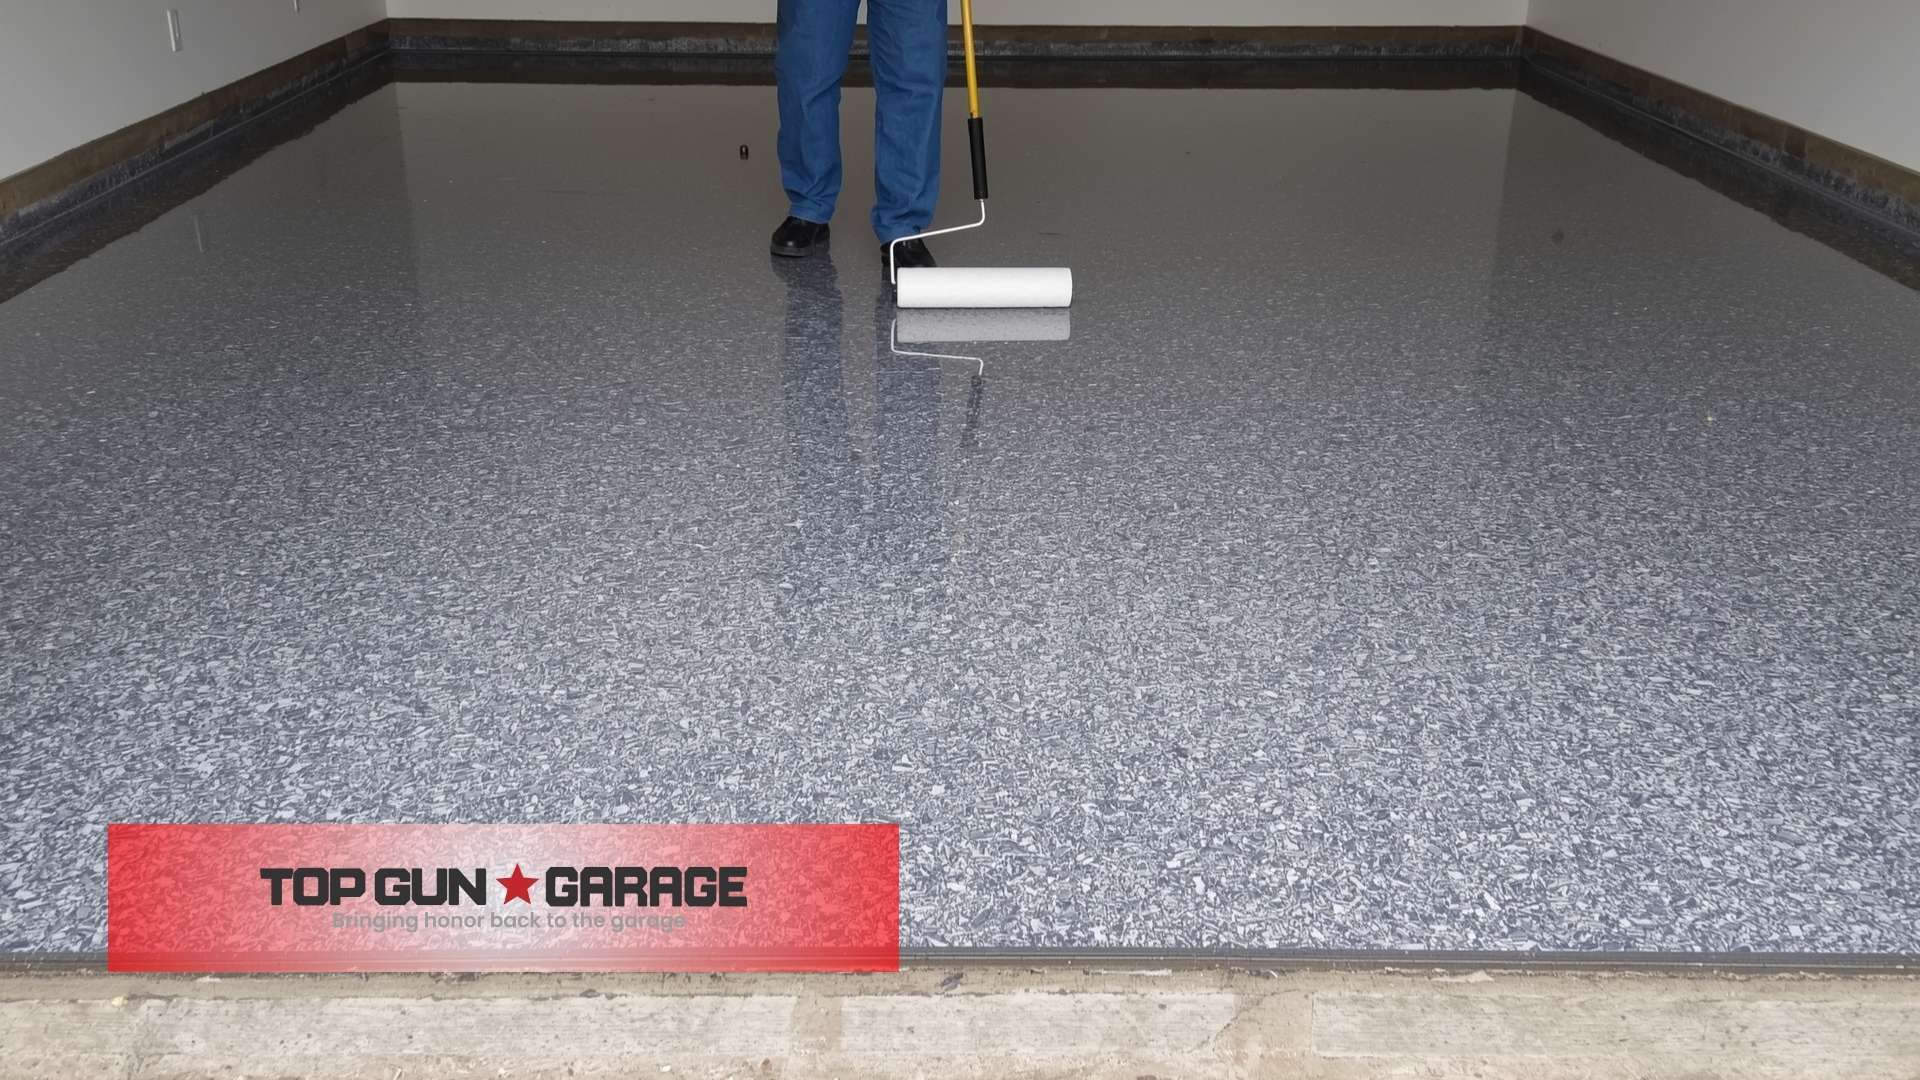
After the base coat cures, typically within a few hours, the top coat goes on. This layer spreads smoothly over the flake-embedded base, locking everything in place and creating the final glossy finish.
Cure time varies by product and conditions. Most polyaspartic systems allow foot traffic within 24 hours and vehicle traffic within 48-72 hours. Contractors provide specific guidance based on the products used and current weather conditions.
Maintaining Your Newly Coated Floor
Once installed, coated floors require minimal maintenance. Regular sweeping removes grit that could eventually scratch the surface. Occasional mopping with a pH-neutral cleaner keeps the floor looking new.
Spills should be wiped up reasonably promptly, though the sealed surface prevents staining even if liquids sit for a while. Avoid harsh chemicals and acidic cleaners that could damage the coating over time.
Many contractors offer maintenance guidance specific to their coating systems. Following these recommendations protects your investment and keeps the warranty valid.
Frequently Asked Questions
Can professional coatings fix severely pitted concrete?
Yes, professional systems can address severe pitting through extensive repair work before coating. Deeper damage requires more filler material and longer preparation, but the multi-layer coating system still creates a smooth, uniform finish. Extremely damaged floors may need resurfacing with a cementitious overlay before coating application.
How long does a professional floor coating last?
Quality polyurea and polyaspartic coatings typically last 15-20 years with proper maintenance. This far exceeds the 3-5 year lifespan of consumer-grade products. Professional installation with proper preparation is essential for achieving maximum longevity.
Will the repaired pits show through the coating?
Properly filled and ground repairs become invisible under a full flake coating system. The decorative flakes create a visual pattern that naturally hides minor variations. Only very large repairs might be slightly detectable under certain lighting if not perfectly flush.
How much does garage floor pitting repair and coating cost?
Pricing varies based on floor size, condition, and coating system chosen. Most Fort Myers area installations range from $3-8 per square foot including preparation and coating. Severely damaged floors requiring extensive repairs cost more.
Can I use my garage while the coating cures?
Coating systems require the garage to remain clear during application and initial curing. Foot traffic is typically allowed within 24 hours. Vehicle traffic requires 48-72 hours depending on the product. Plan accordingly by parking outside during this period.
What happens if pitting develops under the coating later?
Quality coatings seal the concrete, preventing moisture intrusion that causes further deterioration. If damage occurred before coating, it won’t progress after sealing. New pitting cannot develop under a properly bonded coating system.
Do I need to repair every small pit before coating?
Minor surface pitting often fills naturally during the coating process as product flows into small depressions. Significant pits require pre-filling to ensure proper coverage and a smooth final surface. Professional contractors evaluate each floor individually.
How do professional coatings handle moisture problems?
Professional contractors test for moisture vapor transmission before coating application. Excessive moisture requires mitigation before coating. Some systems include moisture vapor barriers as part of the installation when testing indicates elevated levels.
Will hot tires damage the coated surface?
Quality polyaspartic top coats resist hot tire pickup that affects some coatings. The chemical composition prevents softening under heat. Vehicles can park on properly installed coatings without concern about tire marks.
How soon after installation can I return to normal garage use?
Most professional systems allow full vehicle traffic within 72 hours. Heavy equipment or activities that might stress the surface should wait a full week. The coating continues strengthening for 30 days after application.
Sources
- International Concrete Repair Institute (ICRI) Guideline 310.2R-2013: Selecting and Specifying Concrete Surface Preparation – https://store.icri.org/item/3102r2013-english-pdf-selecting-concrete-surface-preparation-sealers-coatings-polymer-overlays-concrete-repair-342521
- Concrete Network – Concrete Pitting: Causes, Prevention & Best Repair Methods – https://www.concretenetwork.com/concrete-repair/pitting.html
Ready to transform your pitted garage floor into a showroom-quality surface? Top Gun Garage specializes in professional floor coatings throughout Southwest Florida, including Naples, Fort Myers, Bonita Springs, Estero, and Marco Island. Our multi-layer polyurea and polyaspartic systems hide existing damage while protecting your concrete for decades.
Get a Free Estimate today and see what your garage could become.