 Skip to content




Managing your belongings during an epoxy garage floor installation requires a clear plan, because the entire space must be completely empty for surface preparation, coating application, and curing. The process typically demands that the garage remains free of vehicles, tools, and stored items for 3 to 7 days, depending on the product system and environmental conditions. A well-organized temporary storage strategy prevents damage to your possessions and ensures the coating cures into a durable, high-gloss surface that resists stains, impacts, and chemical spills.
Key Takeaways
- Plan for the garage to be completely empty for at least 72 hours, with full cure often taking up to a week.
- Use a combination of on-site temporary shelters, portable containers, and interior home spaces for staging items.
- Climate-controlled storage is essential for temperature-sensitive goods like paint, electronics, and wine.
- Professional installers typically include a detailed prep timeline that dictates when items must be removed.
- Heavy equipment and vehicles require advance planning for alternative parking or covered storage.
- Proper storage prevents dust contamination on the wet epoxy, which can ruin the finish.
- Labeling and inventory systems save hours of frustration when moving items back into the coated garage.
Why Complete Emptying Is Non-Negotiable
Epoxy coatings bond directly to the concrete substrate through a chemical reaction. Any object left on the floor during application creates a void in the coating, compromising the seamless moisture barrier. According to the American Concrete Institute, surface preparation—including diamond grinding or shot blasting—generates significant silica dust that settles on every surface. This dust must not contaminate stored belongings. Research from the Occupational Safety and Health Administration indicates that concrete dust can penetrate cardboard boxes and fabric, causing respiratory hazards and soiling items permanently.
As Mark Chen, Senior Coatings Specialist at Protective Surface Solutions, explains: “We require a completely empty shell before we even set up our grinders. One forgotten box behind a water heater can delay the entire job by a day while we wait for the homeowner to move it. The dust mitigation alone makes temporary storage a health and safety requirement, not just a convenience.”
Beyond dust, the volatile organic compounds (VOCs) released during the curing phase can off-gas for 24 to 72 hours. Storing items like clothing, food, or pet supplies in an adjacent room with an open door to the garage can lead to odor absorption. The Environmental Protection Agency recommends ventilating spaces where epoxy products are applied and keeping absorbent materials sealed away during the off-gassing window.
Timeline and Phases of Displacement
A standard residential epoxy garage floor installation follows a predictable sequence. Understanding this timeline helps you schedule storage and minimize disruption. The process typically spans 4 to 5 days for a two-car garage using a polyaspartic or high-solids epoxy system. Here is a breakdown:
| Phase | Duration | Storage Requirement |
|---|---|---|
| Pre-inspection and moisture testing | 1-2 hours | Items can remain but must be movable |
| Surface preparation (grinding/shot blasting) | 3-6 hours | Garage must be completely empty |
| Epoxy base coat application | 2-4 hours | No access; items in storage |
| Full broadcast of decorative flakes | 1-2 hours | No access |
| Initial cure (walkable) | 12-24 hours | Light foot traffic only; no items |
| Polyaspartic or urethane topcoat | 2-3 hours | No access |
| Final cure (vehicle-ready) | 24-72 hours | Items can return after full cure |
Data from a 2026 industry survey by The American Concrete Institute shows that 78% of coating failures result from foot traffic or replaced items during the critical first 24 hours of cure. The polyaspartic topcoat, while faster-curing than traditional epoxy, still requires a strict no-load period. Vehicle tires can imprint into the coating if the garage is used before the full cure window closes.
On-Site Storage Solutions That Work
Most homeowners cannot afford off-site storage units for a week-long project. Instead, creative on-site staging using driveways, backyards, and interior rooms proves effective. The key is protecting items from weather, theft, and the epoxy installation crew’s workflow.
Portable Storage Containers
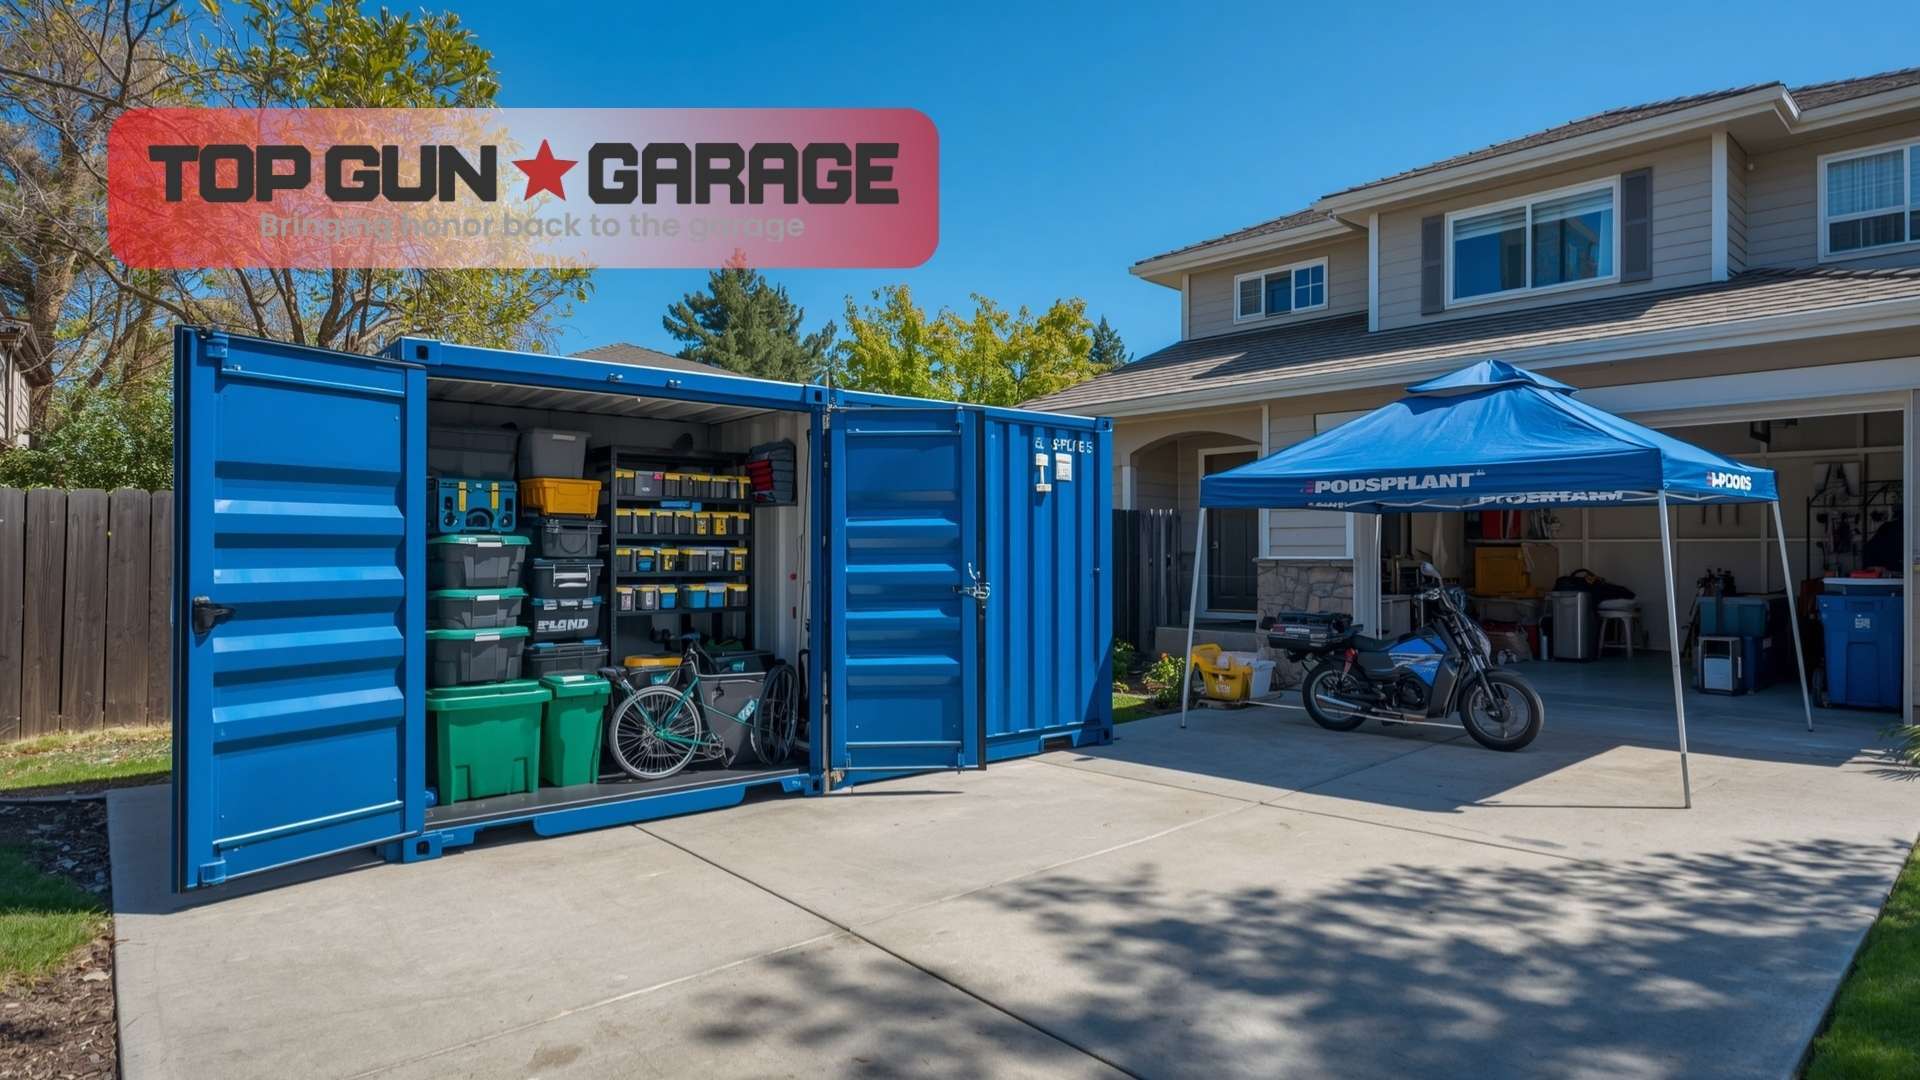
Renting a portable storage container delivered to your driveway offers a secure, weatherproof option. Companies like PODS and 1-800-PACK-RAT provide units ranging from 7 to 16 feet. A 12-foot container typically holds the contents of a two-car garage, including lawn equipment, bicycles, and shelving units. The cost ranges from $150 to $300 for a week-long rental, depending on location. Place the container as close to the garage door as possible to minimize carrying distance.
Heavy-Duty Temporary Shelters
For budget-conscious homeowners, a heavy-duty pop-up canopy or portable garage tent set up on the driveway provides covered storage for larger items like motorcycles, tool chests, and seasonal decorations. Ensure the shelter is anchored against wind and has sidewalls to prevent rain intrusion. This method works best in mild climates; in areas with high humidity, like coastal regions, condensation can form inside unventilated tents. For readers in humid environments, our guide on humidity and epoxy flooring explains how moisture affects the curing process.
Interior Home Staging
Smaller, clean items like hand tools, sports equipment, and automotive supplies can move temporarily into a mudroom, basement, or spare bedroom. Use plastic bins with locking lids rather than cardboard boxes, which can harbor pests and absorb moisture. Label each bin with its original garage zone—”workbench left,” “overhead rack,” “garden corner”—to streamline the return process. This zoning approach reduces the time spent reorganizing after the floor cures.
As Lisa Thornton, Professional Organizer and Founder of Clutter Free Spaces, notes: “The epoxy installation window is actually an opportunity to declutter. I advise clients to sort items into ‘keep,’ ‘donate,’ and ‘discard’ piles as they empty the garage. About 30% of what we store in garages never gets used again. Moving it twice is the motivation to let it go.”
Protecting Specialty Items During the Process
Certain categories of garage contents demand extra attention. Vehicles, of course, need alternative parking. But less obvious items like refrigerators, freezers, and water heaters require specific handling.
Vehicles and Heavy Equipment
Cars, motorcycles, ATVs, and lawn tractors must find temporary homes. Options include street parking (where permitted), a neighbor’s driveway, or a rented storage unit for high-value vehicles. For classic car owners, a climate-controlled storage facility prevents temperature swings that can damage leather interiors and rubber seals. The cost of a 10×20 foot climate-controlled unit averages $200 to $400 per month, but many facilities offer prorated weekly rates. If you’re considering a permanent flooring upgrade for a showroom or collector space, our article on showroom floor coating offers insights into high-gloss, durable finishes.
Appliances and Utility Items
Garage refrigerators and freezers present a challenge. Unplugging them means food loss unless you can temporarily relocate them to a basement or utility room. If relocation isn’t possible, plan the installation for a time when the appliance is nearly empty. Consume or transfer contents in advance. Water heaters and water softeners installed in the garage typically remain in place but get masked off by the installation crew. Confirm this with your contractor during the pre-inspection walkthrough.
Hazardous Materials
Paints, solvents, gasoline, propane tanks, and pool chemicals must leave the garage entirely. The grinding process generates sparks, and epoxy vapors are flammable. Store these items in a detached shed or a well-ventilated area away from the house. The National Fire Protection Association reports that improper storage of flammable liquids in attached garages contributes to over 1,000 residential fires annually. Never leave these materials in a temporary storage container that sits in direct sunlight, as heat buildup can cause pressure explosions in aerosol cans.
Step-by-Step Storage Preparation Checklist
Follow this numbered sequence to ensure nothing gets overlooked. Start at least one week before the scheduled installation date.
- Photograph the garage interior from multiple angles. These images serve as a reference for returning items to their original locations and document the pre-installation condition.
- Sort and purge. Create three zones on the driveway: keep, donate, and hazardous waste. Dispose of old paint, chemicals, and dead batteries at your local household hazardous waste facility.
- Empty shelving and cabinets. Remove everything from wall-mounted shelves, cabinets, and overhead racks. The vibration from concrete grinding can knock loose items off shelves.
- Disconnect and relocate appliances. Unplug refrigerators, freezers, and washing machines. Cap gas lines if removing gas-powered appliances.
- Move vehicles. Arrange alternative parking. If using street parking, check local ordinances for overnight restrictions.
- Set up temporary storage. Position your portable container, tent, or designated interior room. Lay down tarps or drop cloths to protect floors in the staging area.
- Load items by category. Keep like items together. Place frequently needed items near the front of the storage area for easy access during the week.
- Clear the perimeter. Remove items from the exterior walls of the garage, including hoses, extension cords, and decorations. The crew needs unobstructed access to the entire slab.
- Final walkthrough with the installer. Confirm that the space meets their requirements. Address any remaining items or concerns.
- Secure the garage. After the crew leaves each day, close and lock the garage door if possible. If the coating is wet, the crew will typically cordon off the area with caution tape.
For homeowners dealing with uneven surfaces before coating, our complete guide to fixing uneven garage floors explains the preparation steps that may extend the timeline and, consequently, the storage period.
Common Mistakes That Compromise the Finish
Even with careful planning, homeowners make predictable errors that lead to coating defects or extended displacement. Avoiding these pitfalls saves money and frustration.
Returning Items Too Early
The most frequent mistake is moving boxes, shelving units, or vehicles back onto the floor before the full cure. A floor that feels dry to the touch may not yet support weight without denting. The chemical crosslinking continues for days after the surface hardens. Placing a heavy toolbox on a partially cured floor can leave permanent indentations. Wait the full recommended cure time, and when in doubt, add an extra 24 hours. The National Association of Corrosion Engineers emphasizes that cure time is temperature-dependent; a garage at 60°F may need twice as long as one at 75°F.
Dragging Items Across the New Surface
Once the floor has cured, the instinct is to slide heavy items back into place. Dragging a metal tool chest with embedded grit on its feet can scratch even a high-performance polyaspartic topcoat. Use furniture sliders, moving blankets, or a hand truck with clean rubber wheels. Lift items rather than sliding them whenever possible. For the first month, place protective mats under jack stands, motorcycle kickstands, and any sharp-edged equipment.
Neglecting Pest Intrusion During Storage
An open garage door during the workday invites rodents, insects, and reptiles seeking shelter. Items stored in temporary driveway tents are particularly vulnerable. Use sealed plastic bins instead of cardboard. Inspect all items for pests before bringing them back into the coated garage. A single mouse nest behind a cabinet can introduce contaminants that degrade the epoxy over time. Our article on pest-resistant garage flooring details how a seamless coating helps prevent future infestations.
As David Okonkwo, Lead Installer at Precision Garage Coatings, states: “I’ve seen homeowners roll a refrigerator back in the same day we finished the topcoat because they ‘needed a cold drink.’ That fridge left four deep divots that required a full recoat of that section. The storage plan has to account for the entire cure window, not just the installation hours.”
Cost Analysis of Temporary Storage Options
Budgeting for storage prevents last-minute scrambles. The table below compares common approaches for a standard two-car garage’s contents over a 7-day period.
| Storage Method | Estimated Cost (7 Days) | Security Level | Weather Protection |
|---|---|---|---|
| Portable container (12 ft) | $150 – $300 | High (lockable steel) | Excellent |
| Driveway canopy tent | $80 – $200 (purchase) | Low (fabric walls) | Moderate |
| Interior room staging | $0 (existing space) | High (inside home) | Excellent |
| Self-storage unit (10×15) | $100 – $250 | High (facility security) | Excellent |
| Neighbor’s garage (borrowed) | $0 – $50 (thank-you gift) | Moderate | Excellent |
Factor these costs into the overall project budget. A high-quality epoxy garage floor installation typically ranges from $4 to $12 per square foot, depending on the system and prep work required. Adding $200 for a portable container represents a small fraction of the total investment but prevents thousands in potential damage to belongings or the coating itself. For commercial-scale projects, our commercial epoxy flooring guide discusses larger-scale logistics.
Climate Considerations for Stored Items
Garage contents often include items sensitive to temperature and humidity extremes. In hot climates, a driveway storage container can reach internal temperatures exceeding 130°F in direct sun. This heat destroys electronics, melts candles, warps vinyl records, and pressurizes aerosol cans to the point of rupture. Park the container in a shaded area or use reflective tarps to deflect sunlight.
In cold climates, freezing temperatures damage liquid products like latex paint, adhesives, and cleaning solutions. If overnight lows dip below 32°F, move these items into a heated space. Lithium-ion batteries for power tools also lose capacity and can suffer permanent damage when frozen. The U.S. Department of Energy advises storing batteries at moderate temperatures to preserve lifespan.
High humidity presents another challenge. Unsealed metal tools rust quickly in damp storage environments. Use desiccant packs or a small dehumidifier in enclosed storage areas. For homeowners in coastal regions, our resource on salt water and epoxy flooring explains how airborne salt affects both stored items and the new coating.
Coordinating with Your Installation Crew
Professional installers have refined their workflow over hundreds of jobs. Leverage their expertise during the planning phase. During the pre-inspection, ask these specific questions:
- “What is the exact hour you need the garage empty?” — Some crews do prep work on day one and need the space cleared by 8 a.m.
- “Can I access items in the garage during the cure window?” — The answer is almost always no, but clarify for emergency scenarios.
- “Do you provide any temporary storage solutions?” — Some premium installers include a portable container as part of their service package.
- “How do you handle attached garages with interior doors?” — The crew should seal the door to prevent dust and vapor intrusion into the home.
- “What is the soonest I can walk on the floor, and the soonest I can park a car?” — Get these times in writing.
Clear communication prevents the most common scheduling conflicts. If the crew arrives to find a garage still half-full of boxes, they may charge a delay fee or reschedule, pushing your project back weeks. For a deeper understanding of the professional installation process, read our article on why professional epoxy floor coating matters.
Post-Installation Return Strategy
Moving items back into the garage requires as much care as moving them out. Rushing this phase can undo the benefits of a pristine new floor. Wait the full cure time, then follow this sequence:
- Clean the floor first. Sweep or vacuum any dust that settled during the final cure. Use a microfiber mop for a streak-free finish.
- Install protective pads. Apply felt pads or rubber feet to all shelving units, tool chests, and heavy equipment before placing them on the new floor.
- Return large items first. Position shelving, cabinets, and workbenches while the floor is still empty. This prevents dragging items across a cluttered space.
- Use the photo references. Refer to your pre-installation photos to replicate the original layout or implement a new, more efficient organization system.
- Wait on vehicles. Even after the floor is walkable, give vehicles an extra 24 hours beyond the stated cure time. The weight of a car or truck exerts far more pressure than foot traffic.
- Inspect for issues. Over the first week, watch for any discoloration, soft spots, or peeling. Report concerns to the installer immediately.
For those considering a full garage transformation beyond just the floor, our guide to garage apartments with stunning floor finishes explores integrated design approaches.
Frequently Asked Questions
How long do I need to keep my garage empty for an epoxy floor installation?
Plan for a minimum of 72 hours of complete emptiness. The installation itself takes 1-2 days, but the curing process requires an additional 24-72 hours before the floor can support weight. In cooler temperatures or high humidity, the cure time extends. Always follow the manufacturer’s specific recommendations for the product system used.
Can I store items in my attached garage while the epoxy cures if I don’t walk on the floor?
No. Even if you could theoretically place items without stepping on the wet coating, the off-gassing VOCs can permeate stored goods, and any accidental contact ruins the finish. The entire space must remain empty and undisturbed until the final cure is complete.
What’s the cheapest way to store garage contents during installation?
Using existing interior spaces like a basement, spare room, or covered patio costs nothing but requires careful organization. Borrowing a neighbor’s garage space is another low-cost option. A heavy-duty tarp and pop-up canopy on the driveway offers basic weather protection for under $200.
Do professional epoxy installers move my belongings for me?
Most installers do not move personal belongings due to liability and insurance restrictions. Their scope covers floor preparation and coating. Some premium services offer concierge-level assistance that includes moving items, but this must be arranged and priced in advance. Always confirm during the estimate phase.
How do I protect my epoxy floor when moving items back in?
Use furniture sliders, clean moving blankets, and hand trucks with rubber wheels. Install felt pads on all metal legs and bases. Avoid dragging anything across the new surface for at least 30 days while the coating reaches its full hardness. Place protective mats under heavy stationary equipment.
Can I park my car in the garage the same day the topcoat is applied?
Absolutely not. Even fast-curing polyaspartic topcoats require a minimum of 24 hours before foot traffic and 48-72 hours before vehicle traffic. Hot tires can bond to or imprint into a coating that hasn’t fully crosslinked. Premature vehicle loading is a leading cause of coating failure.
What happens if it rains while my items are stored in a driveway tent?
Water intrusion can damage cardboard boxes, rust tools, and ruin electronics. Use plastic bins with locking lids for all items in exposed storage. Ensure the tent has sidewalls and is anchored securely. Elevate items off the ground on pallets or shelving to prevent flood damage from driveway runoff.
Conclusion
Temporary storage during an epoxy garage floor installation is not a minor inconvenience—it is a critical phase that directly impacts the quality and longevity of your new floor. A methodical approach to emptying, staging, and returning your belongings protects both your possessions and your investment. By planning the timeline, choosing appropriate storage solutions, and coordinating closely with your installation team, you transform a potentially chaotic week into a smooth, predictable process. The result is a flawless, high-performance garage floor that enhances your home’s functionality and value for decades. Ready to start your project? Contact us today to schedule a consultation and get a detailed timeline tailored to your space.
References
- American Concrete Institute. (2026). Guide to Concrete Floor and Slab Construction. concrete.org
- Occupational Safety and Health Administration. Silica, Crystalline: Control of Dust Exposure. osha.gov
- Environmental Protection Agency. Volatile Organic Compounds’ Impact on Indoor Air Quality. epa.gov
- National Association of Corrosion Engineers. (2026). Coatings Application and Cure Standards. nace.org
- National Fire Protection Association. Home Garage Fire Safety Report. nfpa.org
- U.S. Department of Energy. Battery Storage and Lifespan Guidelines. energy.gov