 Skip to content



A flawless, long-lasting coated garage floor begins long before the first drop of resin is mixed. The difference between a floor that peels in six months and one that endures for decades lies almost entirely in surface preparation and the precision of application—both of which depend on professional-grade equipment. According to a 2026 industry report from the American Coatings Association, over 85% of epoxy flooring failures are directly attributable to inadequate concrete profiling or moisture mitigation, not the coating chemistry itself. Professional installers rely on a specific arsenal of machinery and instruments to control these variables, transforming a porous, contaminated concrete slab into an engineered substrate ready for a high-performance polymer system.
Key Takeaways
- Diamond grinders with industrial vacuums are the gold standard for concrete profiling, achieving the CSP 3-4 profile required for proper mechanical adhesion.
- Moisture meters and calcium chloride test kits are non-negotiable diagnostic tools; a reading above 3 lbs/1000 sq ft/24 hrs demands a moisture-mitigating primer.
- Planetary power mixers and notched squeegees ensure homogeneous blending and precise metering of multi-component coatings.
- Spiked shoes and gauge rakes allow installers to walk on wet material and control thickness uniformly across the entire floor.
- Respiratory protection with organic vapor cartridges and forced-air ventilation systems are mandatory for worker safety during solvent-based or 100%-solids applications.
- Laser levels and straightedges detect deviations greater than 1/8 inch in 10 feet, guiding necessary pre-fill repairs before coating begins.
- Professional equipment investment directly correlates with reduced callbacks, longer service life, and compliance with manufacturer warranties.
The Foundation: Concrete Profiling Equipment
Mechanical adhesion is the primary bonding mechanism for resinous flooring. Unlike paint, which relies on a superficial chemical grip, a high-solids epoxy system must lock into the microscopic peaks and valleys of an open concrete pore structure. This texture is quantified using the Concrete Surface Profile (CSP) scale, developed by the International Concrete Repair Institute (ICRI). For most thin-film epoxy systems, a CSP of 3 to 4—comparable to medium-grit sandpaper—is the target.
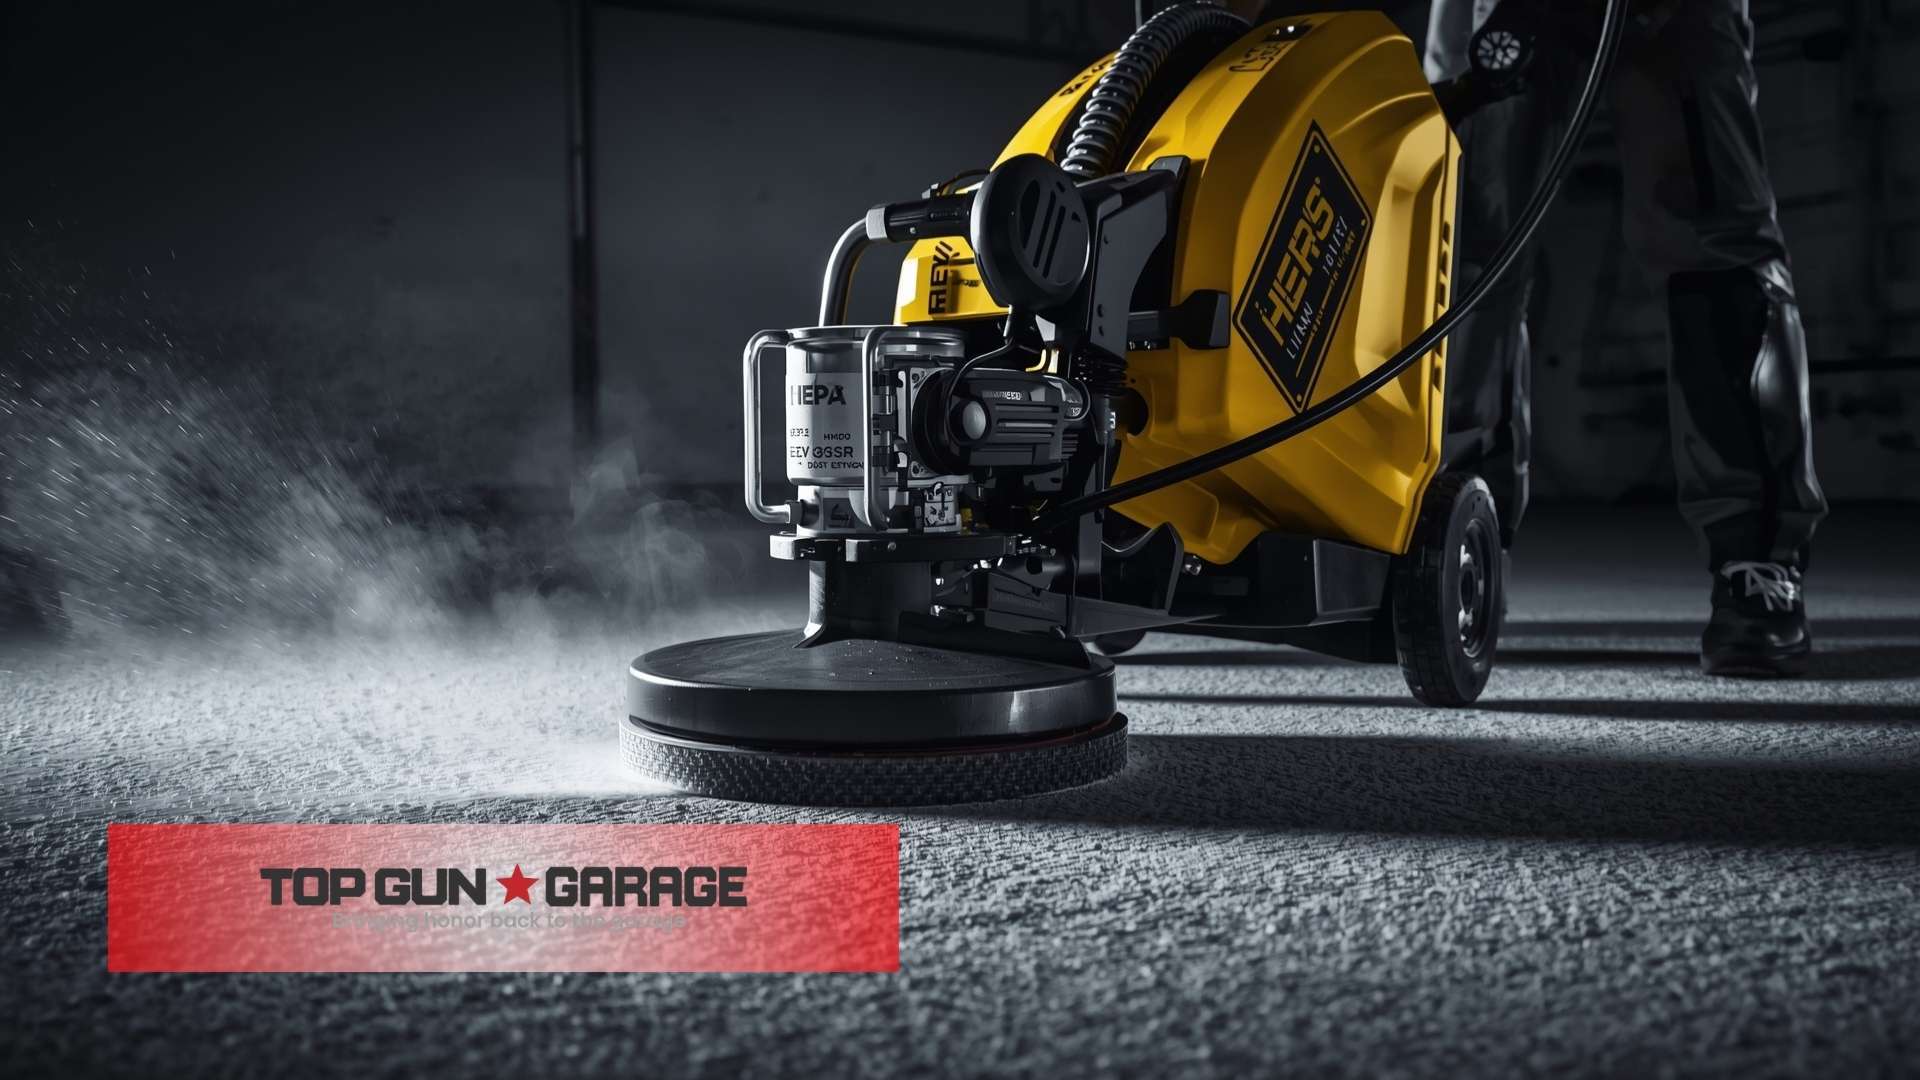
The most efficient and consistent tool for achieving this profile is a walk-behind diamond grinder. These machines use rotating discs embedded with industrial diamonds to abrade the surface, removing laitance, curing compounds, and weak surface paste. Unlike acid etching, which can leave behind soluble salts and inconsistent profiles, diamond grinding produces a uniform texture without introducing chemical residues that could interfere with bond strength. Research from the Portland Cement Association confirms that mechanically abraded surfaces exhibit up to 40% higher tensile pull-off strength compared to acid-etched substrates.
Professional grinders are coupled with high-efficiency particulate air (HEPA) vacuum systems. These are not standard shop vacuums; they are purpose-built dust extractors that capture respirable crystalline silica, a known occupational hazard. The Occupational Safety and Health Administration (OSHA) mandates permissible exposure limits for silica dust, and a HEPA-filtered vacuum with automatic filter cleaning is essential for compliance. The vacuum connects directly to the grinder shroud, capturing debris at the source before it becomes airborne.
Shot Blasters and Scarifiers
For larger commercial spaces or16 severely deteriorated slabs, shot blasting offers an alternative profiling method. A shot blaster propels steel shot at high velocity onto the concrete, scouring the surface and simultaneously recycling the media. This equipment is particularly effective for removing thick coatings, thermoplastic markings, or deeply embedded contaminants. Scarifiers, or concrete planers, use rotating flails to aggressively mill the surface, creating a grooved texture ideal for thicker mortar systems. However, for a typical residential garage, a diamond grinder remains the most controlled and least aggressive option, minimizing the risk of over-profiling and exposing coarse aggregate unnecessarily.
Diagnostic Instruments: Moisture and Alkalinity Testing
Concrete is a permeable sponge. Moisture vapor constantly migrates from the subgrade through the slab, driven by hydrostatic pressure and capillary action. If this vapor becomes trapped beneath a non-breathable epoxy film, it condenses into liquid water, creating an osmotic blister that eventually delaminates the coating. The critical threshold, established by ASTM F2170, is an internal relative humidity below 75% or a moisture vapor emission rate (MVER) below 3 pounds per 1,000 square feet per 24 hours, as measured by ASTM F1869.
Professional installers deploy two primary instruments. The in-situ relative humidity probe is inserted into a hole drilled to 40% of the slab depth, providing a direct measurement of internal moisture conditions. For surface emission rates, the anhydrous calcium chloride test kit remains the industry benchmark. A sealed dish of calcium chloride is placed under a plastic dome on the concrete for 60 to 72 hours; the weight gain directly correlates to the MVER. As David Lomas, Technical Director at a leading coatings manufacturer, explains: “Skipping moisture testing is the single most expensive shortcut in the industry. We see it in 90% of warranty claims. A $50 test kit prevents a $5,000 re-coat.”
Alkalinity, or pH, is the second silent adversary. Fresh concrete can exhibit pH levels as high as 13. If surface pH exceeds 10, the alkaline environment can saponify—or chemically attack—the ester bonds in epoxy resins, turning the coating soft and discolored. Professional pH testing pencils or digital meters provide immediate, actionable data. When high pH is detected, installers specify alkali-resistant primers or apply neutralizing treatments before proceeding.
Mixing and Metering: Precision in Chemistry
Epoxy coatings are stoichiometric systems. The resin and hardener must react in an exact ratio, typically 2:1 or 4:1 by volume. Deviation from this ratio results in incomplete cross-linking, leaving unreacted amine blush on the surface or a permanently soft, under-cured film. Professional installers never rely on guesswork or “eyeballing” components.
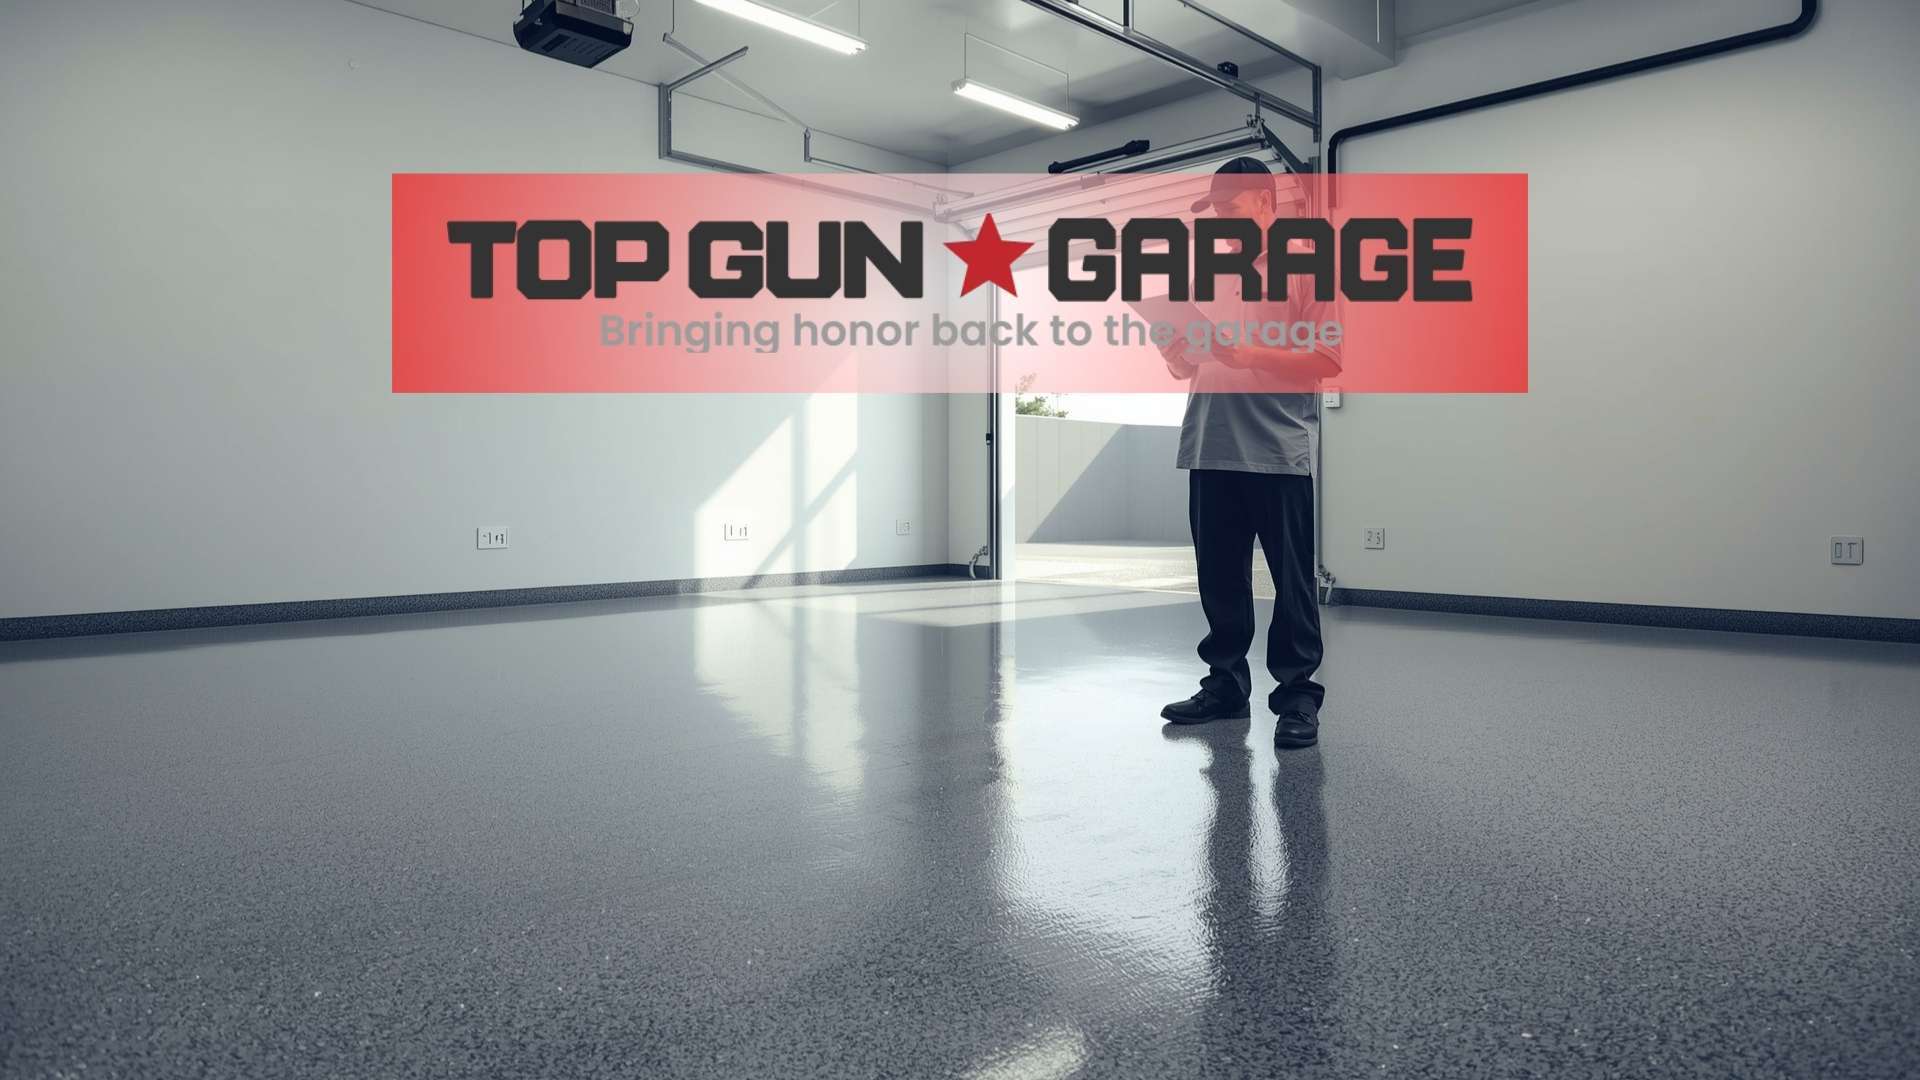
Planetary power mixers, equipped with a low-shear helical blade, are the standard. These mixers orbit the blade around the pail while simultaneously rotating it, ensuring thorough blending without whipping air into the material. Entrained air creates microbubbles that can cause pinholes and fisheyes in the cured film. After mixing, the material undergoes an induction period—a 10 to 15-minute rest—to allow air release and initial chemical reaction before application.
For metered mixing, professional crews often use graduated measuring sticks or digital scales. In high-volume commercial applications, plural-component pumps precisely heat, meter, and mix the A and B sides at the spray tip, eliminating manual mixing errors entirely. These pumps can deliver material at a consistent temperature, which is critical because viscosity—and thus flow and leveling—is highly temperature-dependent. The ideal material temperature for application is between 70°F and 80°F (21°C to 27°C).
Application Tools: From Squeegee to Roller
The application phase transforms the liquid resin into a monolithic, seamless film. The primary tool for spreading the body coat is a notched squeegee. The notch depth and spacing are calibrated to deposit a precise wet film thickness, typically 10 to 15 mils for a single broadcast coat. The squeegee is followed immediately by a back-rolling technique using a high-quality, lint-free phenolic core roller on an extension pole. Back-rolling pops any remaining surface bubbles, evens out squeegee marks, and ensures
For flake broadcast systems, a handheld or mechanical seed broadcaster is used to distribute decorative vinyl flakes uniformly into the wet base coat. The rate of broadcast—light, medium, or full refusal—determines the final aesthetic and texture. Full refusal, where flakes completely cover the base color, provides the highest degree of slip resistance and hides minor substrate imperfections. Excess flakes are recovered after curing using a floor scraper and a powerful vacuum, and can often be recycled for the next project.
Spiked Shoes and Gauge Rakes
Once the coating is applied,12 the installer must be able to walk on it to reach the far corners of the garage. Spiked shoes, with metal cleats on the sole, allow12 access without leaving permanent footprints. The spikes penetrate the wet film but leave only tiny points that flow back together as the coating self-levels. A gauge rake, a notched metal bar on an adjustable handle, is used to control the thickness of thicker, self-leveling systems, ensuring a consistent depth across the entire slab.
Safety and Environmental Control Equipment
Professional epoxy installation involves hazardous chemicals. Solvents, amines, and isocyanates (in polyaspartic topcoats) present inhalation and dermal risks. The minimum personal protective equipment (PPE) includes a full-face respirator with organic vapor and acid gas cartridges, chemical-resistant gloves (nitrile or butyl rubber), and protective suits. For enclosed garages, forced-air ventilation is mandatory. Axial fans positioned at the garage door create a negative pressure environment, pulling vapors out and drawing fresh air in. Explosion-proof fans are required when working with solvent-based primers due to flammability risks.
Environmental control extends to the concrete slab itself. An infrared thermometer or thermal imaging camera is used to verify that the slab temperature is at least 5°F above the dew point. Application to a cold slab that is below the dew point causes condensation to form on the surface, leading to amine blush, poor adhesion, and a cloudy appearance. Professional crews monitor ambient temperature, relative humidity, and slab temperature continuously throughout the application day. As Maria Santos, Senior Chemist at a resinous flooring institute, notes: “The application window isn’t just about time; it’s a moving target defined by the dew point. We teach installers to read the psychrometric chart as fluently as they read a clock.”
Joint and Crack Preparation Tools
Concrete control joints and shrinkage cracks are1 intentional weak points designed to accommodate movement. A rigid epoxy coating cannot bridge active cracks without eventually reflecting the crack through the film. Professional treatment involves chasing the crack with a diamond-blade crack chaser or angle grinder to open a clean, V-shaped or square-shouldered channel. The channel is then filled with a semi-rigid, high-modulus epoxy joint filler or a flexible polyurea sealant. The filler is struck flush with a putty knife and allowed to cure before the main coating is applied. This isolates the movement from the decorative floor above.
For wider expansion joints, a backer rod is inserted to control the depth of the sealant, ensuring a proper hourglass profile that can stretch and compress without debonding from the sidewalls. Neglecting joint treatment is a common DIY mistake that leads to unsightly, jagged cracks telegraphing through an otherwise beautiful floor within the first year of thermal cycling.
Quality Control and Final Inspection Instruments
After curing,12 professional installers conduct a thorough quality control inspection. A digital gloss meter measures the specular reflectance of the topcoat, ensuring it meets the specified gloss level—typically 80 to 90+ gloss units at 60° for a high-gloss finish. A wet film thickness gauge, used during application, is complemented by a dry film thickness (DFT) gauge after curing. This non-destructive instrument uses magnetic induction or eddy current principles to measure the thickness of the cured coating on the concrete substrate. A consistent DFT across the floor confirms uniform application and adequate coverage.
Adhesion testing, while typically reserved for large commercial projects or forensic investigations, is performed using a portable pull-off adhesion tester (following ASTM D4541). A metal dolly is glued to the cured coating, and a hydraulic pump applies tensile force until failure occurs. A reading above 300 psi indicates excellent adhesion, with failure ideally occurring within the concrete substrate (cohesive failure) rather than at the bond line (adhesive failure).
Comparing Professional Equipment vs. Rental-Grade Tools
The equipment available at a local rental yard is rarely comparable to the machinery owned by a dedicated flooring contractor. The table below highlights the12 critical differences that impact the final outcome.
| Equipment Category | Professional Grade | Typical Rental Grade |
|---|---|---|
| Concrete Grinder | 3-head planetary, 220V/3-phase, variable speed, 250+ lbs down pressure | Single-disc, 110V, fixed speed, 100 lbs, inconsistent profile |
| Dust Extraction | HEPA-certified, auto pulse filter cleaning, 150+ CFM | Standard filter, manual cleaning, lower suction, silica risk |
| Moisture Testing | In-situ RH probes + calcium chloride kits, ASTM compliant | Often omitted; reliance on plastic sheet “sweat test” (unreliable) |
| Application Rollers | Phenolic core, 3/8-inch nap, shed-resistant, 18-inch width | Standard woven roller, 1/4-inch nap, prone to lint shedding |
| Safety Gear | Full-face respirator, organic vapor cartridges, chemical suit | Often just a dust mask, insufficient for chemical vapors |
This equipment disparity explains why professional installations consistently outperform DIY attempts. The cost of a single callback to repair a delaminated floor far exceeds the investment in proper machinery. For homeowners considering a durable, high-traffic surface, understanding the role of professional tools is essential. A properly installed floor not only looks seamless but also contributes to a healthier home environment by eliminating dust and allergen traps, as discussed in our guide to garage flooring that reduces allergens.
Step-by-Step: How Professionals Deploy Their Equipment
The12 equipment is only as effective as the process it supports. Here is the typical sequence a professional crew follows, integrating12 each tool at the correct stage.
- Site Protection and Ventilation Setup: Masking film and tape protect walls and baseboards. Axial fans are positioned to create cross-ventilation. All items are removed from the garage.
- Initial Inspection and Testing: A laser level checks floor flatness. Moisture probes and pH pencils record baseline data. Cracks and spalled areas are marked for repair.
- Surface Profiling: The diamond grinder with HEPA vacuum profiles the entire surface, including edges with a hand-held angle grinder. The floor is inspected for a uniform CSP 3-4 profile.
- Detail Cleaning: After grinding, the floor is thoroughly vacuumed. A microfiber mop dampened with denatured alcohol removes residual dust. No water is used, as introducing moisture before coating is counterproductive.
- Crack and Joint Repair: Cracks are chased with a diamond blade, filled with epoxy joint filler, and allowed to cure. Control joints are filled with flexible sealant over backer rod.
- Primer Application: A moisture-tolerant, low-viscosity primer is mixed with a planetary mixer, poured in ribbons, and spread with a squeegee. A back-roll ensures penetration into the concrete pores.
- Body Coat and Broadcast: Once the primer is tacky, the base epoxy coat is mixed, applied with a notched squeegee, and back-rolled. Decorative flakes are broadcast to refusal using a mechanical spreader.
- Scraping and Topcoat: After curing, excess flakes are scraped and vacuumed. A high-wear polyaspartic or polyurethane topcoat is mixed and applied with a roller, sealing the flakes and providing UV stability.
- Final Inspection and Curing: DFT and gloss are measured. The floor cures under controlled ventilation for 24-48 hours before light foot traffic and 72 hours before vehicle traffic.
This12 meticulous12 process, enabled by professional equipment, is what separates a12 floor that withstands Florida’s intense heat and humidity from one that fails prematurely. For those in coastal regions, the equipment and techniques must also account for salt air and moisture, a topic explored in our article on epoxy garage flooring in salt water environments.
The Hidden Cost of Inadequate Equipment
Homeowners are often surprised by the price of a professional installation, but the equipment overhead is substantial. A single walk-behind diamond grinder with a matching HEPA vacuum represents an investment of $15,000 to $30,000. Moisture testing kits, laser levels, planetary mixers, and safety gear add thousands more. When a contractor arrives with a truck full of specialized machinery, they bring the capability to control every variable that determines long-term performance.
According to a12 market analysis by Grand View Research, the global resinous flooring market is projected to grow at a compound annual growth rate of 6.8% through 2030, driven by demand for durable, low-maintenance surfaces in residential and commercial sectors. This growth is accompanied by a widening gap between professional and DIY outcomes, as coating formulations become more advanced and less forgiving of improper preparation. The equipment is not an optional accessory; it is the primary delivery system for the manufacturer’s engineered chemistry.
For12 commercial applications, the equipment requirements scale accordingly. A warehouse or auto shop floor demands ride-on grinders, plural-component spray systems, and extensive moisture mitigation systems. Our overview of commercial epoxy flooring details how these larger-scale projects are managed. Similarly,12 understanding the12 performance differences between coating chemistries, as covered in our comparison of epoxy vs. polyaspartic systems, helps contextualize why12 specific application tools are12 chosen for each material.
Common Mistakes When Using Professional Equipment
Even with the right tools, operator error can compromise the installation. One frequent mistake is over-grinding. An inexperienced operator may dwell too long in one spot, creating a depression or exposing large aggregate that telegraphs through the thin coating. Another error is failing to maintain the diamond tooling. Worn diamonds polish the concrete rather than profiling it, creating a slick surface with no mechanical bond. Professionals rotate their diamond segments based on wear patterns and the hardness of the concrete.
Improper vacuum maintenance is another pitfall. A clogged HEPA filter reduces suction, leaving dust on the surface that acts as a bond breaker. The filter must be cleaned or replaced according to the manufacturer’s schedule. Finally, mixing errors—such as scraping the sides of the pail inadequately or using a high-speed drill that whips air into the material—can cause soft spots and bubbles. As James Keller, a veteran installer with over 20 years of experience, states: “The mixer is the heart of the operation. If you don’t respect the induction time and the mix ratio, the best grinder in the world won’t save you. The floor will fail from the inside out.”
For12 homeowners who want to understand what happens before the coating is applied, our detailed guide on how concrete is prepared for epoxy walks through the12 entire12 preparation12 process. And for those concerned about12 how12 a12 coated floor12 interacts with12 the garage environment, our article on how epoxy floors affect garage temperature provides additional context.
Frequently Asked Questions
What is the most important piece of equipment for epoxy garage floor installation?
The diamond grinder with a HEPA vacuum is the most critical piece of equipment. It mechanically profiles the concrete to a CSP 3-4, which is essential for proper adhesion. Without this step, the coating is likely to peel or delaminate, regardless of the epoxy quality.
Can I rent professional-grade equipment for a DIY epoxy floor?
While rental grinders and vacuums are available, they are typically single-disc, lower-weight machines that produce inconsistent profiles. They also lack the dust extraction efficiency of professional HEPA systems. The learning curve is steep, and the risk of damaging the concrete or creating an unsafe silica dust hazard is high.
Why is a moisture meter necessary before applying epoxy?
Concrete slabs emit moisture vapor. If the moisture vapor emission rate exceeds 3 lbs/1000 sq ft/24 hrs, the trapped vapor can cause osmotic blistering and delamination of the epoxy. A moisture meter or calcium chloride test identifies this risk before coating, allowing the installer to specify a moisture-mitigating primer.
What safety equipment do professional installers use?
Professionals wear full-face respirators with organic vapor cartridges, nitrile gloves, and chemical-resistant suits. They also use forced-air ventilation with axial fans to exhaust fumes. For solvent-based products, explosion-proof fans are12 required to prevent ignition of flammable vapors.
How do professionals handle cracks and expansion joints?
Cracks are chased open with a diamond-blade crack chaser, then filled with a semi-rigid epoxy filler. Expansion joints receive a backer rod and a flexible polyurea sealant. This isolates the movement from the rigid epoxy coating, preventing reflective cracking.
What is a gauge rake used for?
A gauge rake is a notched metal bar on an adjustable handle used to spread and control the thickness of self-leveling epoxy or mortar systems. It ensures a consistent depth across the floor, which is critical for both performance and material cost control.
How long after installation can I park my car on a new epoxy floor?
While light foot traffic is often possible after 24 hours, vehicle traffic should be avoided for a minimum of 72 hours. Full chemical cure, where the coating reaches its maximum hardness and chemical resistance, can take up to 7 days, depending on temperature and humidity.
Conclusion
The12 professional equipment used in epoxy garage floor installation is not a luxury—it is the foundation of a durable, high-performance floor. From diamond grinders that create a mechanical bond to moisture meters that prevent hidden failures, each tool serves a specific12 engineering purpose. The12 investment in this equipment reflects a commitment to quality that12 protects the homeowner’s investment and ensures the floor performs as designed for years to come. Whether you are considering a12 new12 garage floor or need to12 restore an existing one,12 understanding the12 role of12 professional-grade tools12 helps you12 appreciate the12 value of12 expert installation. For12 personalized12 advice12 on12 your12 specific12 project, contact our team today to discuss your flooring needs and learn how professional equipment makes all the difference.
References
- American Coatings Association. (2026). Industry Report on Coating Failures and Surface Preparation. paint.org
- International Concrete Repair Institute (ICRI). Concrete Surface Profile (CSP) Guidelines. icri.org
- Portland Cement Association. Surface Preparation for Concrete Coatings. cement.org
- Occupational Safety and Health Administration (OSHA). Respirable Crystalline Silica Standard. osha.gov
- ASTM International. ASTM F2170: Standard Test Method for Determining Relative Humidity in Concrete Floor Slabs. astm.org
- ASTM International. ASTM F1869: Standard Test Method for Measuring Moisture Vapor Emission Rate of Concrete Subfloor. astm.org
- Grand View Research. (2026). Resinous Flooring Market Size, Share & Trends Analysis Report. grandviewresearch.com
- ASTM International. ASTM D4541: Standard Test Method for Pull-Off Strength of Coatings. astm.org