 Skip to content




Installing a durable, high-gloss floor coating in your Naples property requires precise scheduling, especially when you split your time between northern latitudes and Southwest Florida. The complete process, from initial moisture testing to the final walk-through, typically spans 5 to 7 days for a standard two-car garage. This timeline accounts for the critical concrete preparation, the application of the primer and base coat, the decorative flake broadcast, and the essential topcoat curing phase. Rushing this sequence compromises the chemical bond, leading to peeling or bubbling under the intense Florida sun.
Key Takeaways
- Total Project Duration: Expect a 5-7 day timeline for a standard residential garage, factoring in Florida’s unique humidity levels.
- Curing vs. Drying: The surface is dry to the touch in 12-24 hours, but full chemical cure for vehicle traffic requires 72 hours.
- Moisture Vapor Transmission: High groundwater levels in Naples necessitate a mandatory moisture test before any coating is applied.
- Seasonal Scheduling: Book your installation 4-6 weeks before your arrival to ensure the floor is fully cured and off-gassed.
- Product Selection: Polyaspartic topcoats cure significantly faster than traditional epoxy, a critical advantage for tight snowbird schedules.
- Post-Installation Care: Avoid dragging heavy furniture or parking hot-tired vehicles for the first week to prevent thermoplastic marking.
Understanding the Naples Climate Impact on Cure Times
Southwest Florida’s subtropical environment directly dictates the chemical reaction rates of resinous floor coatings. Unlike arid climates where moisture evaporates quickly, Naples’ average relative humidity hovers around 74% annually. According to the National Weather Service, this moisture saturation slows the evaporation of solvents in water-based epoxies and can cause amine blush—a waxy surface film that ruins adhesion—in high-solids formulations. Professional installers combat this by monitoring the dew point spread, ensuring the concrete slab temperature remains at least 5 degrees Fahrenheit above the dew point during the entire application window.
The intense UV radiation in the 34102 zip code also influences material selection. Standard epoxy resins contain a bisphenol-A diglycidyl ether structure that oxidizes and yellows when exposed to direct sunlight. For lanai extensions or pool decks visible through sliders, a UV-stable aliphatic polyurethane or polyaspartic topcoat is non-negotiable. As Dr. Elena Torres, a polymer chemist specializing in industrial coatings, explains: “In sub-tropical zones, the topcoat isn’t just for scratch resistance; it’s a sacrificial UV barrier. Without it, the underlying epoxy matrix degrades within 18 months, turning brittle and chalky.”
Phase 1: The Pre-Installation Diagnostic Window
Before a single drop of resin touches the slab, a 48-hour diagnostic phase is mandatory. This begins with a calcium chloride moisture vapor emission test, adhering to ASTM F1869 standards. In Naples, where the water table sits just a few feet below the surface, hydrostatic pressure often forces moisture vapor through the porous concrete. Acceptable emission rates must fall below 3 pounds per 1,000 square feet per 24 hours. Readings above this threshold require a penetrating moisture-mitigating primer, adding roughly 24 hours to the schedule.
Surface hardness is evaluated using a rebound hammer to check for delamination or soft spots caused by over-troweling during the original pour. Cracks wider than 1/8 inch must be chased and filled with a semi-rigid polyurea joint filler. This filler requires a separate 4-hour cure window before diamond grinding can commence. Skipping this step in a snowbird’s vacant home often results in “ghosting,” where the crack pattern telegraphs through the new floor within the first season of thermal cycling.
Moisture Mitigation Strategies for Ground-Level Slabs
Many Naples homes built before 2000 lack an underslab vapor barrier. In these cases, the timeline must accommodate a two-coat moisture-tolerant epoxy primer system. The first coat penetrates the capillaries, while the second builds a continuous film. Each coat demands a 6-hour recoat window. This is a critical scheduling factor for snowbirds who often purchase older ranch-style homes with mature landscaping that traps moisture against the foundation.
Phase 2: Mechanical Preparation and Surface Profiling
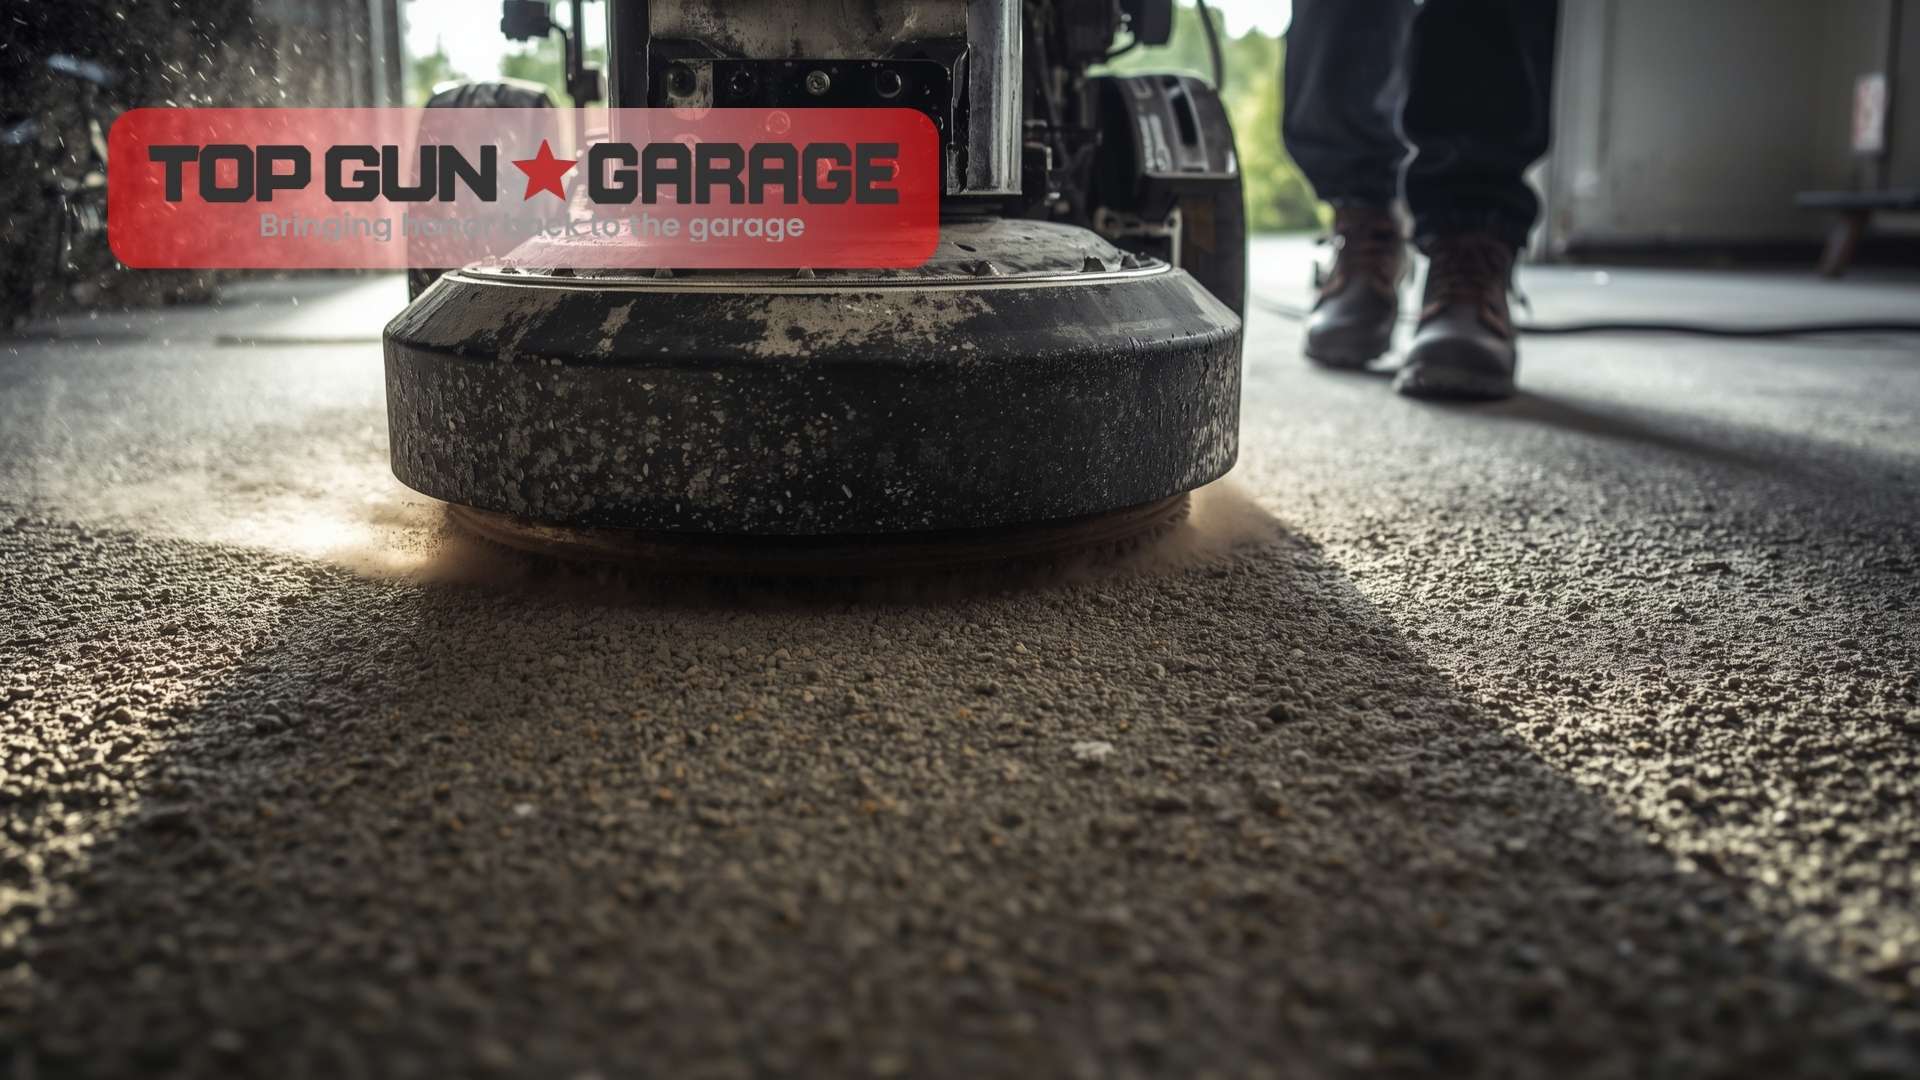
The actual physical work begins with diamond grinding, not acid etching. Acid etching introduces water into the slab, extending drying times and risking a weak surface layer of calcium carbonate. A planetary grinder fitted with 30/40-grit diamonds creates a concrete surface profile (CSP) of 3 to 4, resembling medium-grit sandpaper. This mechanical profiling opens the concrete pores to accept the primer without fracturing the aggregate. The grinding process for a 400-square-foot garage takes approximately 4 to 6 hours.
Immediately following grinding, high-powered HEPA-filtered vacuums remove the micronized silica dust. Any remaining dust acts as a bond breaker. The crew then inspects the slab under high-intensity raking light to identify micro-cracks or pinholes invisible to the naked eye. This “light check” adds 30 minutes but prevents 90% of aesthetic defects. According to data from the American Concrete Institute, properly profiled concrete increases the pull-off adhesion strength of epoxy coatings by 40% compared to unprepared surfaces.
Phase 3: The Application Sequence and Recoat Windows
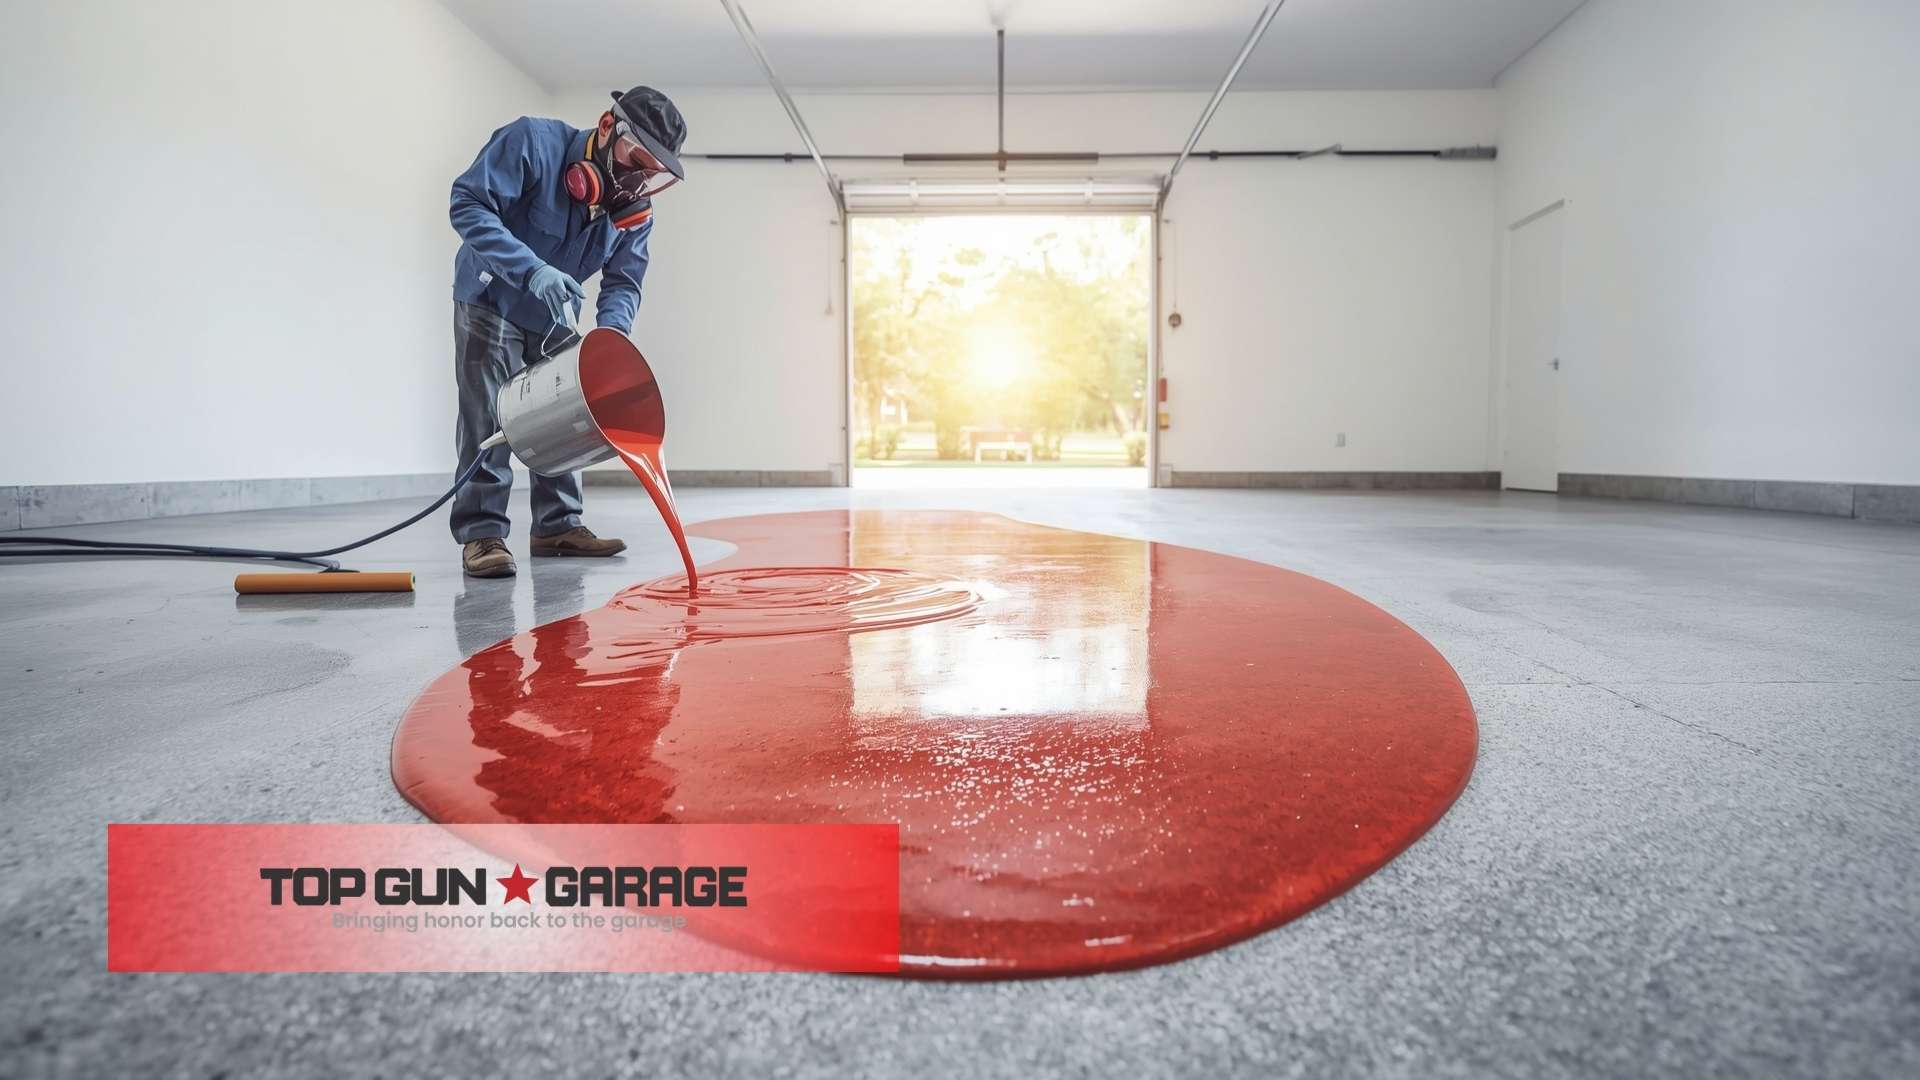
The application phase is a continuous chemical chain reaction. The primer seals the porous concrete and promotes adhesion. In Naples’ warm climate, the primer is usually tack-free within 4 hours. The base coat, often a 100% solids epoxy tinted to the desired color, is applied via a notched squeegee and back-rolled immediately. This is the moment where decorative vinyl flakes or quartz aggregate are broadcast into the wet film. The crew must move efficiently; the pot life of mixed epoxy at 85°F is roughly 20 minutes, half the time it would be in a cooler climate.
After the base coat cures for 12 hours, the crew scrapes off excess flakes using a floor scraper. This reveals the texture profile. A high-build polyaspartic topcoat is then applied. Polyaspartic technology is essential for snowbird timelines because it achieves full cure in 24 hours, whereas traditional urethanes require 48 to 72 hours. The rapid cure also allows for a “hot” application, meaning the topcoat chemically bonds to the base coat without the need for sanding between layers, saving an entire day of labor.
Comparison of Coating Cure Timelines
| Coating Type | Dry to Touch | Light Foot Traffic | Full Vehicle Traffic | UV Stability |
|---|---|---|---|---|
| Water-Based Epoxy | 4-6 hours | 24 hours | 72 hours | Low (Yellows) |
| 100% Solids Epoxy | 8-12 hours | 24 hours | 48-72 hours | Low (Yellows) |
| Polyaspartic | 1-2 hours | 4-6 hours | 24 hours | High (Clear) |
| Polyurethane | 6-8 hours | 12 hours | 36-48 hours | High (Clear) |
Phase 4: The Critical Curing and Off-Gassing Period
“Dry to touch” is a deceptive metric in the flooring industry. While a polyaspartic surface can handle foot traffic in 6 hours, the chemical cross-linking continues for days. Placing heavy cardboard boxes or rubber-backed rugs on the floor too soon traps solvents and plasticizers, causing permanent discoloration or softening of the film. For snowbirds shipping a car down or returning with a packed SUV, the 72-hour mark is the absolute minimum before parking hot tires on the coating. Hot tires can reach 160°F and cause thermoplastic migration, where the coating softens and picks up tire residue.
Off-gassing is another concern for sealed-up seasonal homes. Low-VOC formulations are standard now, but 100% solids epoxies still emit a faint amine odor during the first 24 hours. If a snowbird plans to sleep in the home immediately after installation, a water-based or polyaspartic system with near-zero VOCs is the only acceptable choice. Opening windows and running the HVAC fan significantly accelerates the dissipation of residual odors.
Scheduling Strategies for the Seasonal Resident
The most common mistake snowbirds make is calling a contractor the day they land in Naples. By then, the best crews are booked 8 to 12 weeks out. The optimal strategy involves a remote consultation in August or September. A trusted contractor can perform a site assessment using a local lockbox, conduct the moisture test, and have the floor ready for the owner’s arrival in November. This “white glove” concierge service is standard for companies specializing in snowbird garage floor coating.
If you are a “short-timer” staying only for a week, a one-day polyaspartic system is the only viable option. This requires the crew to grind, prime, base coat, flake, and topcoat within a single 10-hour shift. It is a high-intensity process that demands a crew of three to four experienced technicians. The floor is ready for light use the next morning and full use by the time the owner drives to the airport. This rapid turnaround is impossible with traditional epoxy, which requires multiple days of staging.
Step-by-Step Scheduling Checklist
- Remote Consultation (8-12 weeks out): Share photos and dimensions of the garage via video call. Discuss color chips and flake blends.
- Moisture Test (6 weeks out): Authorize a local technician to place a calcium chloride dome test for 72 hours.
- Material Ordering (4 weeks out): Custom color flakes and metallic pigments often have a 2-3 week lead time.
- Preparation Day (Day 1): Grinding, crack repair, and vacuuming. The home remains unoccupied.
- Coating Day (Day 2): Primer, base coat, and flake broadcast. Keep the HVAC fan running.
- Topcoat Day (Day 3): Scrape excess flakes, apply polyaspartic topcoat. Light foot traffic allowed after 6 hours.
- Final Cure (Day 4-5): Full cure achieved. Vehicles can be parked. Furniture can be placed.
Edge Cases: Lanai Enclosures and Pool Decks
Extending the coating to a screened lanai or pool deck introduces unique timeline variables. These areas are subject to direct, albeit filtered, sunlight and standing water. The concrete in these zones often has a smoother trowel finish, requiring a more aggressive grind to achieve a CSP 4 profile. Furthermore, the coating must bridge the cold joint between the interior slab and the exterior lanai slab. This joint is a dynamic stress point. A flexible polyurea joint filler must be installed and allowed to cure for 8 hours before the main coating bridges the gap. For more details on handling these specific environments, review our guide on pool house floors that handle wet conditions.
Slip resistance is non-negotiable in these wet areas. Aluminum oxide grit is broadcast into the wet topcoat to create a textured, anti-slip surface. This additive slightly extends the pot life but requires a rapid back-roll to ensure even distribution. The coefficient of friction must exceed 0.6 when wet to meet safety standards. This is particularly important for snowbirds who may have reduced mobility and require slip resistant surfaces that stay effective long term.
Common Timeline Disruptors and How to Avoid Them
Several factors can derail a carefully planned installation schedule. Air conditioning failures in a vacant home are a primary risk. If the interior temperature exceeds 95°F, the epoxy can “flash cure,” becoming unworkable within minutes. Smart thermostats that alert the contractor to temperature spikes are a worthwhile investment. Another disruptor is hidden termite damage. Tapping on the baseboards may reveal hollow spots where subterranean termites have tunneled through the slab edge, requiring structural repair before coating.
Incorrect product staging also causes delays. Epoxy resins stored in a cold warehouse and brought to a hot, humid job site will condense moisture, contaminating the mix. Materials must be acclimated on-site for 24 hours before application. As Michael Vance, a veteran applicator with over 20 years in the Lee and Collier County market, notes: “I’ve seen entire batches of epoxy turn milky white because someone opened a cold bucket in a humid garage. That’s a half-day delay and a thousand dollars in wasted material. We stage our products in the air-conditioned laundry room the night before.”
Long-Term Performance and Seasonal Maintenance
Once the floor is installed and cured, the timeline shifts to a maintenance cadence. For snowbirds who are absent for 6 to 8 months, the primary enemy is dust accumulation. Fine silica sand from Florida’s soil acts as an abrasive, dulling the gloss finish when walked upon. Installing a high-quality garage door threshold seal is the single most effective way to keep the floor pristine during the off-season. This prevents wind-driven debris and insects from entering the gap under the door.
Upon returning in the fall, the floor should be cleaned with a pH-neutral cleaner and a microfiber flat mop. Avoid acidic cleaners like vinegar, which etch the polyaspartic surface over time. A quarterly application of a sacrificial floor wax can also extend the life of the gloss, though this is generally unnecessary for high-quality polyaspartic systems. For those concerned about the impact of Florida’s intense heat on the garage environment, understanding how epoxy floors affect garage temperature can provide additional peace of mind.
Frequently Asked Questions
Can I walk on my new epoxy floor the same day it is installed?
With a fast-cure polyaspartic system, light foot traffic is usually acceptable 4 to 6 hours after the final topcoat is applied. However, you should wear clean, soft-soled shoes and avoid dragging anything across the surface. Traditional epoxy requires a full 24 hours before walking.
How long before I can park my car on the new coating?
For a polyaspartic floor, wait a minimum of 24 hours, though 48 hours is safer for hot tires. For 100% solids epoxy, you must wait a full 72 hours to prevent the coating from softening and picking up tire marks. Always test a small, inconspicuous area with a fingernail to ensure it has reached full hardness.
Does high humidity in Naples really stop the epoxy from curing?
High humidity does not stop the cure, but it can cause a surface defect called amine blush or blushing, which appears as a waxy, cloudy film. This film must be washed off with water and a mild detergent before applying the next coat, adding a day to the schedule. Professional installers use dehumidifiers to control the environment.
What is the fastest turnaround time for a snowbird in a hurry?
A one-day polyaspartic system is the fastest option. A skilled crew can diamond grind, repair cracks, apply a moisture-mitigating primer, a colored base coat with flake, and a UV-stable topcoat all within a single 8-10 hour day. The floor is ready for light use the next morning.
Why do I need a moisture test on my Naples slab?
Naples has a very high water table, and many slabs lack an underslab vapor barrier. Hydrostatic pressure can force moisture up through the concrete, causing the epoxy to delaminate or bubble. A calcium chloride test, per ASTM F1869, measures this vapor transmission and determines if a special moisture-blocking primer is needed.
Can I install epoxy flooring in my lanai during the rainy season?
It is possible, but the timeline is weather-dependent. The slab must be completely dry before grinding and coating. If rain blows into the lanai, the crew must wait for the surface to dry, which can delay the project by a day. Installing temporary plastic sheeting is a common mitigation strategy during summer afternoon storms.
How do I prepare my garage for the installation crew if I am not in town?
Clear the garage entirely of all vehicles, storage, and shelving units. Ensure the crew has access to a water spigot and a functioning electrical outlet. If the home is vacant, provide the contractor with a lockbox code or a garage door opener. Disarm the security system to prevent false alarms from the grinding vibration.
Will the new floor smell when I arrive for the season?
If the floor was installed weeks or months before your arrival, there should be zero residual odor. 100% solids epoxy and polyaspartic coatings are inert once fully cured. If a faint smell persists, it is usually from cleaning products or off-gassing from other stored items, not the floor itself.
Conclusion
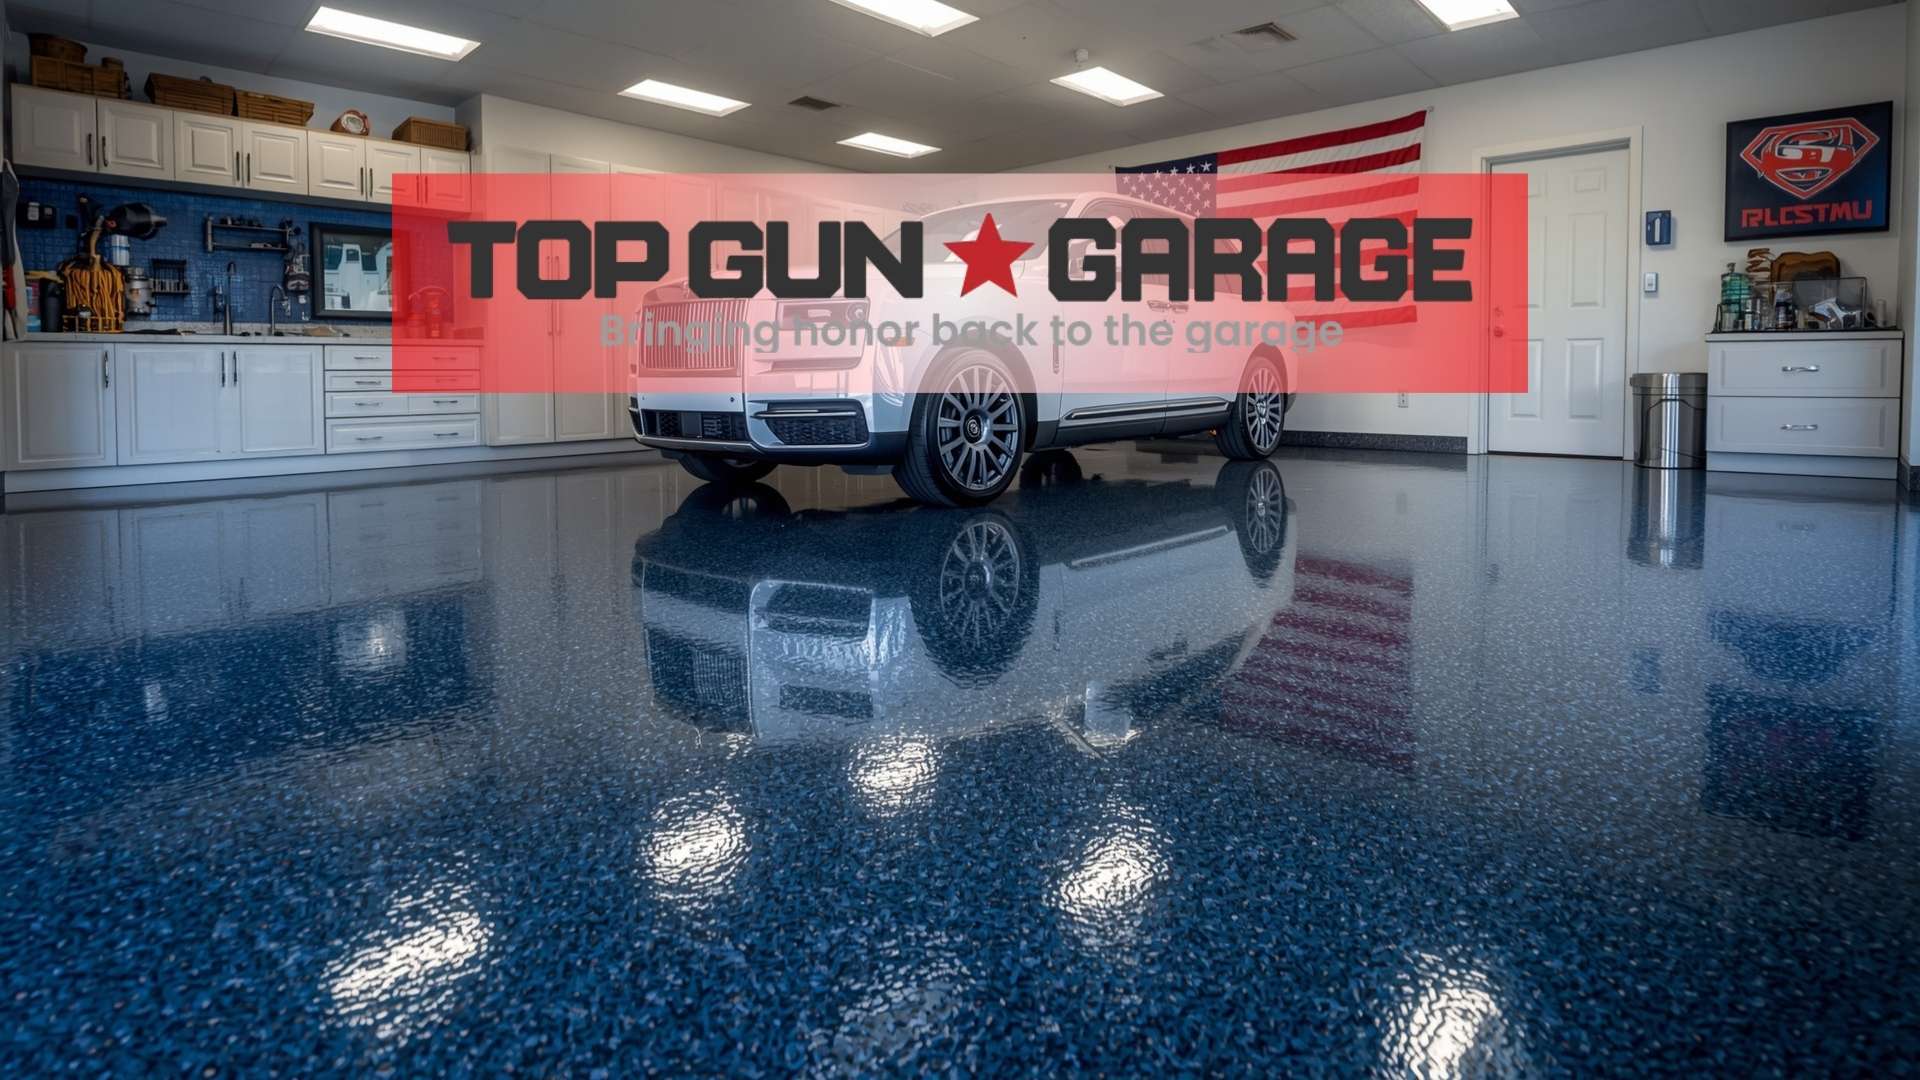
Securing a flawless resinous floor for your Naples retreat hinges entirely on respecting the chemical clock. The 5-7 day timeline is not an arbitrary buffer; it is the minimum required for the concrete to accept the primer, the base coat to harden, and the topcoat to cross-link into an impermeable shield. For snowbirds, the margin for error is zero. A floor that fails to cure properly before departure leaves a sticky, dust-covered mess that is far more expensive to remediate than the original installation. By leveraging fast-cure polyaspartic technology and scheduling the work well before your arrival, you can drive into your garage and walk onto a pristine, showroom-quality surface the moment you return to paradise. To discuss a timeline that fits your specific travel schedule, contact our team today for a remote consultation.
References
- National Weather Service. “Relative Humidity Data for Southwest Florida.” weather.gov
- ASTM International. “ASTM F1869: Standard Test Method for Measuring Moisture Vapor Emission Rate of Concrete Subfloor Using Anhydrous Calcium Chloride.” astm.org
- American Concrete Institute. “Guide for the Use of Polymers in Concrete (ACI 548.1R).” concrete.org
- Torres, Elena. Polymer Chemist, Coatings Research Institute. Expert commentary on UV degradation of epoxy matrices.
- Vance, Michael. Senior Applicator, Southwest Florida Coatings. Interview regarding material staging in humid environments.
- International Concrete Repair Institute. “Surface Preparation for Polymer Overlays.” icri.org