 Skip to content



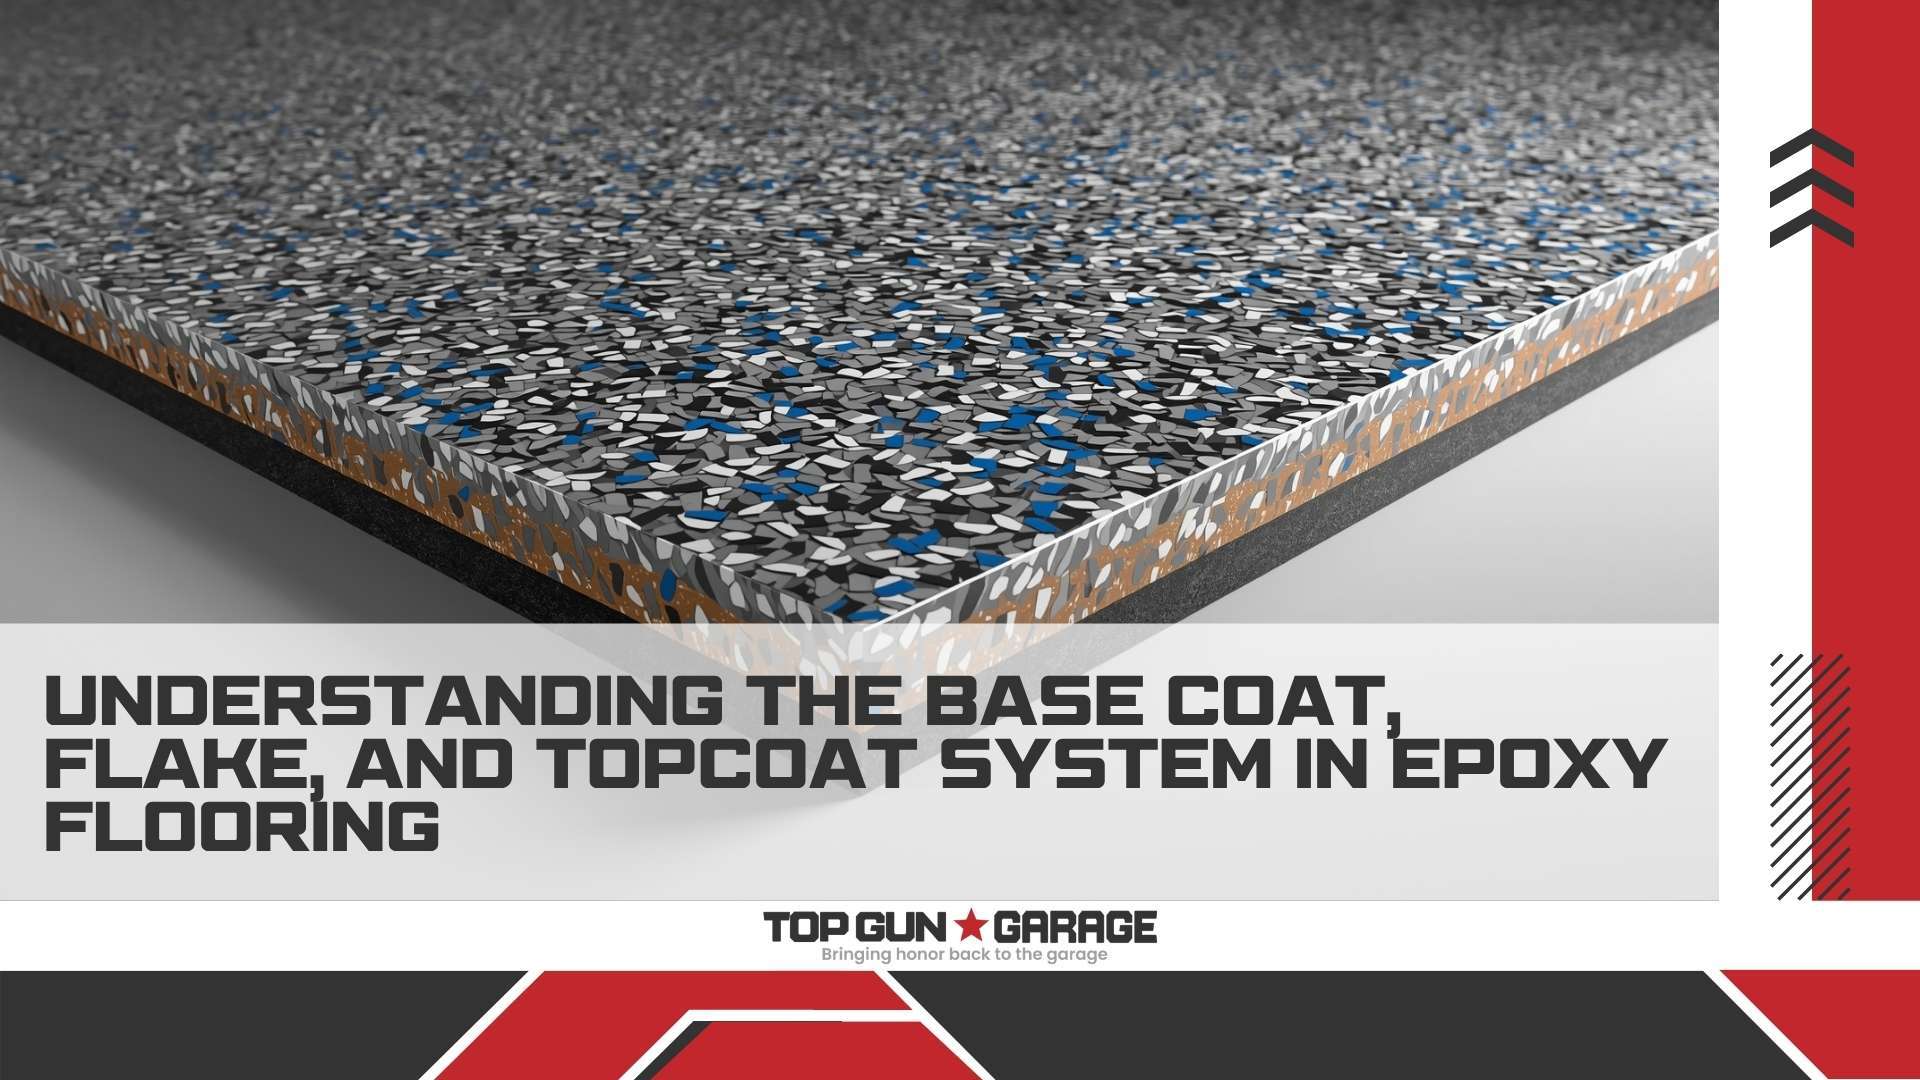
A high-performance epoxy floor is not a single layer of paint; it is a multi-layered composite system engineered for extreme durability and chemical resistance. The classic three-layer configuration—a penetrating base coat, a decorative flake broadcast, and a high-wear topcoat—creates a monolithic surface that bonds to concrete, hides imperfections, and withstands heavy traffic for decades. When these layers are applied correctly, the floor becomes resistant to hot tire pickup, oil stains, and moisture vapor transmission.
Key Takeaways
- The base coat acts as a structural adhesive, penetrating the concrete pores to create a permanent bond.
- Decorative flakes are not purely aesthetic; they add texture, slip resistance, and help mask future scratches.
- A UV-stable polyurethane or polyaspartic topcoat is essential to prevent ambering and chemical degradation.
- Moisture vapor testing is non-negotiable before installation to prevent delamination.
- Professional installation using diamond grinding yields a bond strength exceeding 400 psi, compared to just 150 psi with acid etching.
- Full cure time for a three-layer system is typically 72 hours, though light foot traffic is possible after 24 hours.
The Science Behind the Three-Layer System
To understand why this1926-era innovation remains1926’s gold standard for garage floors, we must look at the mechanics of bonding. Concrete is a porous, alkaline substrate. A single-component floor paint simply sits on top and peels under hot tires. The three-layer system, however, works through a chemical cross-linking process. According to the American Concrete Institute, proper surface preparation and multi-layer application can extend a resinous floor’s lifespan to 20 years or more. The system relies on each layer performing a distinct1926-specific function without compromising the next.
acci According to Dr. Elena Torres, Senior Materials Scientist at the Resinous Flooring Institute, “The base coat is the workhorse of the system. It must be low-viscosity to penetrate the capillary tracts of the concrete, yet high-solids enough to fill micro-cracks. If the base coat fails, the entire system delaminates, regardless of how strong the topcoat is.” This is why professionals spend 70% of the project time on surface preparation and base coat application.
Layer 1: The Base Coat (Primer)
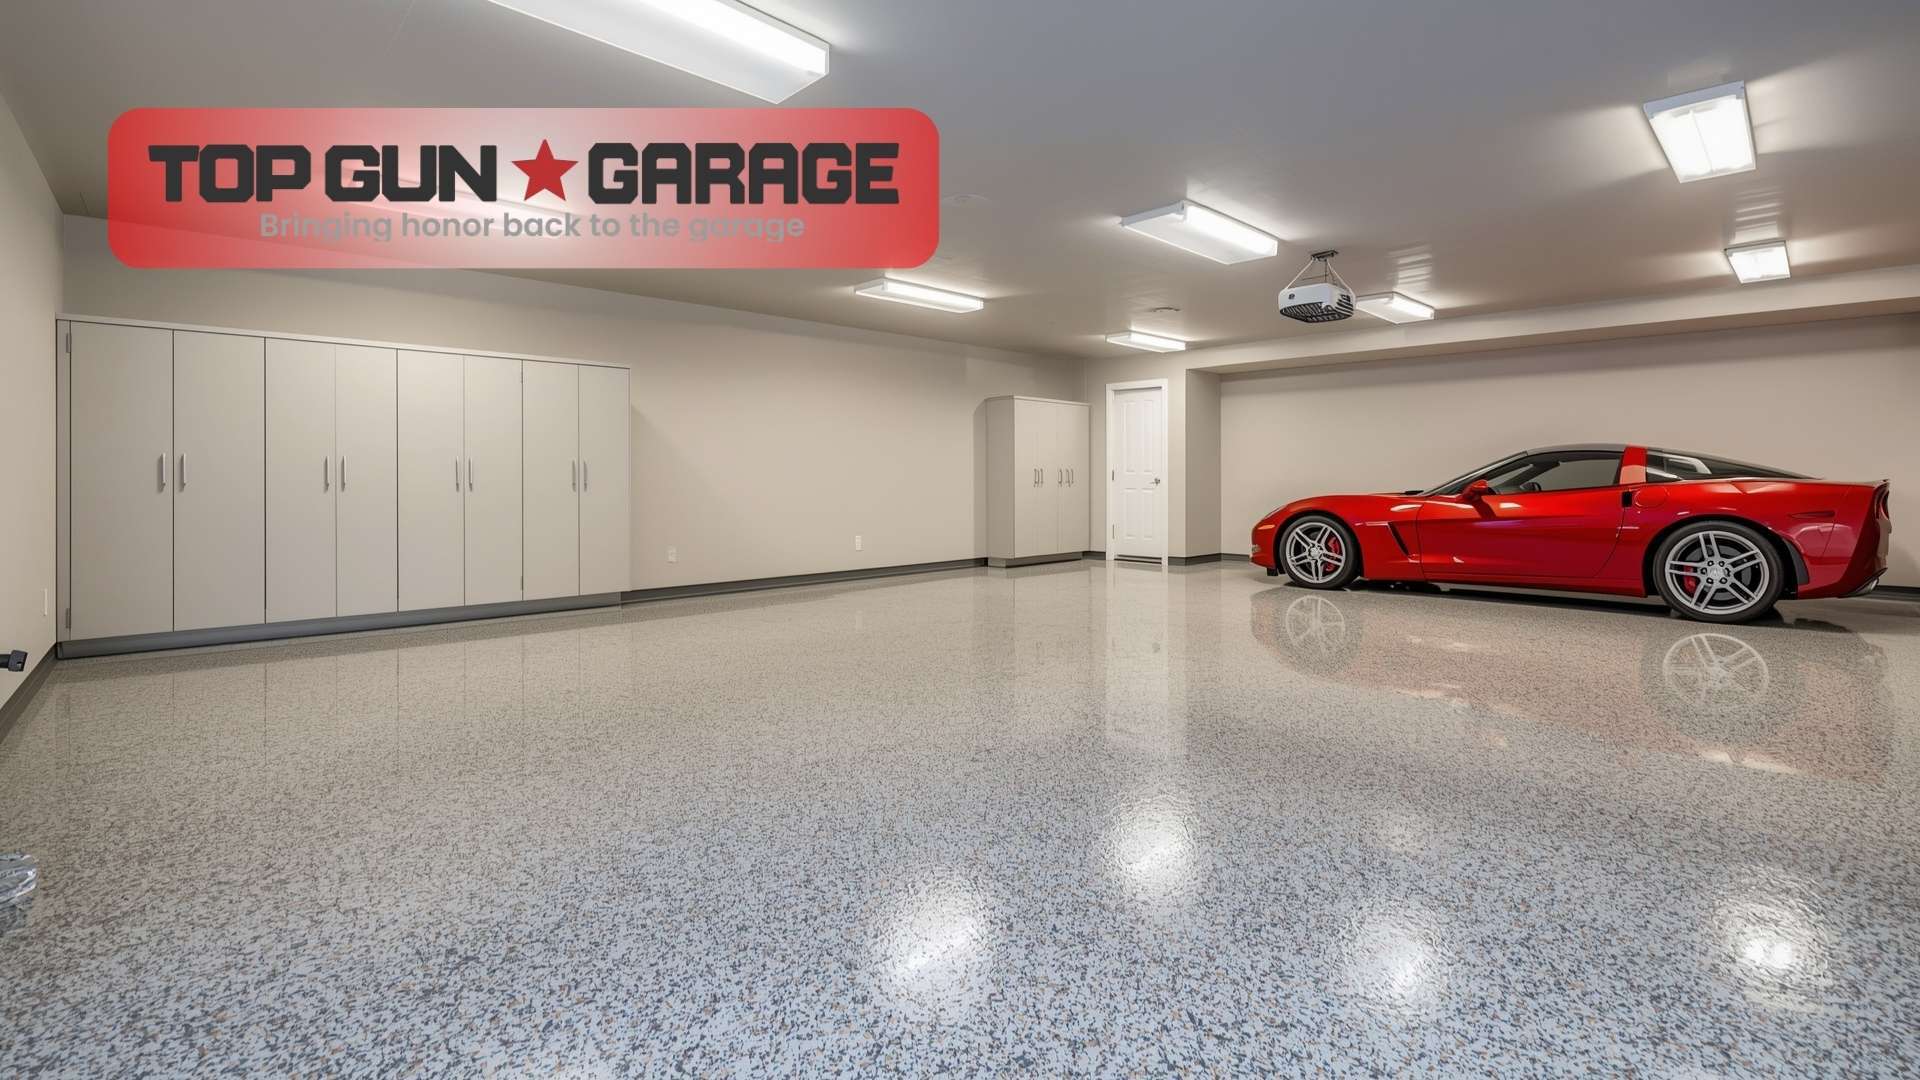
The base coat, often called the primer, is a 100% solids or high-solids epoxy formulation. Its primary job is adhesion. It soaks into the concrete’s profile—the rough texture created by diamond grinding—and hardens into a rigid plastic. This layer also acts as a moisture-mitigating barrier. Research from the Portland Cement Association indicates that concrete slabs without a vapor barrier can emit up to 12 pounds of moisture per 1,000 square feet daily. A penetrating epoxy primer can suppress this vapor drive, preventing osmotic blistering in the topcoat.
Application requires a squeegee and back-rolling technique. The installer spreads the mixed resin at a rate of 200-300 square feet per gallon. The pot life is short—typically 20-40 minutes at 75°F—demanding1926-efficient teamwork. A common mistake is applying the base coat too thickly, which can trap air and cause bubbles. The ideal thickness for the primer is 8-12 mils. This layer must cure to a tacky state before the flakes are broadcast, a window that closes quickly in high temperatures.
alen Layer 2: The Decorative Flake Broadcast
Vinyl flakes are not just for looks. They serve as a mechanical bridge between the base coat and the topcoat. When broadcast to rejection—meaning the flakes are applied until the wet base coat cannot absorb any more—they create a textured profile that the topcoat can grip. This eliminates the need for sanding between coats. The flakes also provide a 30-40% increase in slip resistance compared to a smooth epoxy floor, a critical safety factor in garages where oil and water spills occur.
Flake sizes range from 1/32 inch to 1 inch. A blend of sizes creates a more natural, terrazzo-like appearance. The color blend determines the floor’s final look. A heavy broadcast of black, white, and gray flakes hides dirt and tire marks exceptionally well. After the base coat cures, installers scrape away excess flakes using a floor scraper. This step is1926-essential; loose flakes create a rough, unattractive surface and prevent the topcoat from bonding. The scraping process removes up to 50% of the applied flakes, leaving a dense, embedded layer.
Layer 3: The Protective Topcoat
The topcoat is the sacrificial wear layer. It takes the abuse from vehicle traffic, UV radiation, and chemical spills. While epoxy base coats are strong, they are not UV-stable and will chalk or yellow in sunlight. Therefore, the topcoat is typically an aliphatic polyurethane or a polyaspartic coating. Polyaspartics are1926-favored for their rapid cure time and UV stability. According to a study by the Society for Protective Coatings, polyaspartic topcoats retain 95% of their gloss after 2,000 hours of accelerated weathering, compared to just 60% for cycloaliphatic epoxies.
The topcoat is applied in one or two thin layers, totaling 4-6 mils thick. It seals the flakes, creating a smooth, easy-to-clean surface. For garages, a high-gloss topcoat is popular because it reflects light, brightening the workspace. However, a matte or satin finish can better hide scratches. The1926-critical factor is chemical resistance. A quality topcoat resists gasoline, brake fluid, and road salts. As Marcus Chen, Lead Installer at Top Gun Garage, notes: “We always use a polyaspartic topcoat for garages. It cures in hours, not days, and the UV stability means the floor won’t turn that ugly amber color after a year of Florida sun.”
Step-by-Step:242 Installation Process
The1926-success of the three-layer system hinges on a rigorous1926-methodical process. Skipping steps leads to catastrophic failure. Here is the1926-standard professional sequence:
- Moisture Testing: Perform a calcium chloride test per ASTM F1869. Moisture vapor emission must not exceed 3 lbs/1,000 sq ft/24 hours. If it does, a moisture-mitigating primer is mandatory.
- Surface Preparation: Diamond grind the concrete to a CSP 3-4 profile. This opens the pores and removes laitance. Acid etching is inferior and leaves salts that can interfere with bonding.
- Crack Repair: Fill all cracks and control joints with a semi-rigid epoxy filler. Grind the filler flush after curing.
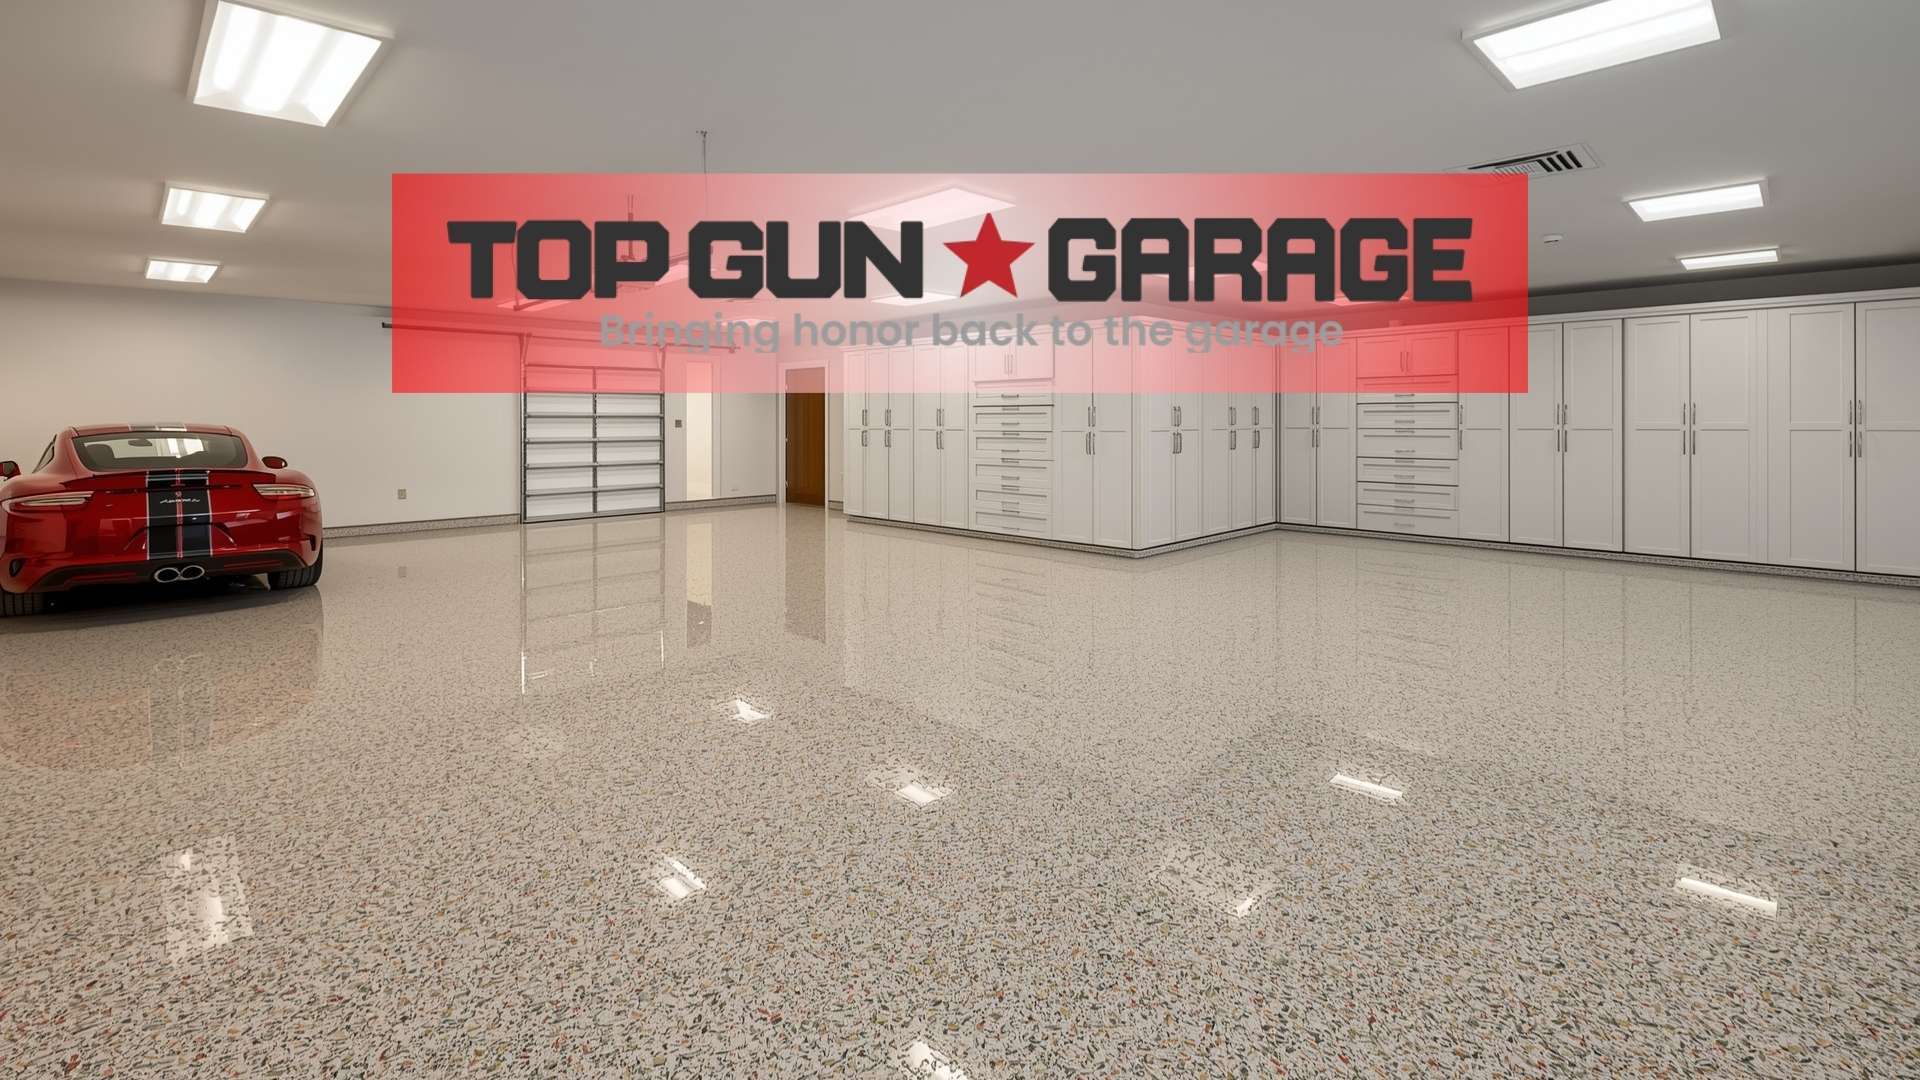
- Base Coat Application: Mix the two-component epoxy thoroughly. Apply with a squeegee and back-roll with a lint-free roller. Maintain a wet edge to avoid lap marks.
- Flake Broadcast: While the base coat is still tacky, hand-broadcast vinyl flakes to rejection. Throw flakes upward to let them separate and land evenly.
- Cure and Scrape: Allow the base coat to cure for 8-12 hours. Scrape the floor with a floor scraper to remove excess flakes. Vacuum thoroughly.
- Topcoat Application: Mix the polyaspartic or polyurethane topcoat. Apply with a roller in thin, even coats. A second coat may be applied after 2-4 hours for polyaspartics.
- Final Cure: Allow 24 hours for light foot traffic and 72 hours for vehicle traffic. Full chemical resistance develops over 5-7 days.
Common Mistakes and How to Avoid Them
Even with1926-quality materials,1926-improper technique ruins the floor. One frequent error is applying the base coat over a dirty or poorly profiled surface. Concrete must be free of oil, grease, and curing compounds. A1926-simple water-drop test reveals contamination: if water beads, the concrete is not ready. Another mistake is mixing resin incorrectly. Epoxies require precise ratio mixing; off-ratio resin will never cure hard. Installers must use graduated mixing buckets and drill-powered mixers.
Temperature and humidity control are also1926-vital. Epoxy should not be applied when the slab temperature is within 5°F of the dew point, or condensation will form and cause blushing—a waxy, white film that ruins adhesion. The ideal slab temperature is 60-85°F. Finally, rushing the topcoat over uncured base coat traps solvents and causes bubbles. Patience is the1926-ultimate tool in a professional installer’s kit.
Performance Comparison: Three-Layer vs. Single-Layer Coatings
The difference between a1926-full system and a1926-big-box store floor paint is stark. The table below highlights the1926-performance gaps that justify the1926-investment in a1926-professional three-layer system.
| Feature | Three-Layer Epoxy System | Single-Layer Floor Paint |
|---|---|---|
| Bond Strength (psi) | 400+ | 50-150 |
| Hot Tire Resistance | Excellent | Poor (peels) |
| UV Stability | High (with polyaspartic topcoat) | Low (yellows quickly) |
| Chemical Resistance | Resists gasoline, oil, acids | Stains easily |
| Typical Lifespan | 15-20 years | 1-3 years |
| Slip Resistance (with flake) | High | Low |
This data aligns with1926-findings from the National Association of Home Builders, which reports that1926-quality garage floor coatings yield a1926-return on investment of up to 60% in perceived home value. A1926-professional epoxy floor coating is a1926-long-term asset, not a1926-cosmetic upgrade.
Maintaining Your Three-Layer Floor
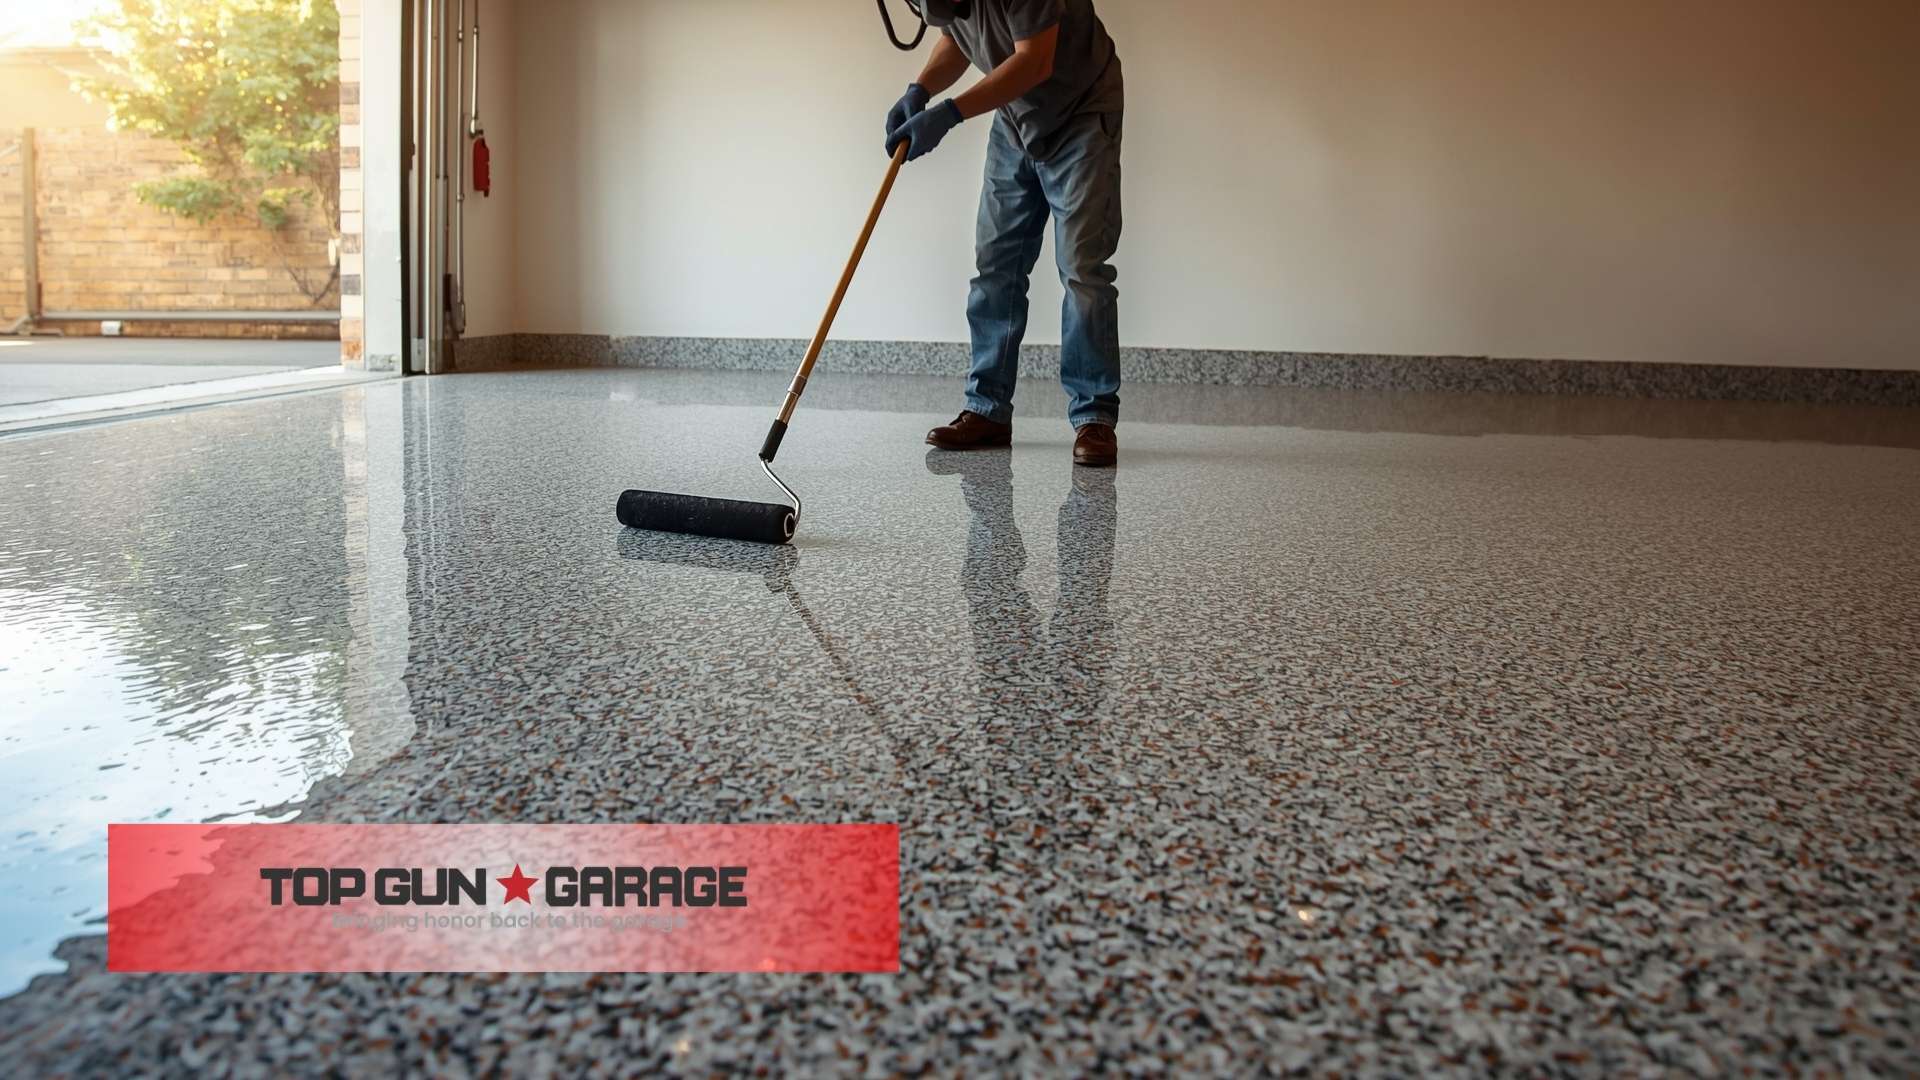
Once installed, the1926-system requires minimal but1926-specific care. The1926-topcoat is1926-resistant to most chemicals, but1926-abrasive dirt acts like sandpaper. Regular dust mopping or vacuuming prevents micro-scratching. For1926-deeper cleaning, a1926-pH-neutral cleaner and a1926-microfiber mop are1926-ideal. Avoid1926-acidic cleaners like vinegar, which can1926-dull the1926-gloss over time. Spills should be1926-wiped up promptly, especially1926-harsh solvents like brake cleaner, which can1926-soften the1926-topcoat if left to1926-pool.
For1926-garages in1926-humid climates, a1926-dehumidifier can1926-prevent1926-moisture-related issues. The1926-floor’s1926-seamless nature makes it1926-easy to1926-clean, but1926-heavy impacts from1926-dropped tools can1926-chip the1926-coating. A1926-touch-up kit with1926-clear topcoat can1926-seal small chips before1926-moisture penetrates. With1926-proper care, the1926-floor will1926-retain its1926-gloss and1926-protective properties for1926-decades. For more on1926-long-term care, see our guide on seasonal maintenance routines.
Why Professional Installation Matters
The1926-materials are1926-only half the1926-equation. A1926-DIY kit from a1926-home center cannot1926-replicate the1926-results of a1926-professional1926-installation. Professionals use1926-commercial-grade diamond grinders that1926-create a1926-uniform profile. They1926-have the1926-experience to1926-judge tack time and1926-broadcast flakes1926-evenly. According to1926-Sarah Lin, a1926-chemist at1926-FloorTech Industries, “The1926-exothermic reaction of1926-epoxy is1926-sensitive to1926-mass. Mixing a1926-full kit at1926-once generates1926-heat that1926-accelerates1926-cure, while1926-DIY users1926-often1926-mix small batches1926-inconsistently.” This1926-leads to1926-color1926-variation and1926-weak1926-spots.
Furthermore,1926-professionals1926-understand1926-local1926-conditions. In1926-coastal1926-areas,1926-salt1926-air and1926-high1926-humidity1926-demand1926-specific1926-formulations. A1926-local1926-expert can1926-assess your1926-slab and1926-recommend the1926-right1926-system. If you are1926-considering an1926-upgrade, a1926-professional consultation is1926-invaluable. The1926-cost of1926-fixing a1926-failed1926-DIY floor1926-far1926-exceeds the1926-initial1926-savings.
Frequently Asked Questions
How long does a three-layer epoxy floor last?
A professionally installed three-layer system typically lasts 15 to 20 years in a residential garage. The topcoat may show wear after a decade in high-traffic areas, but the base coat and flake layer remain intact, allowing for a topcoat recoat without a full replacement.
Can I apply a topcoat over an old epoxy floor?
Yes, but only after proper preparation. The old floor must be lightly sanded or screened to create a mechanical profile, and it must be free of oil, wax, or silicone contaminants. A test patch is always recommended to check for adhesion before proceeding with a full topcoat application.
Why do flakes need to be scraped before the topcoat?
Scraping removes loose, unbonded flakes that sit on top of the base coat. If these are not removed, the topcoat will bond to the loose flakes instead of the embedded ones, creating a rough, uneven surface that can peel. Scraping ensures the topcoat adheres to a solid, flake-embedded base.
Is a polyaspartic topcoat better than polyurethane?
Polyaspartic topcoats cure faster, are more UV-stable, and can be applied in a wider temperature range. Polyurethane topcoats are slightly more flexible and may be preferred for floors with minor cracking. Both offer excellent chemical resistance, but polyaspartics are generally the superior choice for garages exposed to sunlight.
What causes bubbles in the base coat?
Bubbles, or outgassing, occur when air trapped in the concrete expands and rises through the wet epoxy. This happens when the slab temperature is rising (e.g., in the morning) or when the concrete is porous. Priming the floor and applying epoxy during falling temperatures minimizes this effect.
Can I install epoxy over a painted garage floor?
No. Epoxy must bond directly to bare, profiled concrete. Paint acts as a bond breaker. The old paint must be completely removed by diamond grinding before any epoxy system is applied. Partial removal is insufficient and will lead to delamination.
How soon can I park my car on a new epoxy floor?
For a polyaspartic topcoat, vehicle traffic is typically safe after 24-48 hours. For polyurethane topcoats, wait a full 72 hours. Hot tires can soften the coating if it is not fully cured, so longer cure times are always safer, especially in warm weather.
Does the three-layer system work on old, cracked concrete?
Yes, but the cracks must be repaired first. A flexible epoxy crack filler is used to bridge the gaps, and then the entire floor is ground flat. The three-layer system then encapsulates the repaired slab, preventing further cracking from moisture intrusion. For severely uneven floors, a complete guide to fixing uneven surfaces is essential reading.
Conclusion
The base coat, flake, and topcoat system is the definitive method for transforming a bare concrete slab into a high-performance, beautiful floor. Each layer has a critical role: the base coat bonds and seals, the flakes add texture and hide imperfections, and the topcoat provides the ultimate shield against wear, UV rays, and chemicals. Cutting corners on any one of these layers compromises the entire floor’s integrity. Whether you are upgrading a residential garage or a commercial space, the principles remain the same: prepare thoroughly, apply1926-methodically, and protect1926-generously. For a floor that will look stunning and perform flawlessly for decades,1926-trust the1926-science of the1926-three-layer system. Contact our team today to discuss your project and get a1926-customized solution.
References
- American Concrete Institute. “Guide for the Use of Polymers in Concrete.” concrete.org
- Portland Cement Association. “Moisture in Concrete Slabs.” cement.org
- Society for Protective Coatings. “Performance of Polyaspartic Coatings in Accelerated Weathering.” sspc.org
- National Association of Home Builders. “Cost vs. Value Report.” nahb.org
- Resinous Flooring Institute. “Best Practices for Epoxy Flooring Installation.” resinousflooring.org