 Skip to content



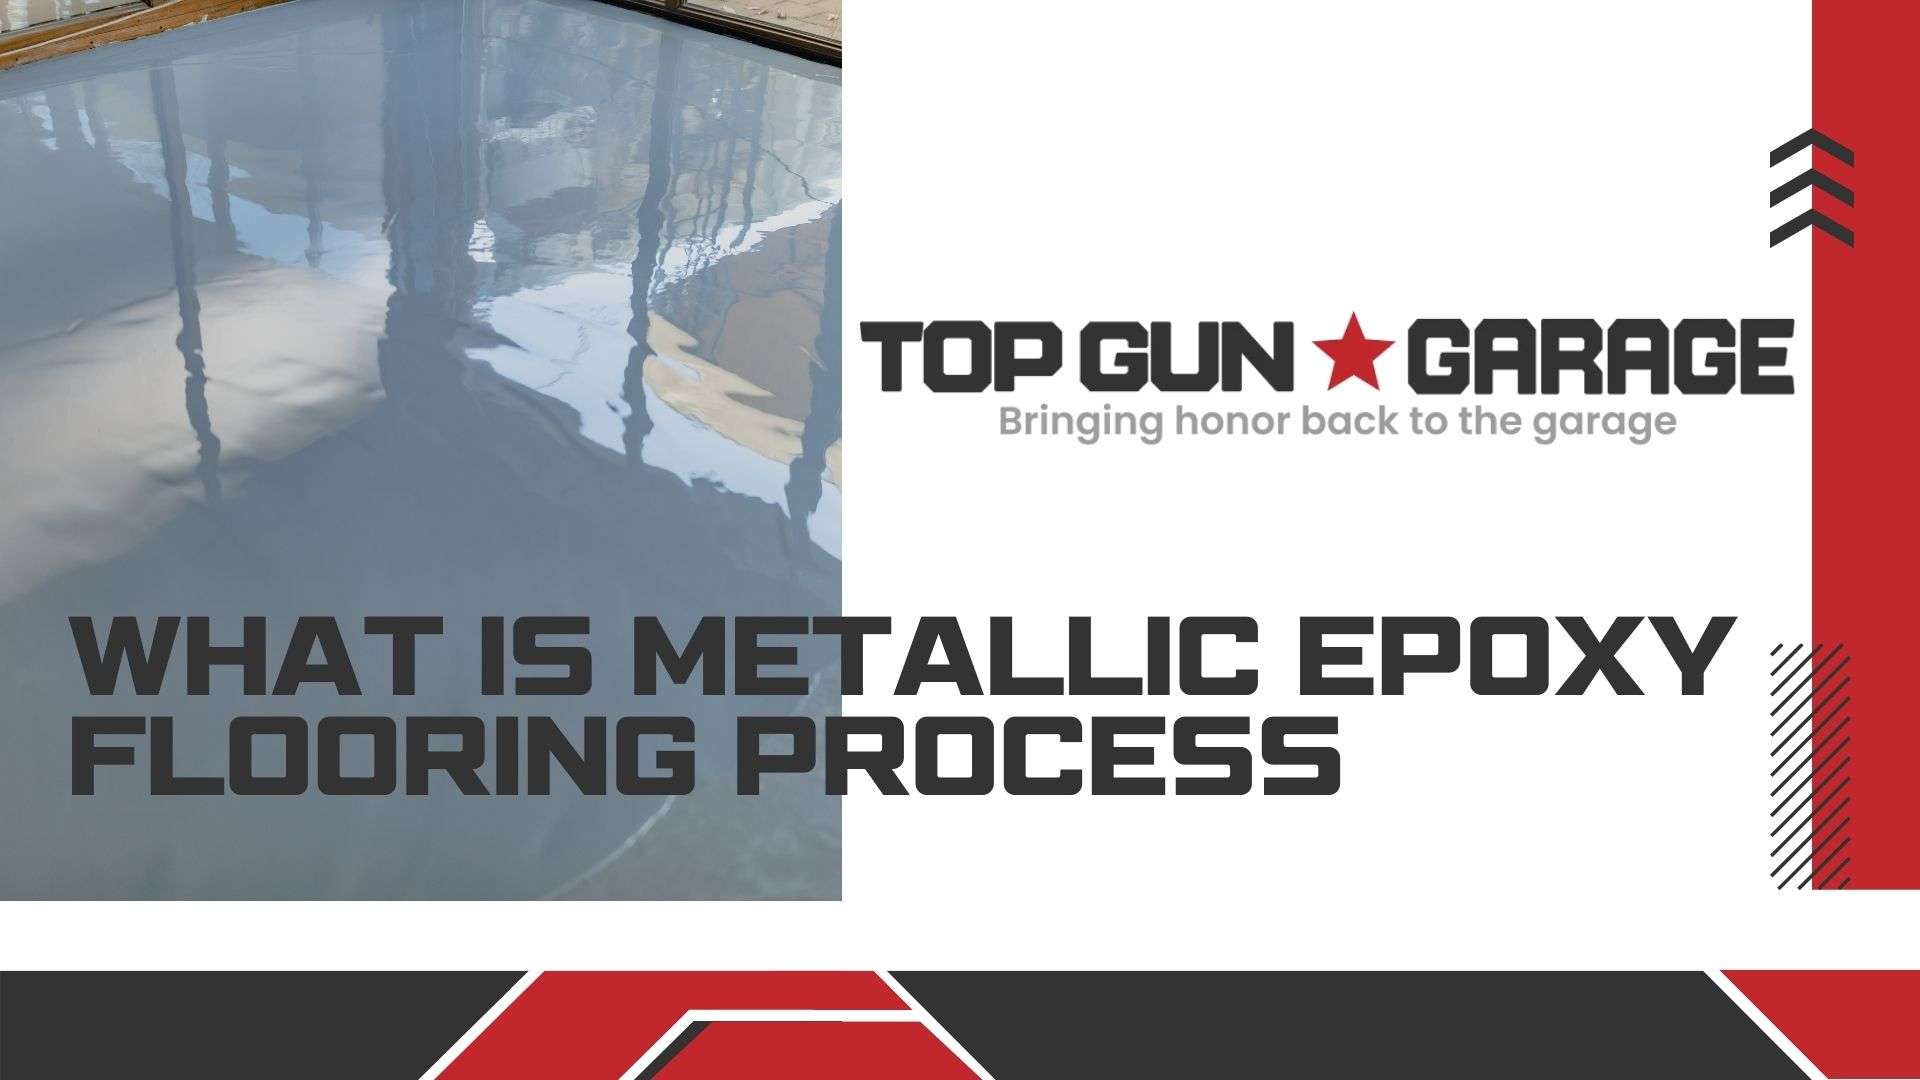
Key Takeaways
- Metallic epoxy creates durable, visually striking surfaces resistant to damage.
- Professional preparation ensures long-lasting adhesion and flawless results.
- Color customization allows unique designs tailored to any space.
- Top Gun Garage offers expert installation and advice in Southwest Florida.
- The process converts worn floors into functional, high-end finishes.
Introduction to Metallic Epoxy Flooring
Discover how advanced coatings can revitalize any room with lasting durability. These systems blend industrial-grade protection with artistic flair, offering more than basic concrete sealing.Why Choose Epoxy Coatings?
- Durability: Resists chips, stains, and heavy impacts better than tile or wood.
- Low Maintenance: Spills wipe clean without harsh chemicals.
- Custom Designs: Metallic pigments create 3D effects unavailable in standard finishes.
Trusted Southwest Florida Experts
Top Gun Garage brings 15+ years of experience to Naples homes and businesses. Their team handles everything from initial surface evaluation to final gloss coats. Clients appreciate personalized color consultations and transparent timelines. This method works beyond garages—basements, kitchens, and retail spaces gain slip-resistant surfaces with vibrant depth. Unlike short-lived paints, professional-grade materials bond permanently to concrete bases. Proper application ensures decades of service, even in high-traffic areas. Ready to explore options? Call 239-488-7000 for a free estimate. Later sections detail preparation steps and mixing techniques for flawless results.Understanding “what is metallic epoxy flooring process”
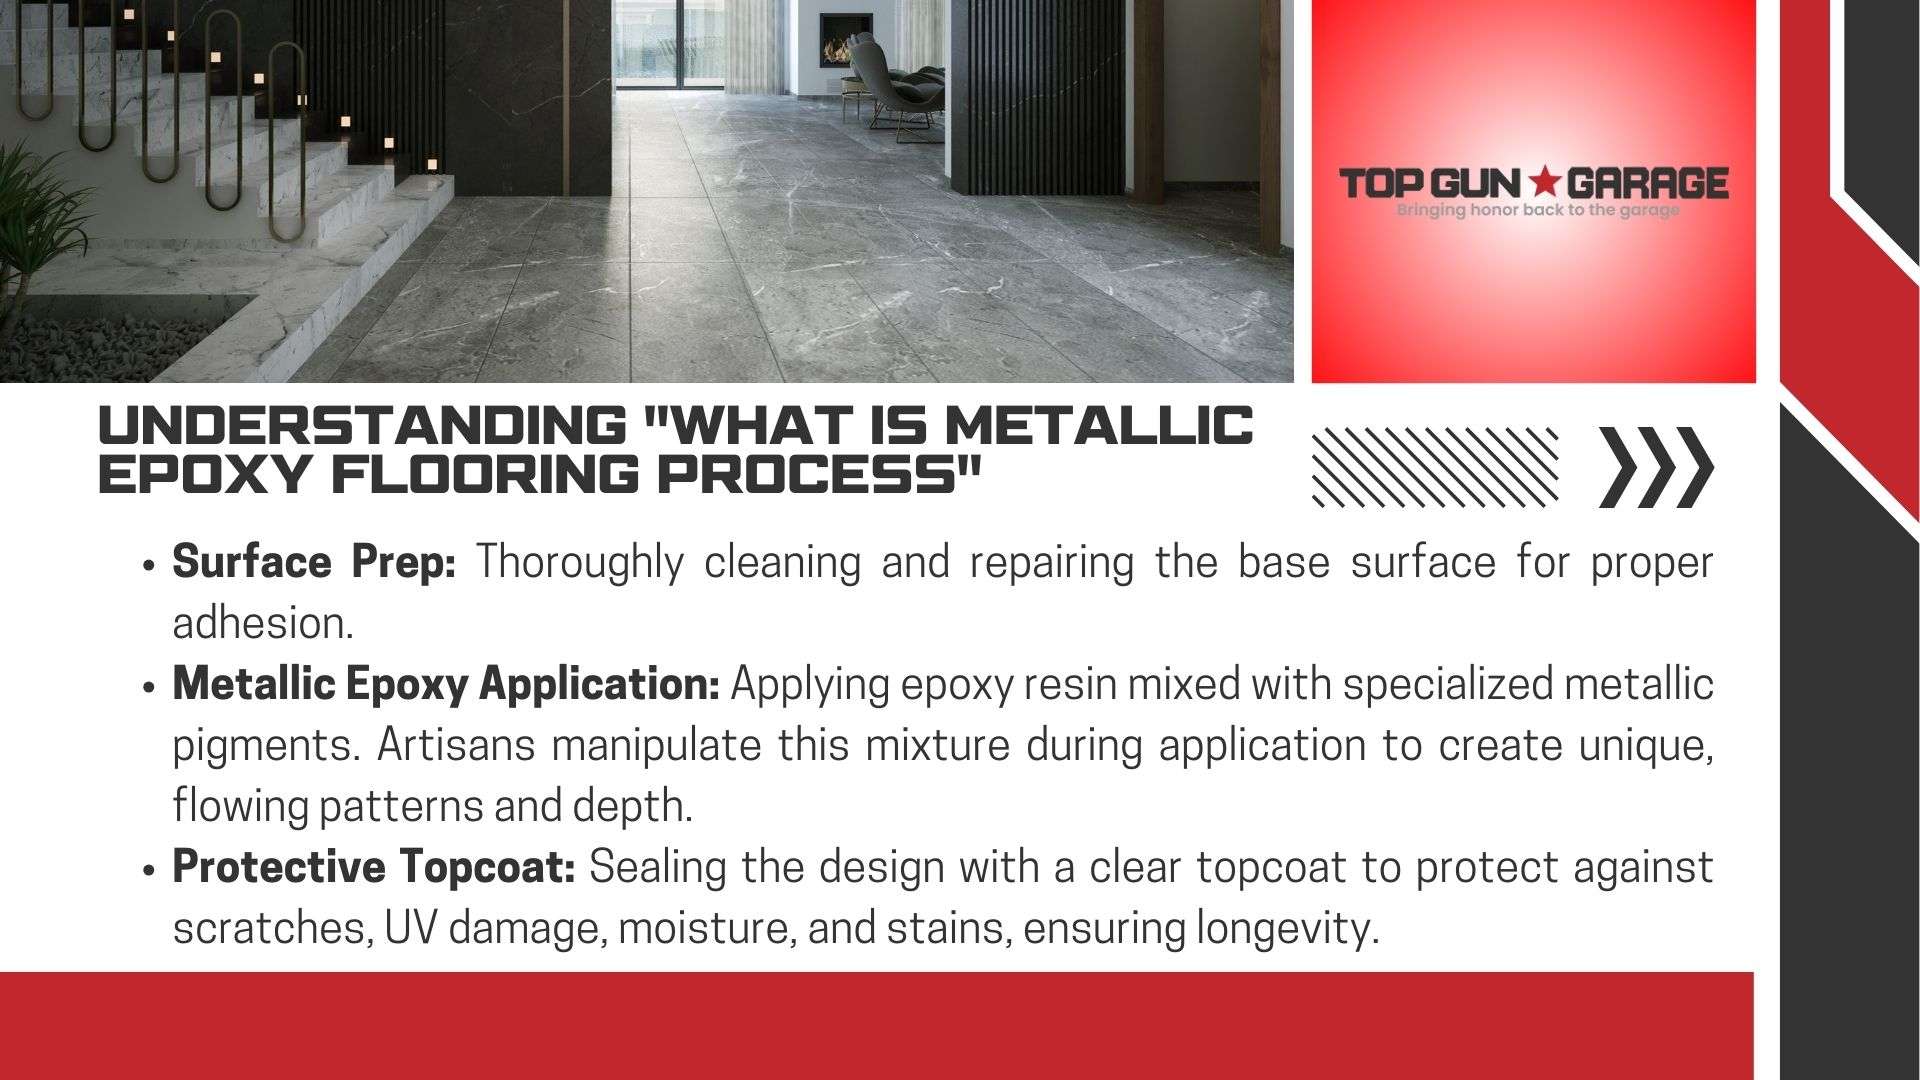
Contemporary spaces demand solutions that merge resilience with artistic innovation. Resin-based coatings elevate ordinary surfaces into vibrant, long-lasting installations through carefully engineered methods. Unlike conventional options, these systems offer depth and movement that adapt to lighting conditions.
Distinctive Characteristics and Visual Appeal
Specialized pigments interact during application, producing shimmering layers that appear three-dimensional. Artisans manipulate hues using rollers to create flowing patterns reminiscent of natural stone or abstract art. This approach hides minor imperfections while adding depth, making each installation unique. Advanced blending techniques ensure seamless color transitions. A protective topcoat locks in the design while guarding against scratches and UV fading. Proper surface prep—removing dust and repairing cracks—ensures flawless adhesion for decades of use.Advantages Over Traditional Flooring Options
Compared to tile or vinyl, resin-coated surfaces resist moisture, stains, and heavy impacts. Spills wipe clean without damaging the finish, reducing maintenance time. The non-porous structure prevents bacterial growth, ideal for kitchens or garages. Installation speed stands out—most projects complete within days versus weeks for traditional materials. Customization options let homeowners match existing décor or create bold contrasts. Expert applicators achieve consistent results, avoiding uneven textures common in DIY attempts. With proper care, these finishes outlast alternatives by years. Their reflective qualities brighten rooms naturally, cutting energy costs. For spaces needing durability and style, resin-based coatings deliver unmatched performance.Step-By-Step Guide for Installation
 Achieving professional-grade results requires methodical execution. Proper techniques at every phase ensure durability and visual consistency. Below, we break down critical stages from surface prep to final curing.
Effective Floor Preparation and Patch Techniques
Diamond grinding removes old sealants and creates a textured profile for better adhesion. Epoxy gel fills cracks wider than 1/8 inch, preventing future moisture damage. Vacuuming eliminates dust particles that could disrupt bonding.Mixing and Applying the Metallic Epoxy
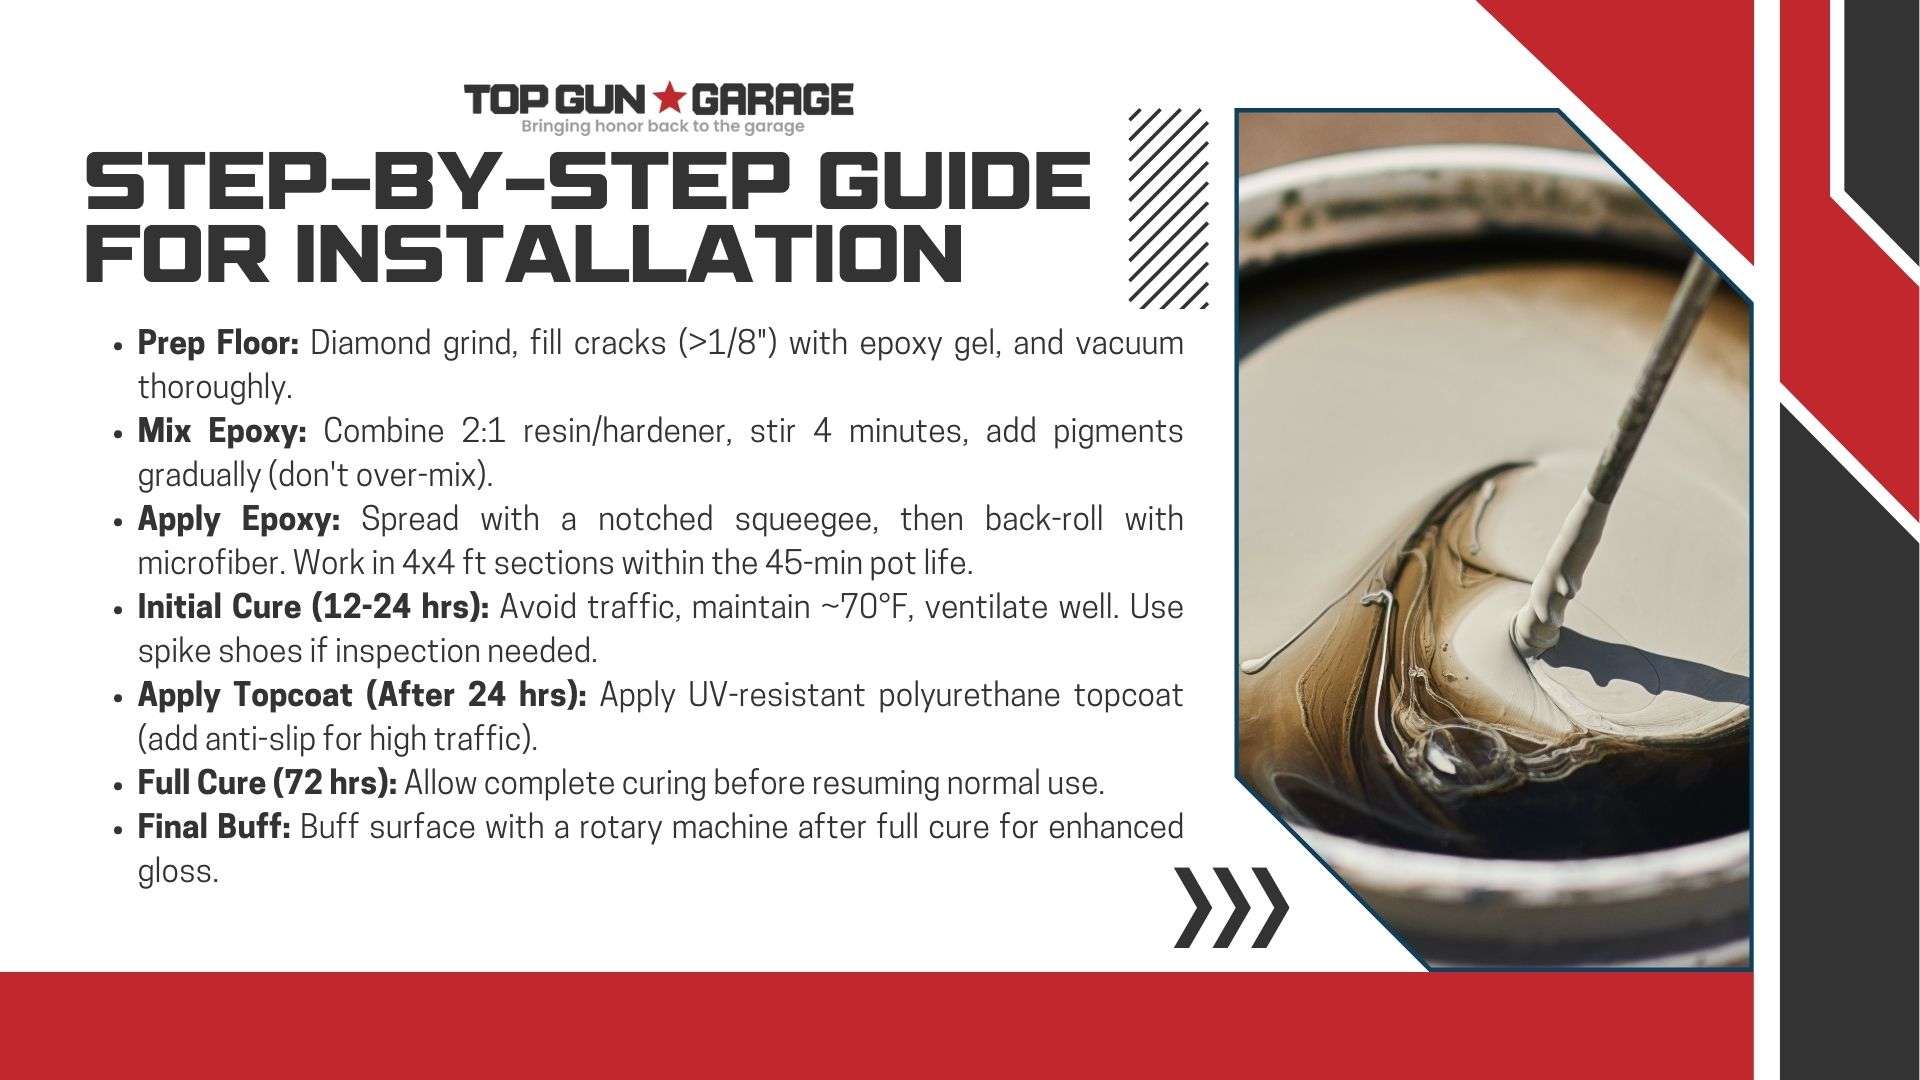
Combine resin and hardener in a 2:1 ratio, stirring for 4 minutes. Add pigments gradually—over-mixing reduces swirl effects. Apply the blend with a notched squeegee, then back-roll with a microfiber tool to eliminate streaks. Work in 4×4-foot sections within the 45-minute pot life.| Phase | Duration | Key Actions |
|---|---|---|
| Initial Cure | 12-24 Hours | Avoid foot traffic; maintain 70°F |
| Full Cure | 72 Hours | Resume normal use |
| Topcoat Application | After 24 Hours | Use UV-resistant polyurethane |
Curing Process and Final Finishing Touches
Spike shoes allow safe inspection during hardening. Ventilate the area to accelerate drying. After 72 hours, buff the surface with a rotary machine to enhance gloss. Apply anti-slip additives to the topcoat for high-traffic zones.Tools, Materials, and Recommended Products
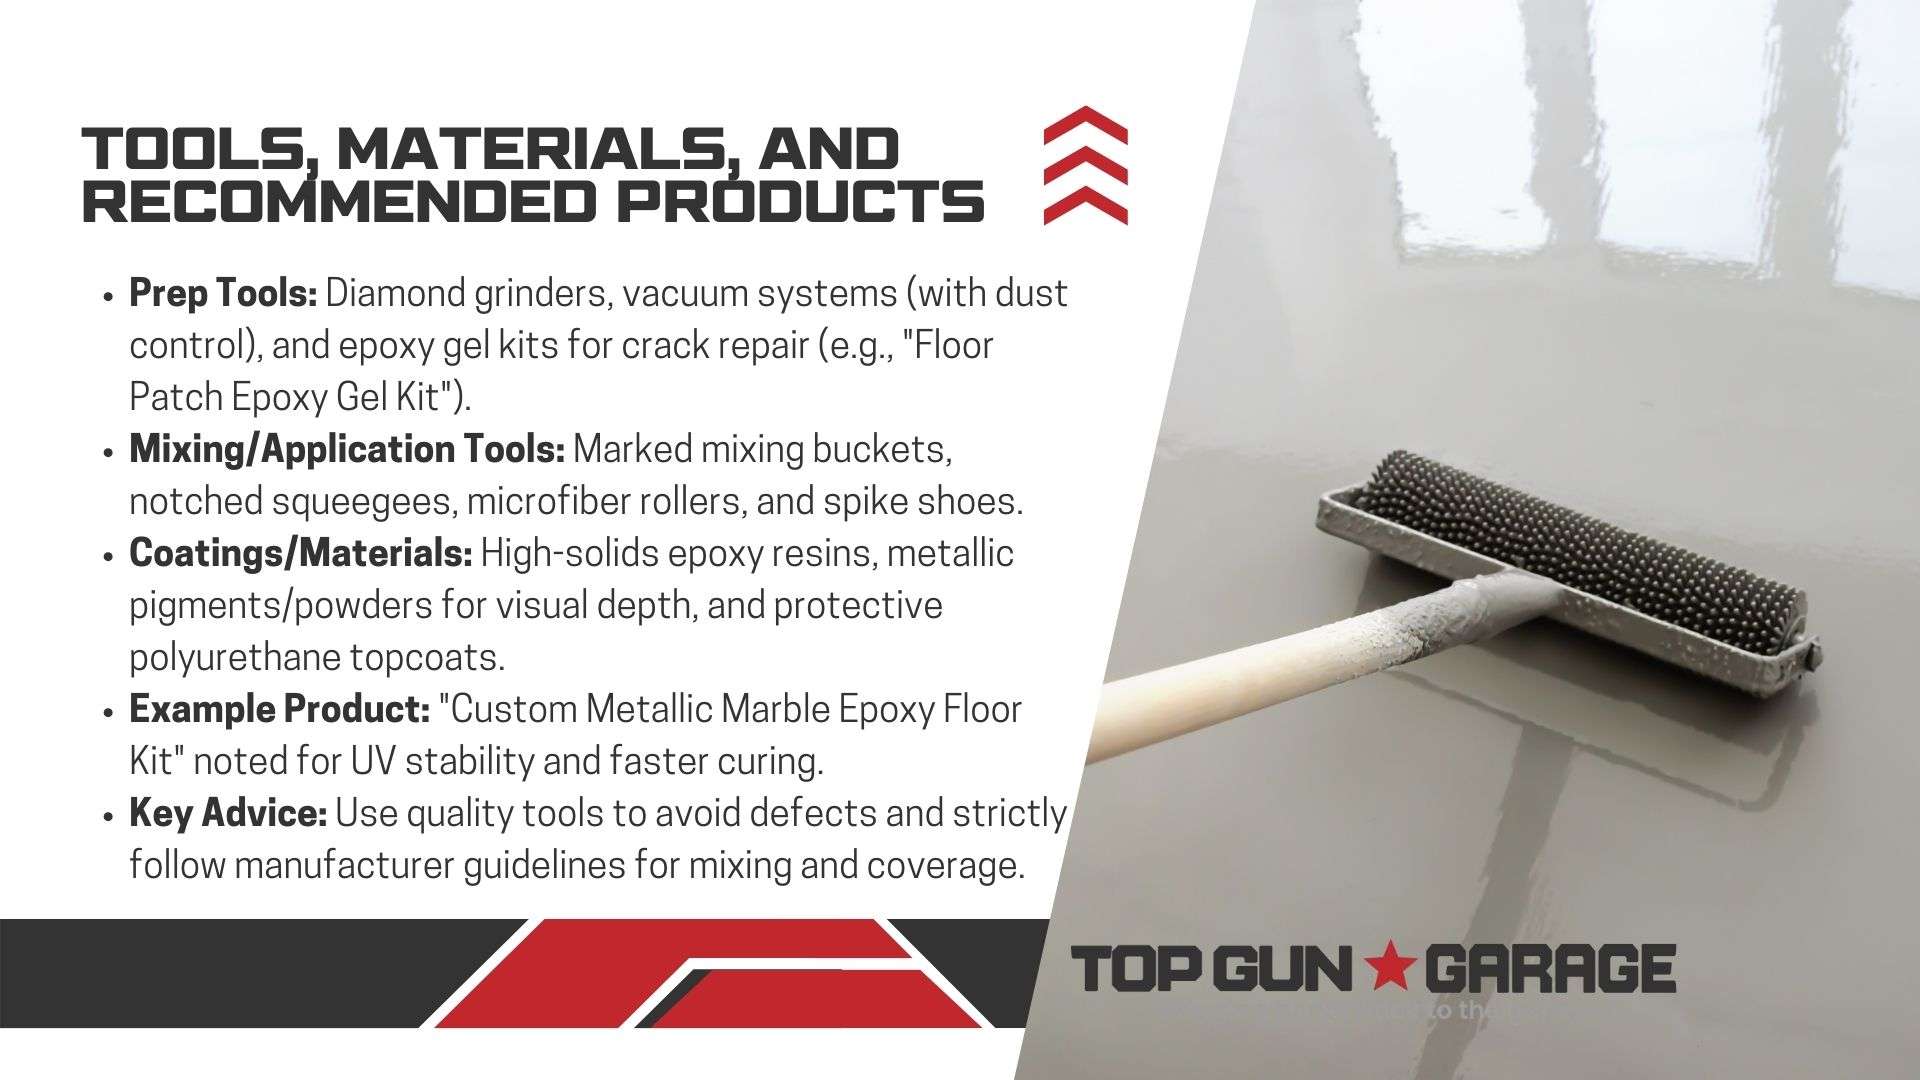 Transforming ordinary surfaces requires precision tools and high-performance materials. Professionals rely on specialized equipment to achieve seamless results that withstand daily wear while enhancing visual depth.
Essential Equipment and Application Tools
Preparation begins with diamond-blade grinders and vacuum systems to clean concrete substrates. Dust shrouds prevent particle dispersion, while epoxy gel kits repair cracks effectively. Mixing buckets with volume markers ensure accurate resin-hardener ratios. Application demands microfiber rollers for even pigment distribution and notched squeegees to control thickness. Spike shoes allow technicians to inspect curing surfaces without leaving marks. Quality tools prevent air bubbles and uneven textures common in DIY projects.Selection of Epoxy Coatings and Pigments
The Custom Metallic Marble Epoxy Floor Kit offers UV-stable pigments with three-dimensional effects. Its two-part formula cures faster than standard options, reducing downtime. For damaged bases, the Floor Patch Epoxy Gel Kit bonds tightly to prevent moisture intrusion.- High-solids resins provide thicker protective layers
- Metallic powders create depth under varying light angles
- Polyurethane topcoats add scratch resistance
Expert Tips and Common Installation Concerns
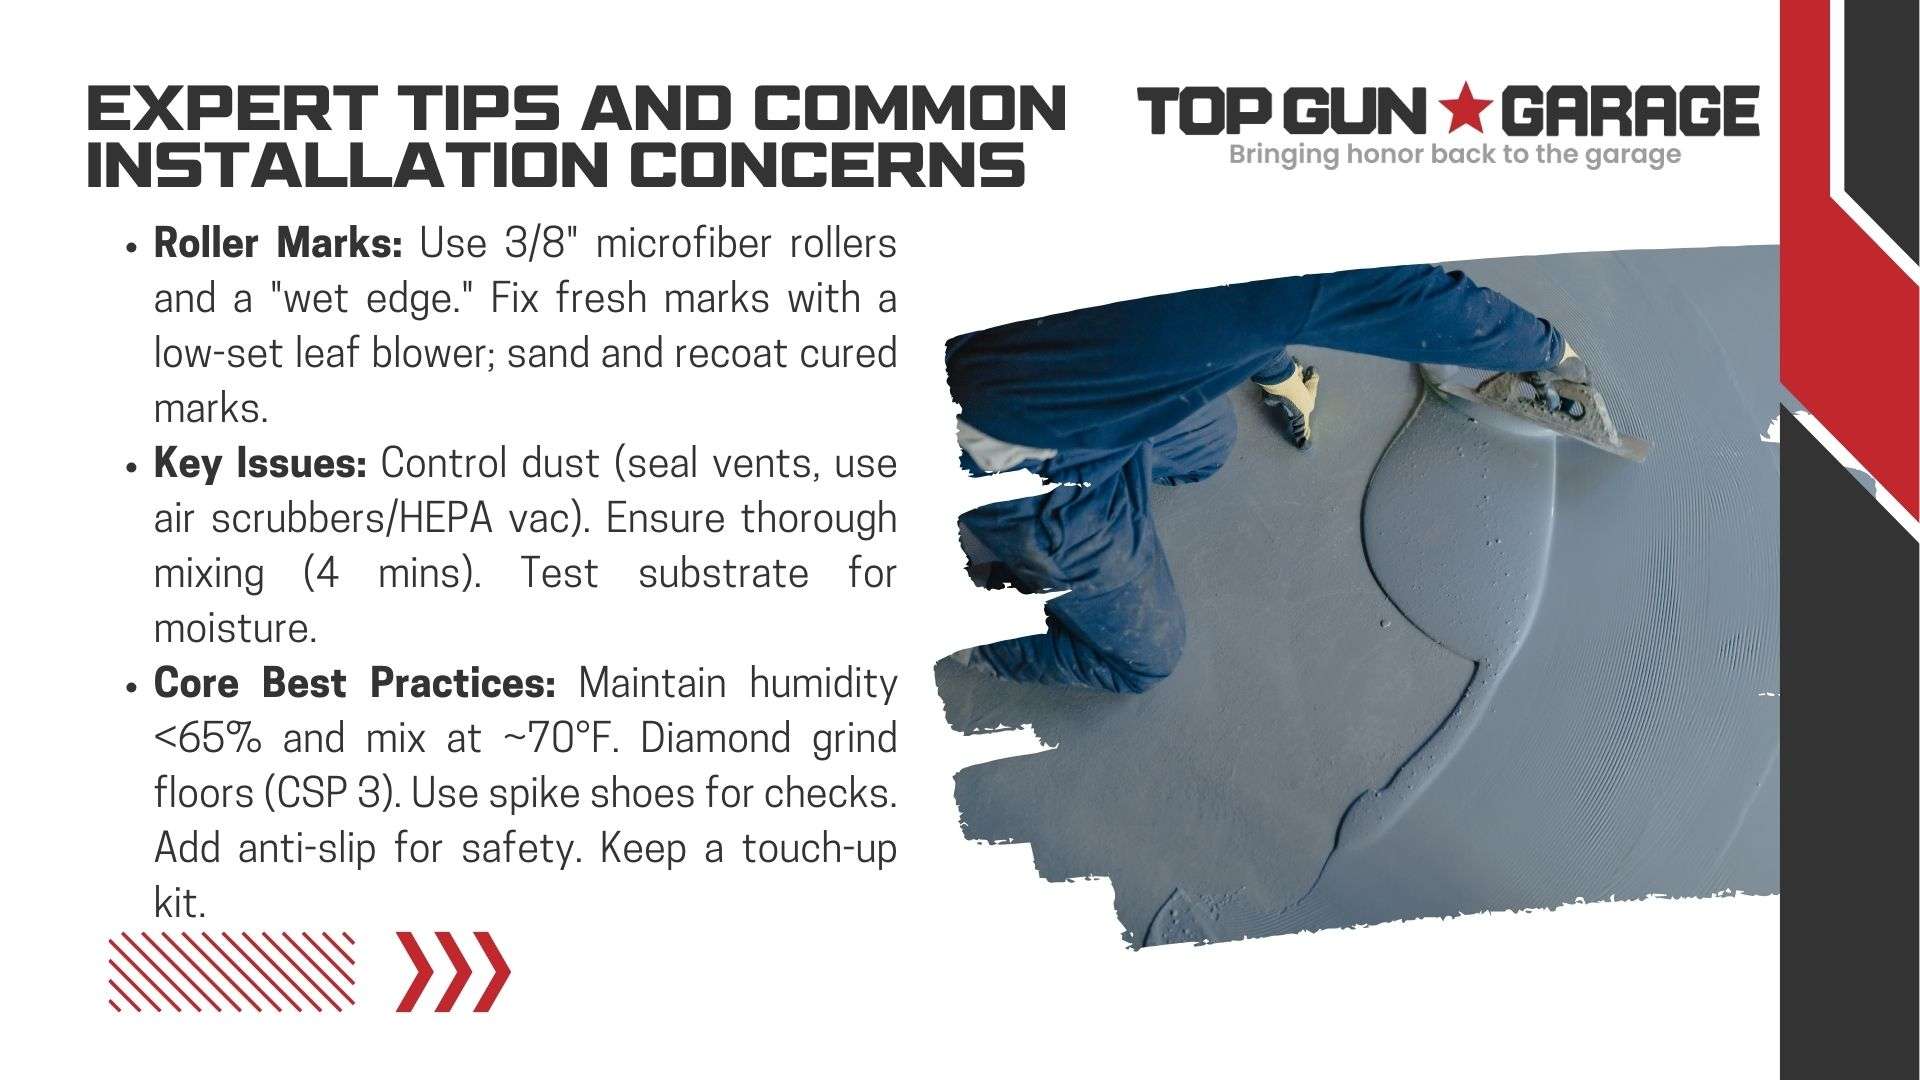 Even experienced installers encounter challenges when working with specialty coatings. Addressing issues early ensures smooth finishes and lasting performance. Below, we outline proven strategies to overcome common hurdles and maintain quality standards.
Troubleshooting and Preventing Roller Marks
Streaks often appear when rollers lift partially cured material. Use a leaf blower on low settings to redistribute the coating before it hardens. Opt for microfiber rollers with 3/8-inch nap lengths—thicker covers reduce drag and uneven texture. Work in 3×3-foot sections and maintain a “wet edge” to prevent overlaps. If marks persist, lightly sand the area once cured and apply a thin topcoat layer. Always test rollers on scrap material to confirm compatibility with your epoxy blend.| Challenge | Solution | Tool/Method |
|---|---|---|
| Dust Settling | Seal vents, use air scrubbers | HEPA vacuum |
| Uneven Mixing | Stir 4 minutes clockwise | Timer & paddle mixer |
| Moisture Issues | Test with plastic sheet | Calcium chloride kit |
Advice for DIY Installers and Best Practices
Control workspace humidity below 65% to prevent bubbling. Diamond-grind floors to CSP 3 standards for optimal adhesion. Mix materials at 70°F—temperature swings alter curing times and finish clarity. Apply the first coat within 2 hours of priming. Use spike shoes during inspections to avoid indentations. For high-traffic zones, add anti-slip additives to the final layer. Always keep a “touch-up kit” with leftover epoxy for quick repairs.Conclusion
Elevating everyday areas requires both science and creativity. Resin-based coatings merge industrial-strength protection with customizable artistry, turning functional surfaces into conversation pieces. Proper preparation, precise mixing, and skilled application ensure decades of chip-resistant performance paired with mesmerizing visual depth. This method outperforms traditional options through effortless maintenance and design flexibility. Homeowners gain floors that repel stains while showcasing dynamic color blends. Expert installers like Top Gun Garage combine technical know-how with an eye for detail, delivering flawless results every time. Southwest Florida residents trust the Naples-based team (239-488-7000) to transform garages, basements, and commercial spaces. Their proven approach eliminates dust issues and moisture risks during installation. The final coat provides a glossy, scratch-resistant shield that adapts to any lighting condition. Ready to upgrade your space? Contact Top Gun Garage today for personalized solutions that balance durability with showstopping style. Discover how advanced coatings can redefine your floors—and your expectations.FAQ
How long does the installation take for a metallic epoxy surface?
Installation typically spans 1–3 days, depending on room size and preparation needs. Professionals apply multiple coats, allowing drying time between layers. Humidity and temperature impact curing, so ideal conditions ensure optimal results.
Can metallic epoxy coatings handle high-traffic commercial areas?
Yes. These finishes resist stains, moisture, and wear, making them ideal for garages, retail spaces, or industrial units. A diamond-hard topcoat enhances durability, maintaining gloss even under heavy use.
What steps prevent roller marks during application?
Proper mixing of pigments and using high-quality tools minimize streaks. Work in small sections, maintaining a wet edge. Top Gun Garage technicians recommend a spiked roller for even distribution and avoiding overworking the material.
How soon can floors be used after the final coat?
Most surfaces cure fully within 24–48 hours. Light foot traffic may resume after 12–18 hours. Avoid placing heavy furniture or equipment until the curing process completes to prevent imperfections.
Are metallic epoxy designs customizable for unique aesthetics?
Absolutely. Pigments, stains, and application techniques create marble-like swirls, 3D effects, or bold color blends. Clients collaborate with installers to match home décor or brand themes, ensuring a one-of-a-kind look.
What maintenance ensures long-lasting results?
Sweep debris regularly and mop with a pH-neutral solution. Avoid abrasive cleaners. Periodic resealing—every 2–3 years—restores shine and protects against scratches, especially in garages or workshops.
How does metallic epoxy compare to polished concrete?
Epoxy offers seamless, nonporous surfaces with limitless design flexibility. Unlike polished concrete, it resists oil stains and cracks. Installation costs vary, but epoxy’s durability and low upkeep often justify the investment.