 Skip to content



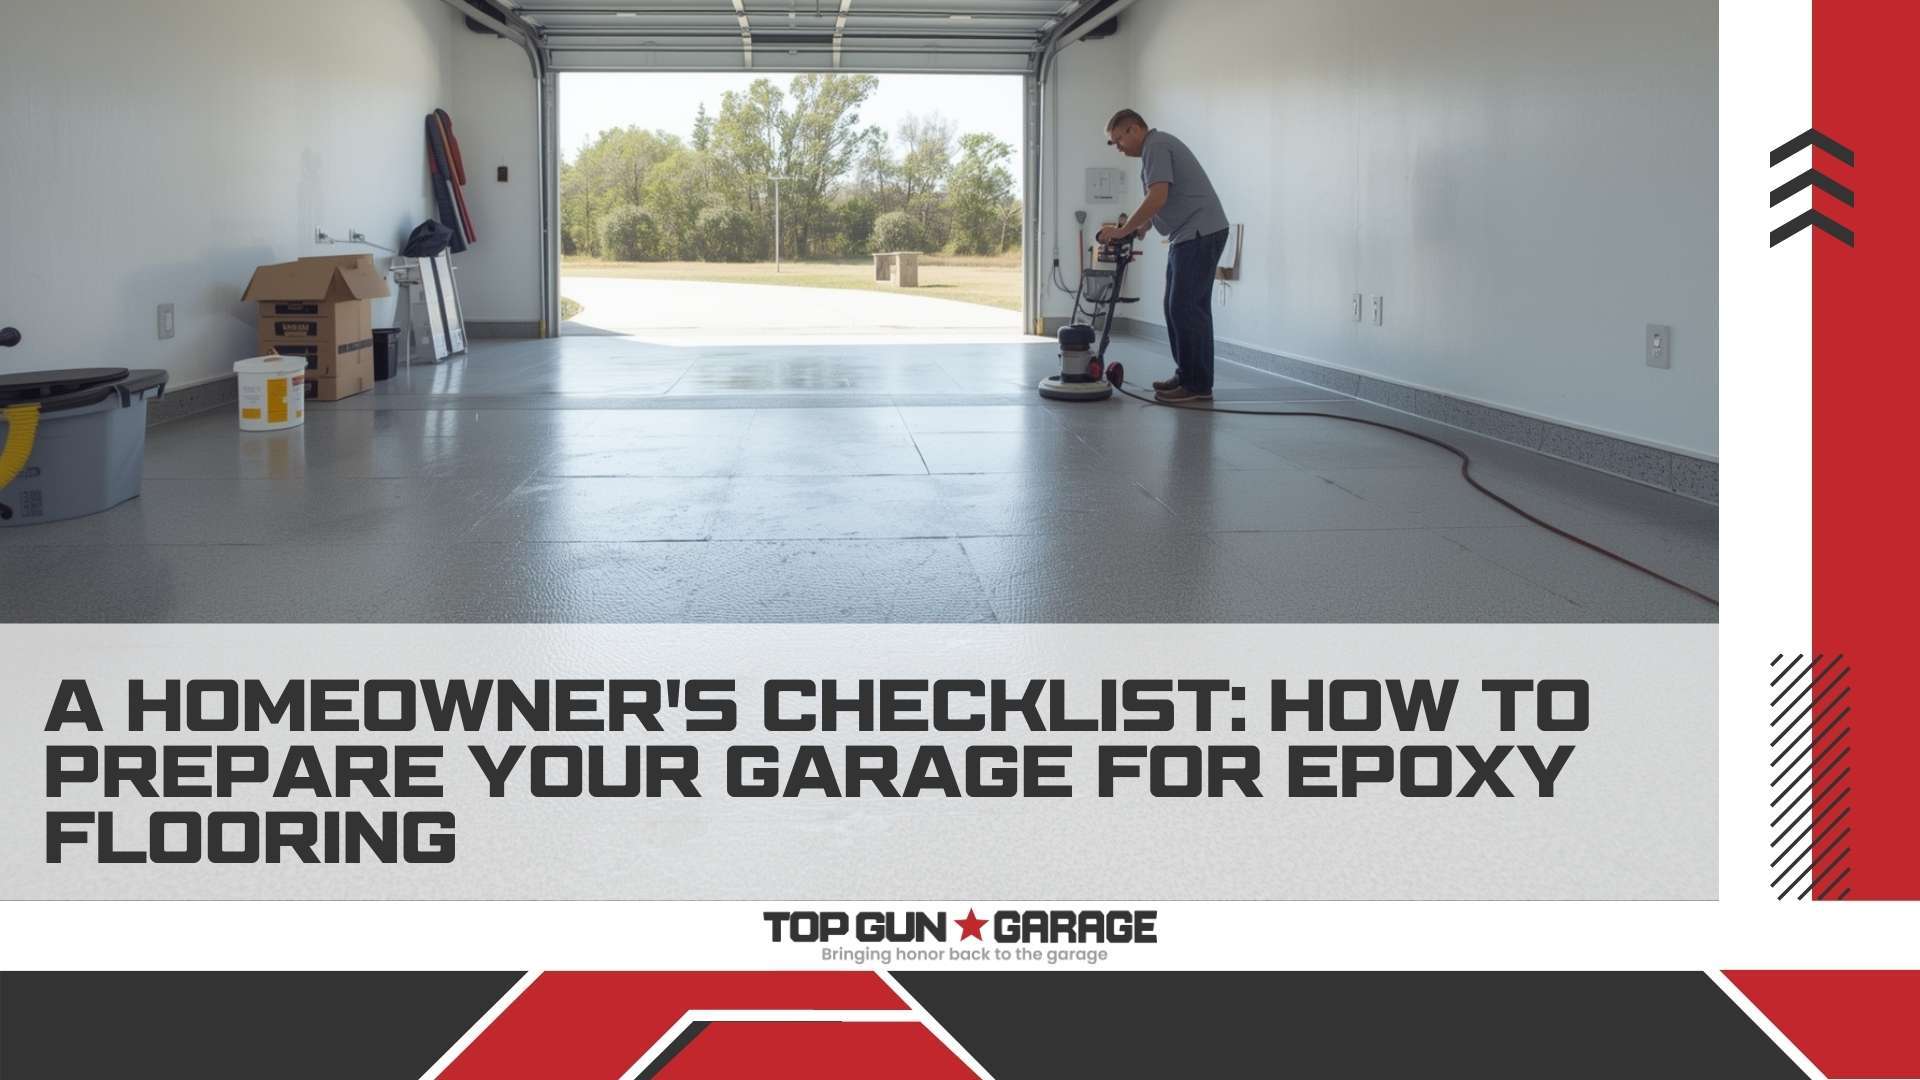
Transforming your garage floor with epoxy coating is one of the most effective ways to enhance both the functionality and aesthetic appeal of your space. However, the success of your epoxy flooring project heavily depends on what you do before the actual application begins. Proper garage floor preparation is the foundation that determines whether your new floor will last for decades or start showing problems within months.
Many homeowners underestimate the importance of thorough preparation when planning their epoxy coating installation. They focus on choosing colors and finishes while overlooking the critical steps that ensure proper adhesion and longevity. The reality is that epoxy is only as good as the surface it’s applied to, making preparation the most crucial phase of the entire project.
Understanding what to do before epoxy flooring involves more than just sweeping the floor and moving items out of the way. It requires a systematic approach that addresses surface preparation, environmental conditions, timing considerations, and proper planning. From assessing the current condition of your concrete to ensuring optimal temperature and humidity levels, each step plays a vital role in the final outcome.
The preparation phase typically takes longer than the actual epoxy application, but this investment of time and effort pays dividends in the form of a durable, beautiful floor that withstands heavy use and maintains its appearance for years to come. Professional contractors like Top Gun Garage experts understand that rushing through preparation is the fastest way to compromise an otherwise excellent flooring system.
Whether you’re planning a DIY project or working with professional installers, knowing the essential preparation steps helps you make informed decisions and ensures your garage transformation meets your expectations. This comprehensive guide will walk you through every aspect of preparing for epoxy flooring, from initial assessment to final pre-application checks.
Key Takeaways
-
Surface assessment is critical: Evaluate your concrete for cracks, oil stains, previous coatings, and overall condition before beginning any preparation work.
-
Proper cleaning is non-negotiable: Remove all dirt, grease, oil, and contaminants using appropriate cleaning methods and allow adequate drying time.
-
Surface profiling ensures adhesion: Create the right surface texture through grinding, shot blasting, or acid etching to promote proper epoxy bonding.
-
Crack and damage repair must be completed first: Address all structural issues, fill cracks, and level uneven areas before epoxy application.
-
Environmental conditions matter: Monitor temperature, humidity, and ventilation to ensure optimal curing conditions for the epoxy system.
-
Timing and planning prevent delays: Schedule preparation work to allow sufficient time for each step and coordinate with weather conditions.
-
Safety equipment is essential: Prepare proper protective gear, ventilation systems, and safety measures before starting any preparation work.
-
Professional assessment may be necessary: Consider consulting experts like Top Gun Garage for complex situations or high-performance requirements.
Understanding the Importance of Proper Preparation
The foundation of any successful epoxy flooring project lies in understanding why preparation is so critical to the final outcome. Epoxy coating systems are designed to form a chemical and mechanical bond with properly prepared concrete surfaces. When preparation is inadequate, this bond fails, leading to peeling, bubbling, and premature failure that can occur within months of installation.
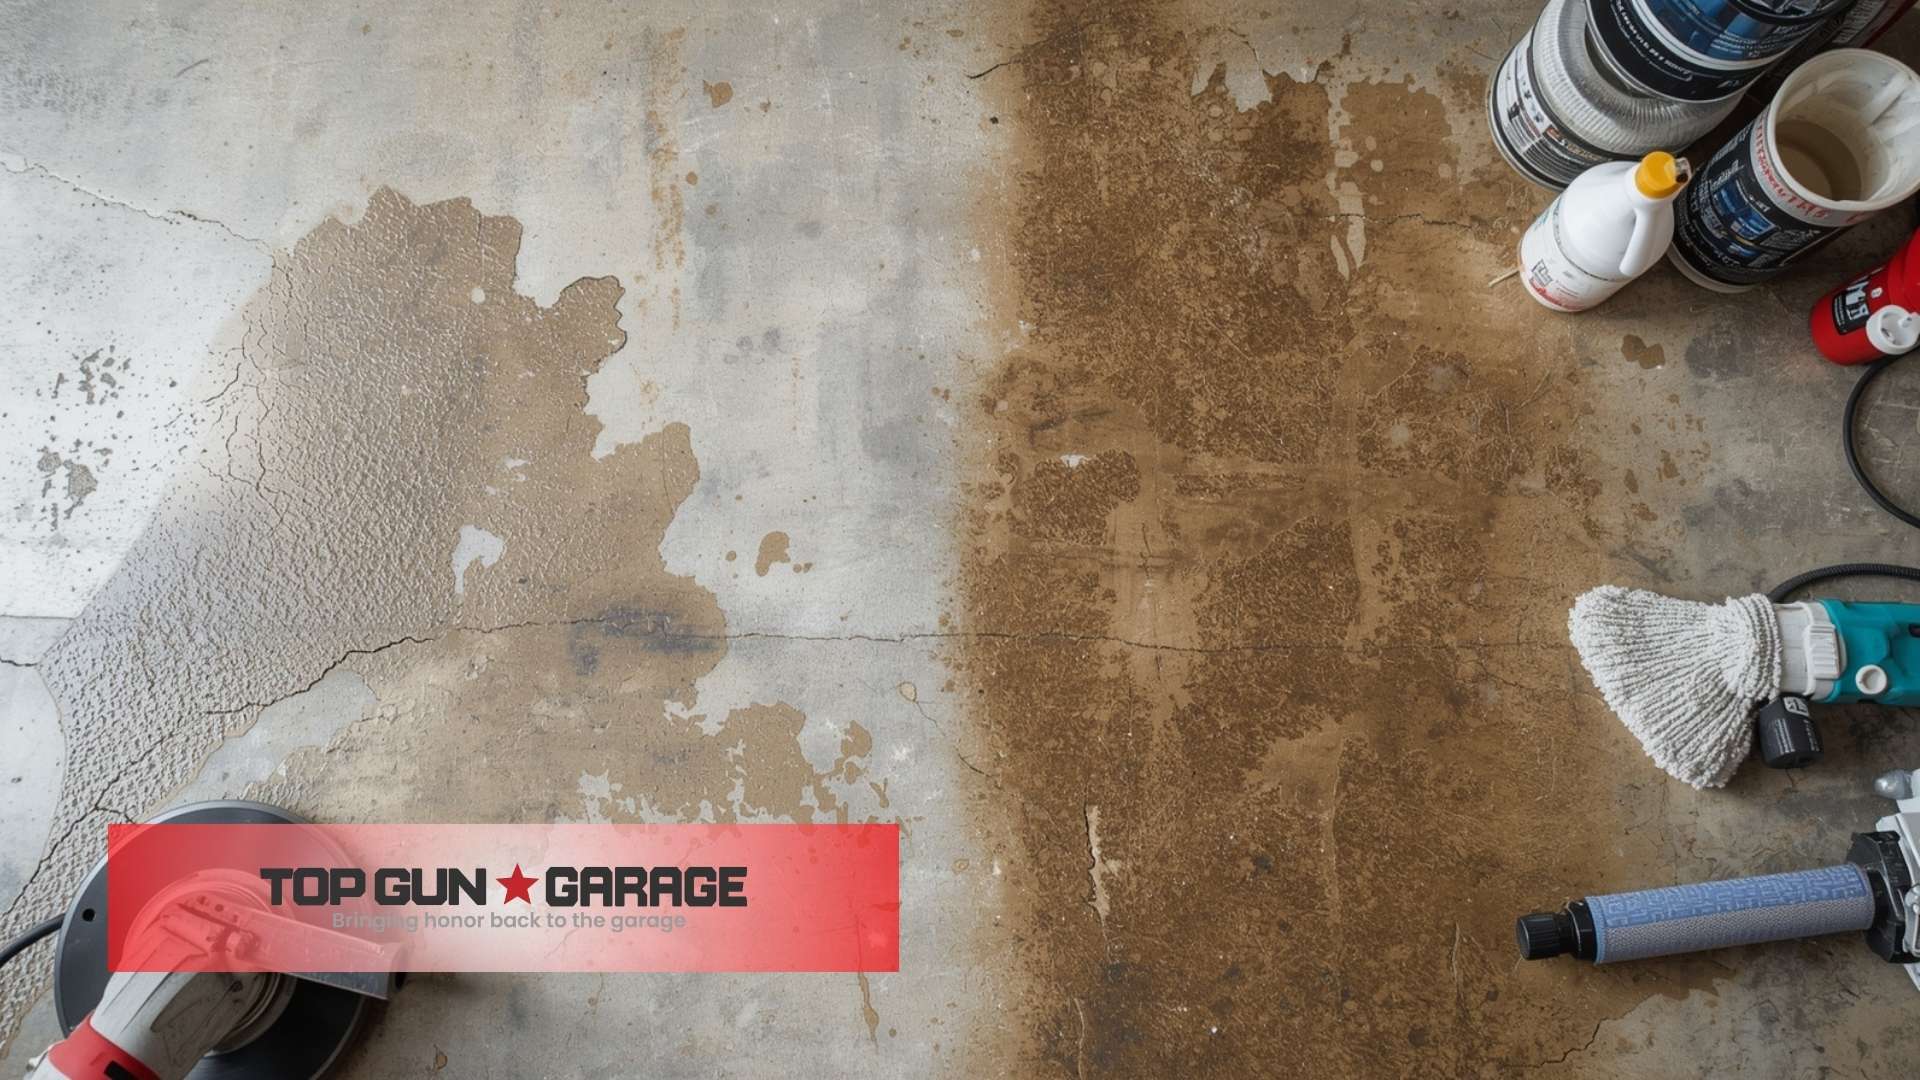
Concrete surfaces in residential garages present unique challenges that must be addressed during the preparation phase. Years of automotive use often leave behind oil stains, tire marks, and various contaminants that can prevent proper adhesion. Additionally, many garage floors have existing sealers or previous coating attempts that must be completely removed before new epoxy can be applied. Learn why preparing concrete properly is essential.
The preparation process serves multiple purposes beyond just cleaning. It opens the pores of the concrete, creates the proper surface profile for mechanical adhesion, and ensures that the substrate is structurally sound. This multi-faceted approach to surface preparation is what separates professional-quality installations from amateur attempts that fail prematurely.
Understanding the science behind epoxy adhesion helps homeowners appreciate why certain preparation steps cannot be skipped or rushed. The molecular structure of epoxy requires specific surface characteristics to achieve maximum bond strength. When these requirements are met through proper preparation, the resulting floor system can withstand heavy loads, chemical exposure, and years of use while maintaining its appearance and performance characteristics.
Comprehensive Surface Assessment and Planning
Before beginning any physical preparation work, conducting a thorough assessment of your garage floor’s current condition is essential for developing an effective preparation strategy. This evaluation process helps identify potential problems, determines the scope of work required, and influences decisions about materials and methods that will be used throughout the project.
Start by examining the concrete for visible cracks, spalling, or other structural damage that could compromise the epoxy installation. Document the location and severity of any issues, as these will need to be addressed during the preparation phase. Pay particular attention to areas where the concrete meets walls or where control joints are located, as these are common areas for movement-related damage.
Next, assess the surface for contamination issues including oil stains, grease spots, paint spills, and other foreign materials that have penetrated the concrete. Use a simple water test to evaluate how porous the surface is – pour small amounts of water in various locations and observe how quickly it absorbs. Areas where water beads up or absorbs very slowly may have sealers or contamination that requires special attention.
Check for evidence of previous coating attempts by looking for areas where paint or other materials may be peeling or flaking. Even small amounts of previous coatings can cause adhesion problems if not completely removed. Use a coin or putty knife to test suspect areas for coating adhesion and mark locations that will require additional preparation work.
Document your findings with photos and notes that will guide your preparation efforts. This assessment phase also helps determine whether professional assistance might be beneficial for particularly challenging conditions. Companies like Top Gun Garage specialists can provide expert evaluation services that identify issues that might not be obvious to untrained eyes.
Finally, consider the timing and logistics of your project based on the assessment results. Complex preparation requirements may extend the timeline significantly, and understanding this upfront helps prevent rushed work that could compromise the final results.
Deep Cleaning and Decontamination Procedures
Thorough cleaning represents one of the most critical phases of preparing for epoxy flooring, as any remaining contaminants can prevent proper adhesion and cause long-term performance issues. This process goes far beyond basic sweeping and mopping, requiring systematic removal of all dirt, grease, oil, and other substances that have accumulated over years of garage use.
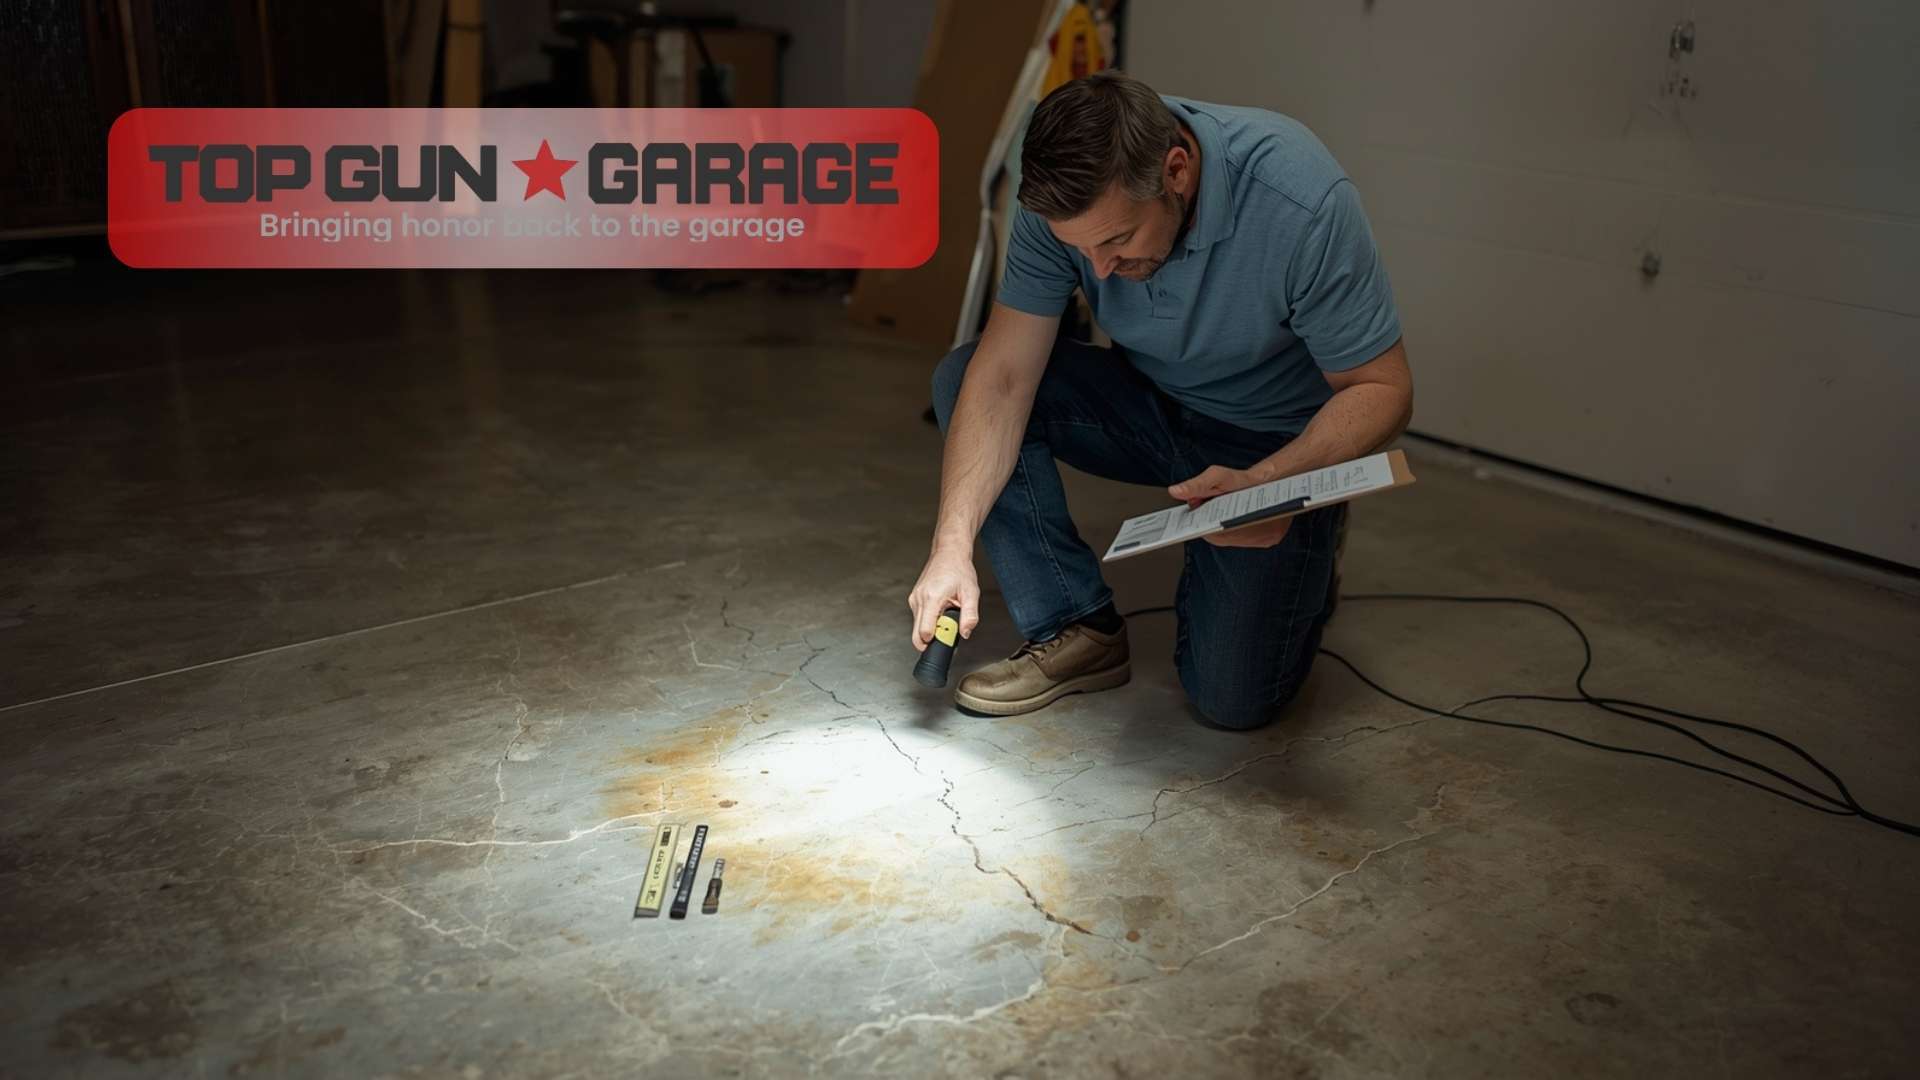
Begin the cleaning process by removing all items from the garage and sweeping away loose debris. Use a shop vacuum to remove dust and particles from cracks and crevices where they tend to accumulate. Pay special attention to corners and areas around the garage door tracks where dirt and debris often collect unnoticed.
Oil and grease stains require specialized treatment to ensure complete removal from the concrete pores. Apply appropriate degreasers and allow adequate dwell time for the chemicals to penetrate and break down the contamination. Scrub stubborn stains with stiff brushes and reapply degreasing agents as necessary. For particularly challenging stains, consider using poultice treatments that draw contamination out of the concrete over extended periods.
After degreasing, thoroughly rinse the entire floor with clean water to remove all cleaning residues. Any remaining soap or chemical residues can interfere with epoxy adhesion just as much as the original contamination. Use a wet vacuum or squeegee to remove standing water and ensure complete rinsing of all areas.
The drying phase is equally important and often underestimated. Concrete must be completely dry before epoxy application, which can take 24-48 hours depending on temperature, humidity, and ventilation conditions. Use fans and dehumidifiers if necessary to accelerate the drying process, but never rush this critical step.
Test the cleanliness of your preparation work by performing a final water break test. Clean concrete should allow water to spread evenly across the surface without beading. Areas where water beads up indicate remaining contamination that requires additional cleaning attention.
Surface Profiling and Mechanical Preparation
Creating the proper surface profile is essential for achieving maximum mechanical adhesion between the concrete substrate and the epoxy coating system. This process involves removing the top layer of concrete to expose fresh, porous material while creating the optimal surface texture for epoxy bonding. The method chosen depends on the condition of the existing surface and the performance requirements of the finished floor.
Mechanical grinding represents the most effective method for surface preparation in most residential garage applications. Diamond grinding equipment removes surface contamination, opens concrete pores, and creates a uniform profile that promotes excellent adhesion. The process generates significant dust, requiring proper containment and ventilation systems to maintain safe working conditions.
Shot blasting offers another mechanical preparation option that provides excellent results while generating less dust than grinding. This method propels steel shot at the concrete surface to remove contaminants and create the desired profile. Shot blasting is particularly effective for removing previous coatings and preparing heavily contaminated surfaces.
Acid etching remains a viable option for lightly contaminated surfaces that don’t require aggressive mechanical preparation. This chemical method uses muriatic acid to open concrete pores and create surface texture. However, acid etching requires careful handling of hazardous chemicals and may not be sufficient for surfaces with significant contamination or previous coatings.
Regardless of the method chosen, the goal is to achieve a surface profile that resembles medium-grit sandpaper. This texture provides the mechanical anchor points necessary for strong epoxy adhesion while remaining smooth enough for proper coating application. Professional contractors like Top Gun Garage have the equipment and experience to achieve optimal surface profiles efficiently and safely.
After completing the surface profiling work, thoroughly clean the area to remove all dust and debris generated during the process. Test the surface profile by running your hand across the prepared area – it should feel uniformly textured without smooth or glossy spots that could indicate inadequate preparation.
Crack Repair and Surface Leveling
Addressing structural issues and surface irregularities before epoxy application ensures a smooth, professional-looking finish that will perform well over time. Cracks, spalls, and uneven areas must be properly repaired using appropriate materials and techniques that are compatible with the epoxy system being installed.
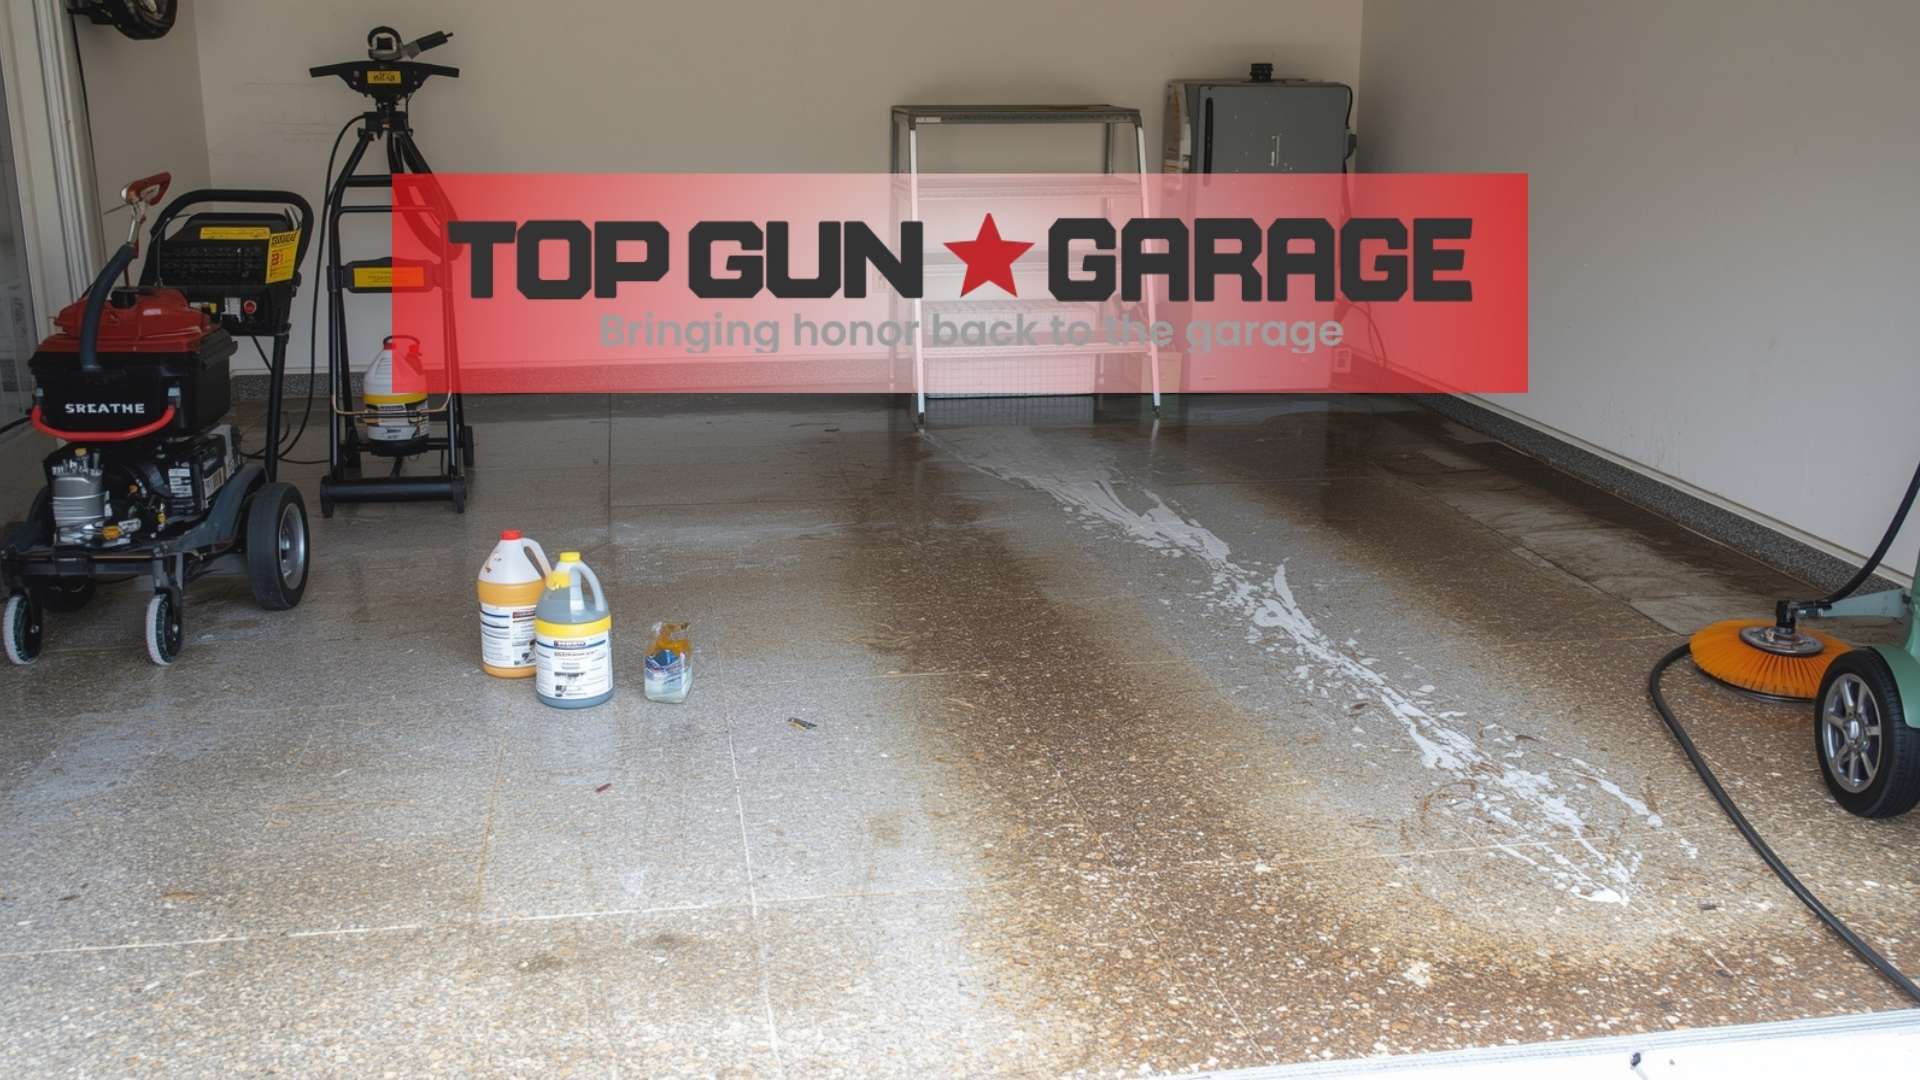
Begin crack repair by cleaning out all loose material and debris from damaged areas. Use a wire brush, vacuum, or compressed air to ensure complete removal of particles that could interfere with repair materials. For larger cracks or spalled areas, consider using a grinder to create clean, uniform edges that will accept repair materials properly.
Select repair materials that are specifically designed for use under epoxy coatings. Standard concrete patching compounds may not provide adequate adhesion or may cure to a different hardness than the surrounding concrete, creating visible lines or texture differences in the finished floor. Epoxy-based repair mortars often provide the best compatibility and performance characteristics.
Apply repair materials according to manufacturer specifications, ensuring complete filling of all voids and proper feathering at the edges. Work in manageable sections and maintain consistent thickness to avoid creating high or low spots that will be visible through the epoxy coating. Allow adequate curing time before proceeding with additional preparation steps.
For significant leveling issues, consider using self-leveling compounds designed for use under epoxy systems. These materials can address minor irregularities and create the smooth surface necessary for professional-quality results. However, extensive leveling work may require professional expertise to ensure proper application and compatibility with the chosen epoxy system.
After completing all repair work, lightly sand or grind the repaired areas to ensure they blend seamlessly with the surrounding surface profile. This step prevents visible lines or texture differences that could detract from the finished appearance of the epoxy floor.
Environmental Controls and Timing Considerations
Successfully preparing for epoxy flooring requires careful attention to environmental conditions and project timing, as these factors significantly influence both the preparation process and the final results. Temperature, humidity, air circulation, and seasonal considerations all play important roles in determining when and how preparation work should be conducted.
Temperature control affects every aspect of the preparation and application process. Most epoxy systems require specific temperature ranges for optimal performance, typically between 60-80°F for both air and substrate temperatures. Cold conditions slow chemical reactions and can prevent proper curing, while excessive heat accelerates cure times and may cause application difficulties.
Humidity levels must be carefully monitored and controlled throughout the preparation phase. High humidity can prevent proper drying of cleaned surfaces and may cause condensation issues that interfere with epoxy adhesion. Use dehumidifiers if necessary to maintain relative humidity below 85%, and ensure adequate ventilation to promote air circulation and moisture removal.
Plan your preparation schedule to allow adequate time for each phase of the process. Rushing through cleaning, surface preparation, or repairs inevitably leads to compromised results that may not become apparent until after the epoxy has been applied. Build buffer time into your schedule to accommodate unexpected complications or weather-related delays.
Consider seasonal factors that could impact your project timeline. Avoid scheduling preparation work during periods of high humidity or temperature extremes. Spring and fall often provide the most favorable conditions for epoxy flooring projects, with moderate temperatures and lower humidity levels that promote optimal results.
Coordinate with professional contractors early in the planning process if you’re using their services. Companies like Top Gun Garage professionals often have busy schedules during peak seasons, and proper preparation timing must align with their availability to ensure seamless project execution.
Finally, ensure adequate ventilation throughout the preparation process, particularly during cleaning and surface profiling operations. Proper air circulation not only promotes safety but also helps maintain optimal environmental conditions for each phase of the work.
Frequently Asked Questions
How long should I wait after cleaning before applying epoxy? The concrete must be completely dry before epoxy application, which typically requires 24-48 hours after the final rinse. Factors like temperature, humidity, and ventilation affect drying time. Test for dryness by taping plastic sheets to the floor overnight – any condensation underneath indicates the surface needs more drying time.
Can I apply epoxy over existing garage floor paint? No, existing paint must be completely removed before epoxy application. Even well-adhered paint will eventually fail, taking the new epoxy coating with it. Use mechanical grinding or chemical strippers to remove all previous coatings down to bare concrete.
What temperature range is best for epoxy preparation and application? Maintain temperatures between 60-80°F for both air and concrete surfaces. Temperatures outside this range can cause adhesion problems, improper curing, or application difficulties. Use heating or cooling as necessary to maintain optimal conditions.
How do I know if my concrete needs acid etching or mechanical grinding? Heavily contaminated surfaces, those with previous coatings, or very smooth concrete typically require mechanical preparation. Lightly soiled surfaces may be adequately prepared with acid etching. When in doubt, mechanical methods provide more reliable results.
Should I repair small cracks before applying epoxy? Yes, all cracks should be properly repaired before epoxy application. Even small cracks can telegraph through the coating and continue to grow, eventually causing the epoxy to fail. Use appropriate crack repair materials designed for use under epoxy systems.
How long does the entire preparation process typically take? Plan for 3-5 days for complete preparation, including cleaning, surface profiling, repairs, and adequate drying time. Complex situations may require additional time. Never rush the preparation process, as it’s critical to long-term success.
What safety equipment do I need for preparation work? Use respiratory protection, eye protection, hearing protection, and appropriate clothing. Ensure adequate ventilation, especially when using chemicals or generating dust. Have emergency eyewash and first aid supplies readily available.
When should I consider hiring professionals like Top Gun Garage? Consider professional help for heavily contaminated floors, complex repair needs, large areas, or when you lack the necessary equipment. Professionals have specialized tools and experience that often result in better outcomes and time savings.
Conclusion
Proper preparation is the cornerstone of any successful epoxy flooring project, determining both the immediate appearance and long-term performance of your new garage floor. The time and effort invested in thorough preparation work pays dividends in the form of a durable, attractive surface that withstands years of use while maintaining its professional appearance.
Understanding what to do before epoxy flooring empowers homeowners to make informed decisions about their projects, whether tackling the work themselves or working with professional contractors. Each preparation step serves a specific purpose in creating the optimal conditions for epoxy adhesion and performance, and shortcuts in any area can compromise the entire installation.
The systematic approach outlined in this guide provides a roadmap for successful preparation, from initial assessment through final pre-application checks. Remember that preparing for epoxy flooring is not a race – taking adequate time for each phase ensures the best possible results and helps avoid costly mistakes that could require complete reinstallation.
For homeowners who prefer professional installation or encounter complex preparation challenges, companies like Top Gun Garage experts offer the expertise and equipment necessary to handle even the most demanding situations. Their experience in surface preparation and epoxy application ensures optimal results while saving homeowners time and potential frustration.
With proper preparation complete, your garage floor will be ready to receive its new epoxy coating system, transforming your space into a clean, durable, and attractive area that enhances both function and property value for years to come.