 Skip to content




A well-maintained garage floor can significantly boost a home’s value and functionality. With over 75% of homeowners considering their garage an essential part of their property, the importance of a durable and attractive floor cannot be overstated.
Top Gun Garage in Naples, FL, specializes in professional epoxy floor installation services. Their expert team guides homeowners through the comprehensive process of transforming their garage floors into durable, visually appealing spaces.
By understanding the steps involved in the epoxy installation process, homeowners can ensure a successful project that enhances their garage’s functionality and aesthetic appeal.
Key Takeaways
- Professional epoxy floor installation enhances garage durability and visual appeal.
- Proper preparation is crucial for a successful epoxy floor project.
- Top Gun Garage offers expert epoxy installation services in Naples, FL.
- Epoxy flooring is a preferred choice for homeowners upgrading their garage floors.
- A well-maintained garage floor can significantly boost a home’s value.
Benefits of Installing Epoxy Coating in Your Garage
A garage epoxy coating installation can transform your garage floor, making it more durable, easier to clean, and visually appealing. This transformation is not just about aesthetics; it also significantly enhances the functionality and longevity of your garage floor.
Durability and Longevity Benefits
Epoxy coatings create an exceptionally durable surface that can withstand heavy vehicle traffic, chemical spills, and impact from dropped tools. The seamless, non-porous surface of epoxy flooring prevents staining from automotive fluids, making it a practical choice for garage floors. Properly installed epoxy floors can last 10-20 years with minimal maintenance, making them a cost-effective long-term investment.
Aesthetic Advantages of Epoxy Floors
The high-gloss finish of epoxy coatings brightens garage spaces by reflecting light, creating a cleaner, more professional-looking environment. Customizable color options and decorative flake systems allow homeowners to create a unique look that complements their home’s aesthetic. This not only enhances the appearance of the garage but also adds to the overall value of the property.
Maintenance and Cleaning Benefits
The epoxy coating makes cleaning as simple as sweeping and occasional mopping. The smooth, sealed surface prevents concrete dusting, keeping your vehicles and stored items cleaner over time. This ease of maintenance is a significant advantage for homeowners who want to keep their garage clean and organized with minimal effort.
Assessing Your Garage Floor for Epoxy Installation
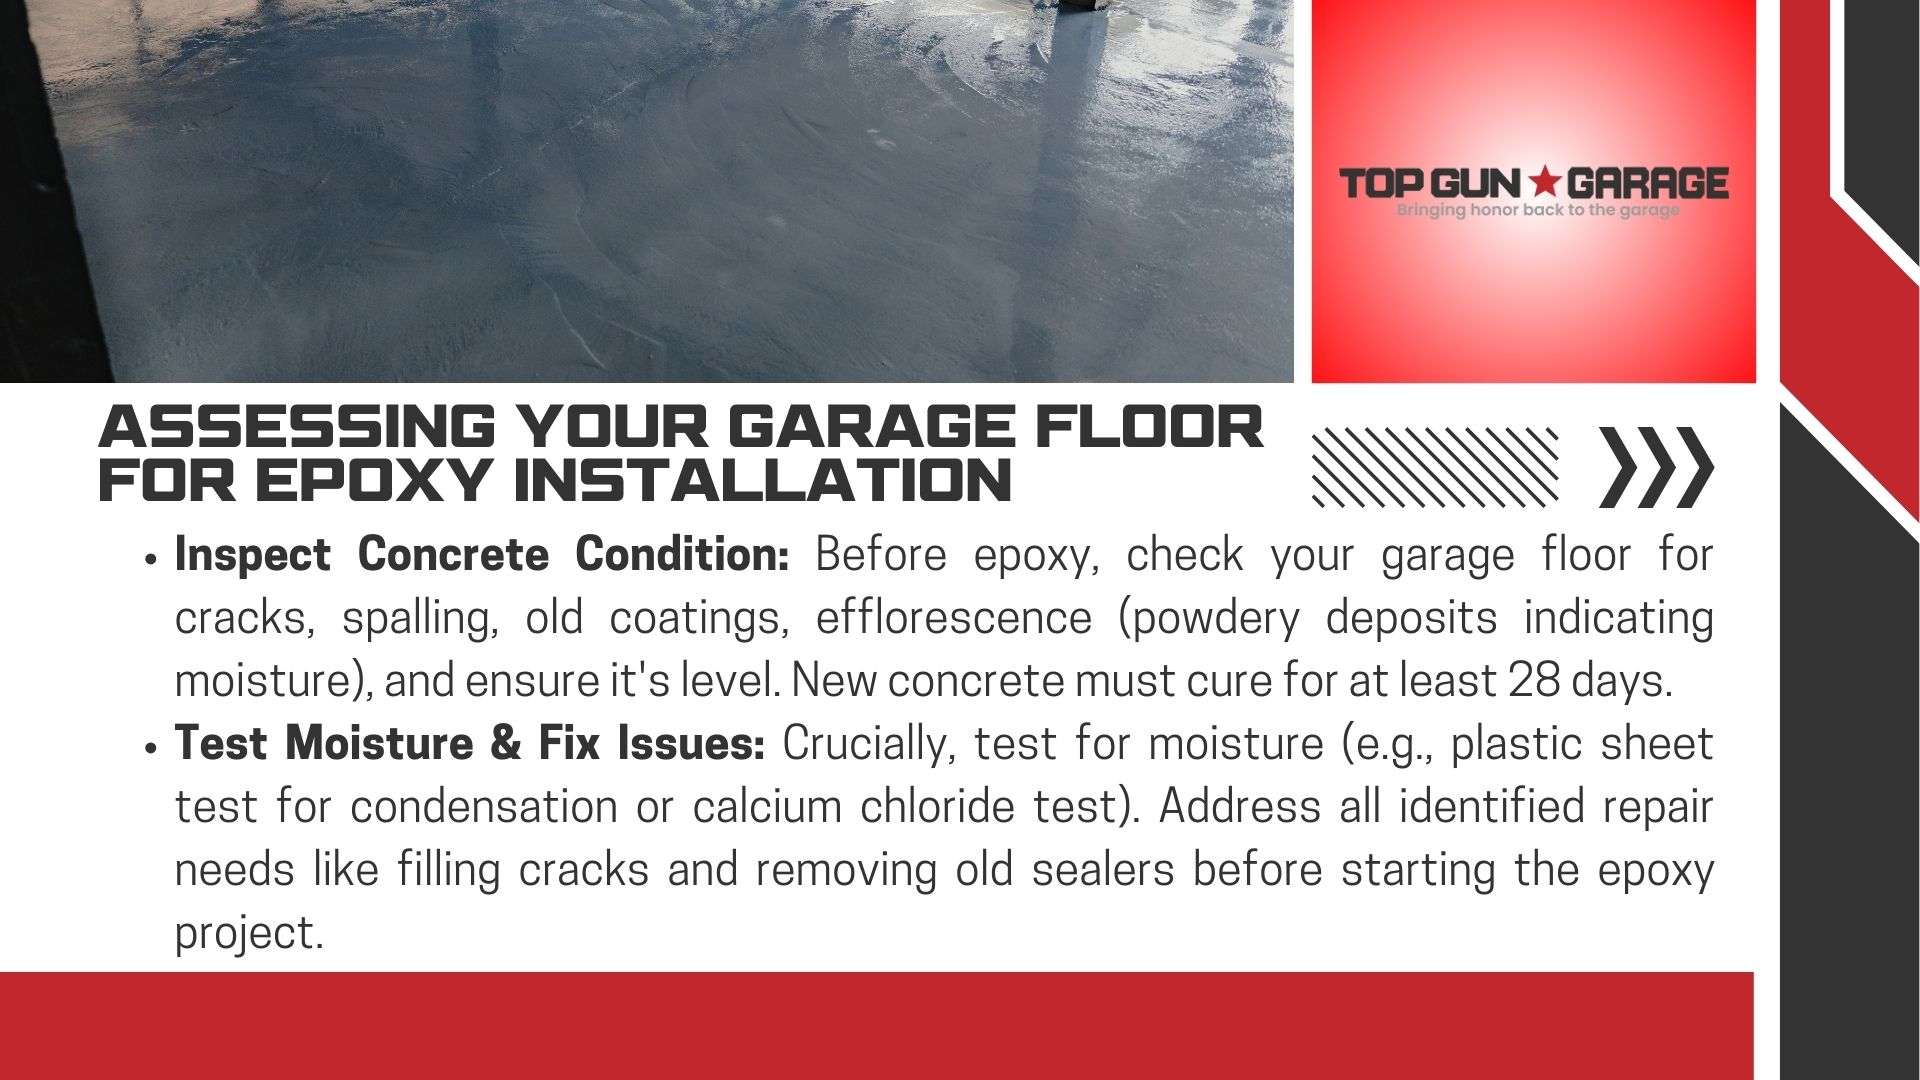
To ensure a durable epoxy coating, your garage floor must be properly assessed before the installation process begins. This critical step helps identify potential issues that could affect the epoxy’s adhesion and longevity.
Evaluating Concrete Condition
Evaluating the condition of your concrete garage floor is the first step in preparing it for epoxy coating. Inspect the surface for cracks, spalling, or previous coatings that may impact the epoxy’s ability to adhere properly. The age of the concrete is also a crucial factor; new concrete should be allowed to cure for at least 28 days before applying epoxy to ensure a strong bond.
Additionally, check for signs of efflorescence, which are white, powdery mineral deposits that indicate moisture issues. It’s also essential to assess the levelness of the floor, as significant unevenness may require grinding or the application of self-leveling compounds before the epoxy can be applied.
Moisture Testing Methods
Moisture testing is a critical step in assessing your garage floor for epoxy installation. Excess moisture in the concrete can cause the epoxy to delaminate, leading to a failed installation. One simple method to test for moisture migration is to tape a sheet of plastic to the floor and check for condensation underneath. Alternatively, a calcium chloride test can be used to quantify the moisture issue.
Identifying Repair Needs Before Installation
Before proceeding with the epoxy installation project, it’s vital to identify and address any repair needs on your garage floor. This includes filling cracks and holes, repairing spalling areas, and removing any previous sealers that could interfere with the epoxy’s adhesion. By making sure these issues are resolved, you can ensure a successful and long-lasting epoxy coating.
Essential Tools and Materials for Garage Epoxy Installation
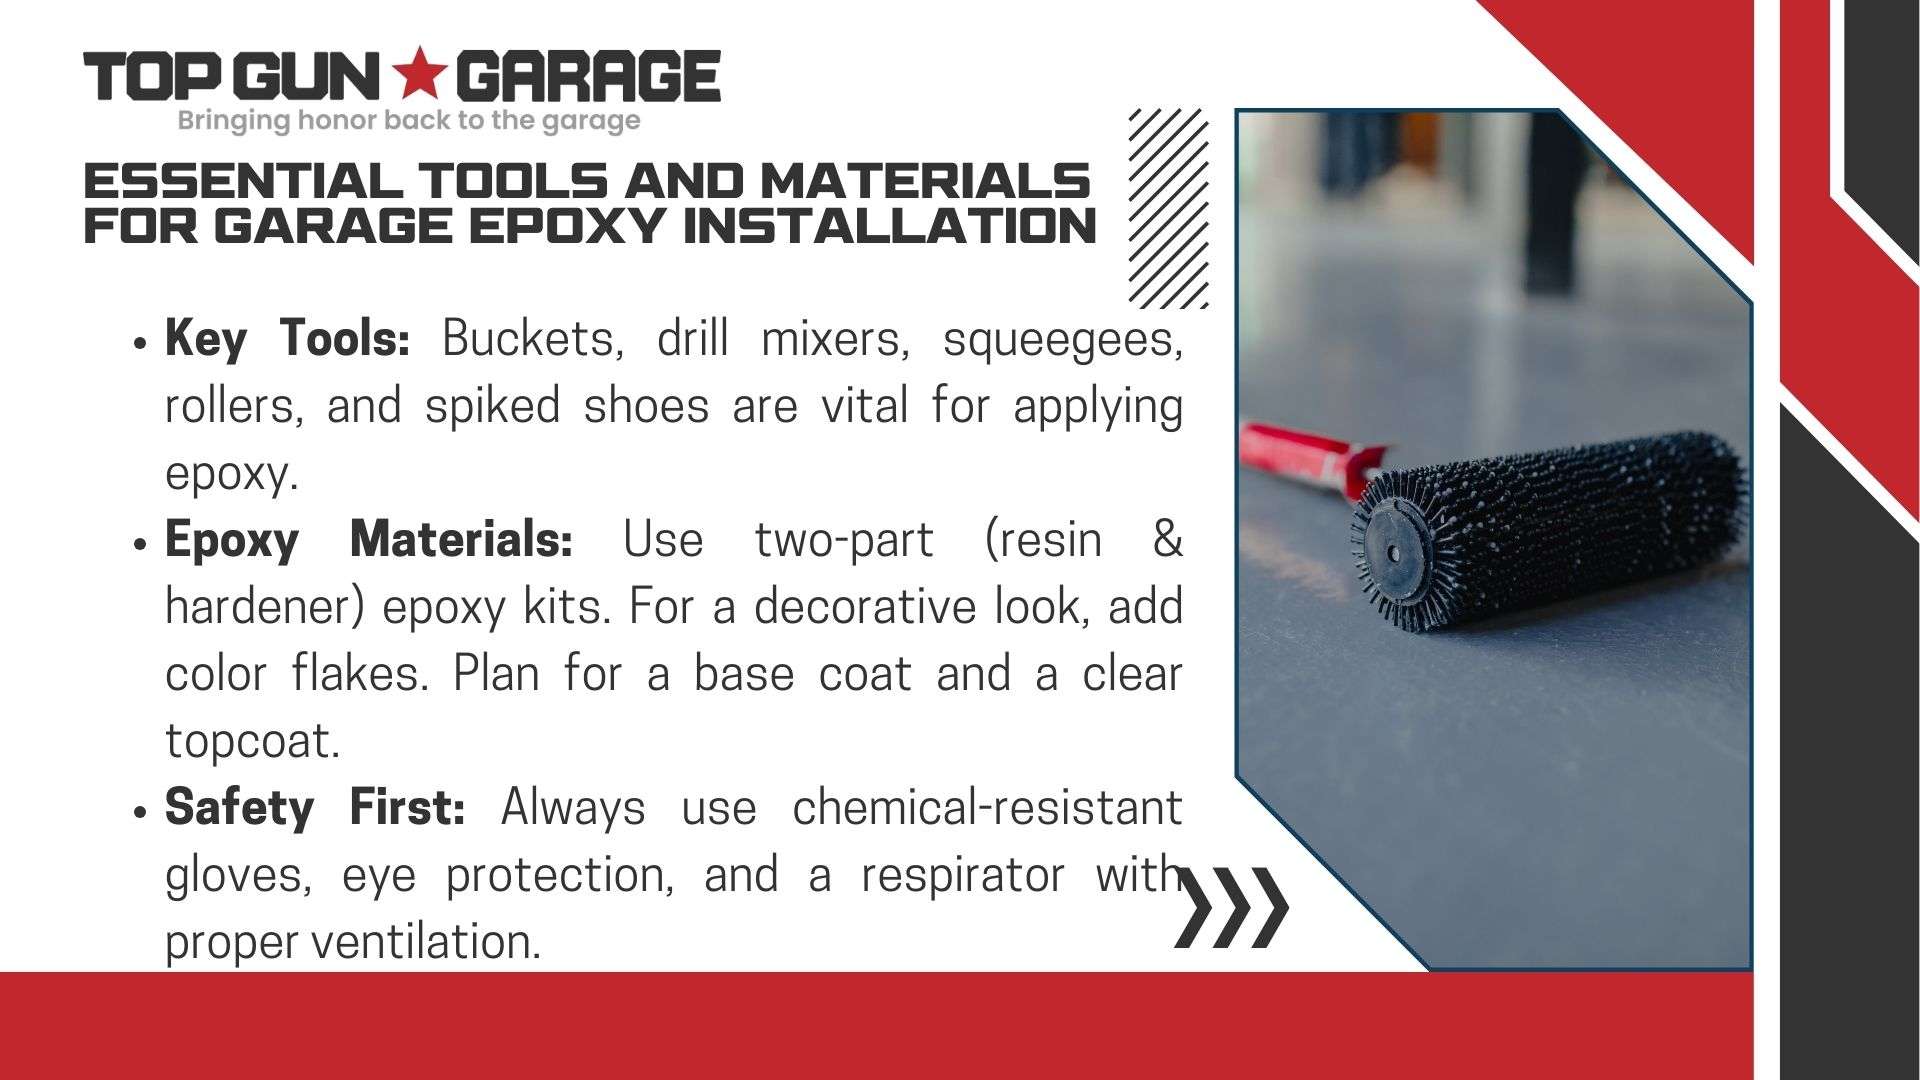
To successfully install garage epoxy, it’s crucial to have the right tools and materials. A well-prepared installation ensures a durable and visually appealing floor that can withstand the demands of a garage environment.
Required Tools Checklist
Having the right tools is essential for a smooth epoxy installation process. Essential tools include mixing buckets, jiffy mixers for power drills, notched squeegees, rollers with extension poles, and spike shoes for walking on wet epoxy. These tools facilitate the mixing, application, and spreading of the epoxy coating, ensuring an even and professional finish.
- Mixing buckets for combining epoxy components
- Jiffy mixers for thorough mixing with power drills
- Notched squeegees for applying epoxy to the floor
- Rollers with extension poles for achieving an even coat
- Spike shoes for safely walking on wet epoxy
Epoxy Products and Components
Epoxy coatings are typically packaged as kits that include everything needed for the application. Quality epoxy products usually come as two-part systems, consisting of resin and hardener, which must be mixed in precise ratios before application. It’s essential to select an epoxy kit that suits your specific needs and to determine whether additional supplies are required for multiple coats.
For decorative systems, color flakes or chips are necessary, sold by the pound based on desired coverage density. Consider purchasing materials for two coats: a pigmented base coat and a clear topcoat, to achieve maximum durability and appearance.
| Epoxy Component | Description | Quantity |
|---|---|---|
| Resin | Main epoxy component | As per kit instructions |
| Hardener | Activator for epoxy curing | As per kit instructions |
| Color Flakes/Chips | Decorative elements | Based on coverage density |
Safety Equipment Necessities
Safety equipment is non-negotiable when working with epoxy. Chemical-resistant gloves, eye protection, respirators with organic vapor cartridges, and proper ventilation are all required to ensure a safe working environment. Protecting yourself from the chemicals and fumes associated with epoxy application is crucial.
Preparing Your Garage for Epoxy Installation
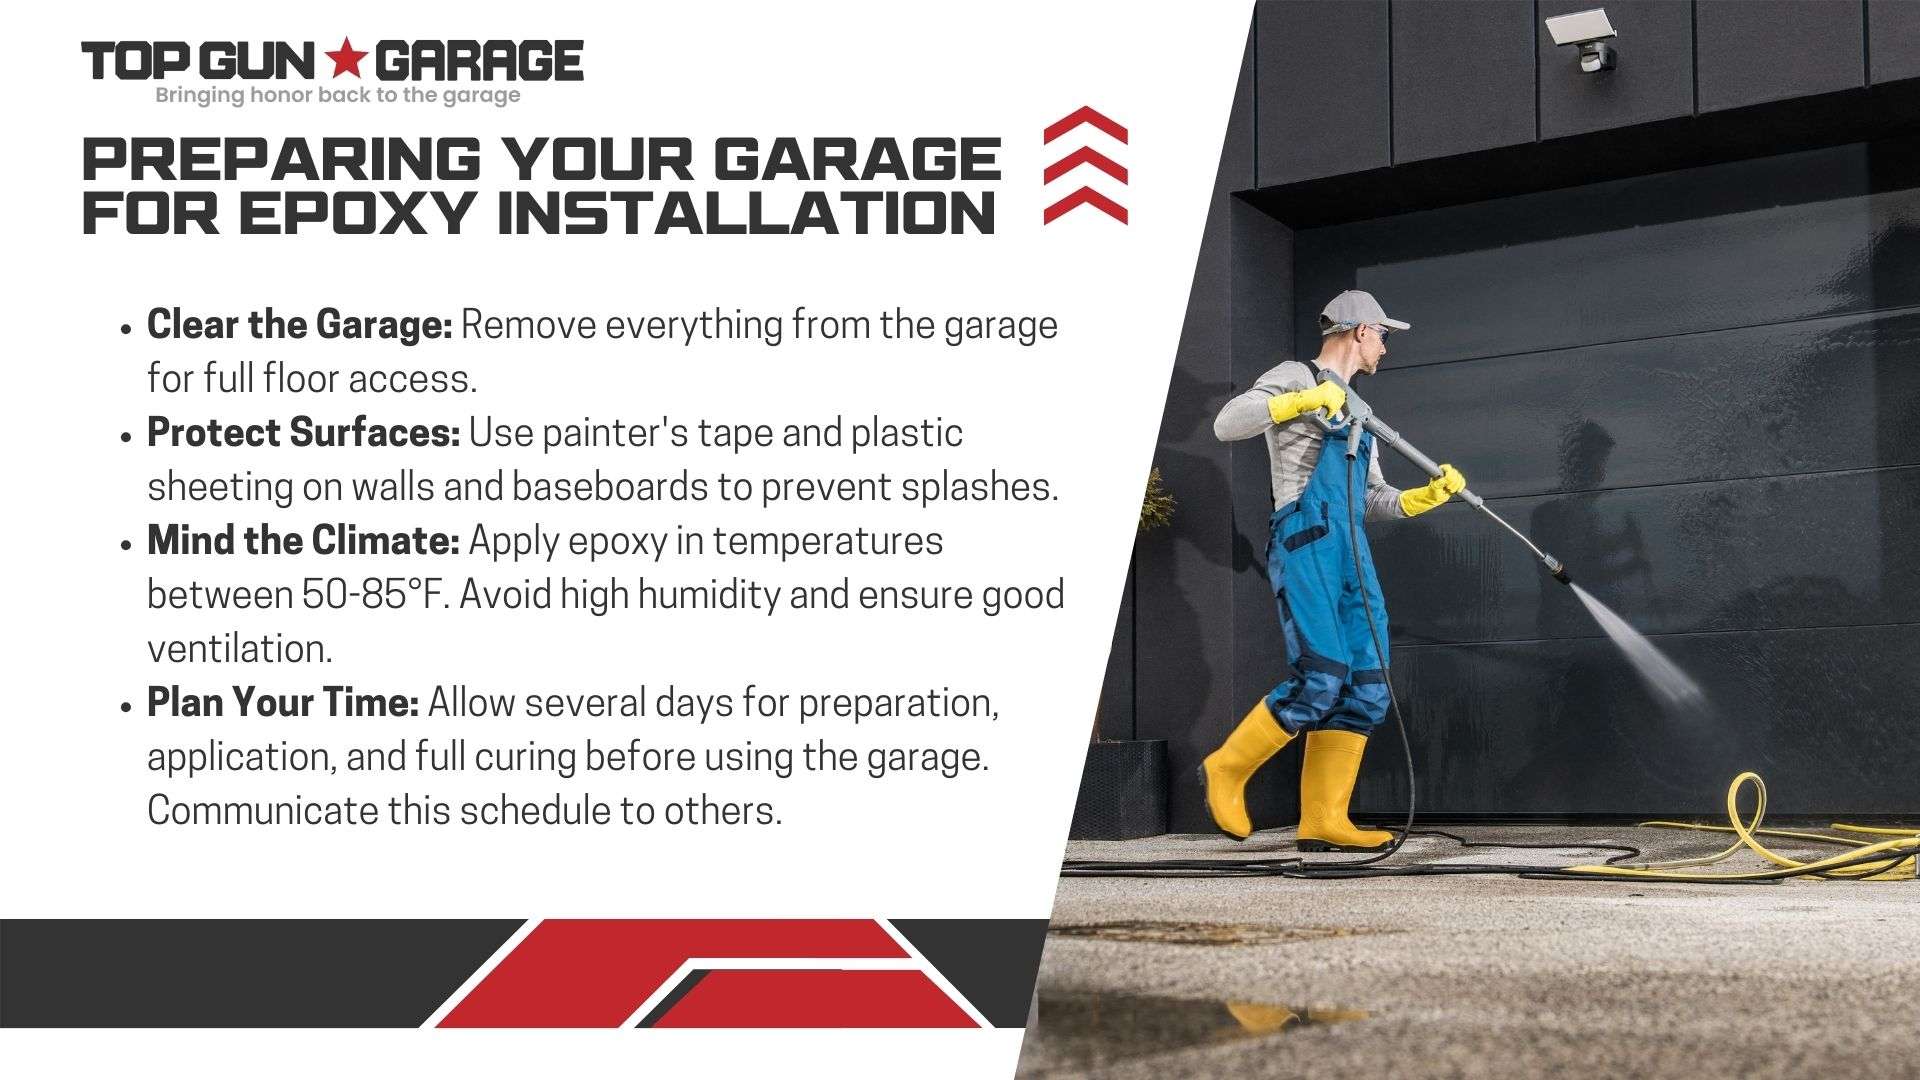
A successful garage epoxy installation starts with thorough preparation of the space. This crucial step ensures a smooth, even, and long-lasting finish.
Clearing and Organizing the Space
The first step in preparing your garage is to clear out all items, including vehicles, tools, and storage. This complete clearance is essential to provide unobstructed access to the floor. It’s advisable to choose a day with pleasant weather to move your belongings to a safe location, protecting them from potential damage.
Protecting Walls and Adjacent Areas
To prevent epoxy splatter from damaging your garage walls and baseboards, it’s necessary to protect these areas. Apply painter’s tape along the foundation edge or at the height where the epoxy will be applied to the walls. Then, cover the walls with plastic sheeting, securing it with the tape or duct tape. This simple precaution can save you from costly repairs.
Temperature and Weather Considerations
Temperature control is critical for the proper curing of epoxy. Most epoxy products require ambient temperatures between 50-85°F for optimal results. Additionally, check the weather forecast before starting your project, as high humidity can affect epoxy curing and extend drying times between coats. Ensure adequate ventilation by opening garage doors and using fans, but avoid creating excessive dust.
Timeline Planning for Your Project
Plan your epoxy installation project carefully, allowing 2-3 days for preparation, 1 day for application, and 3-7 days for complete curing before returning vehicles to the garage. It’s also important to communicate your project timeline with household members to ensure no one needs garage access during the critical curing period. By doing so, you’ll be able to enjoy your newly coated garage floor without interruptions.
Cleaning and Degreasing the Concrete Surface
A clean concrete surface is crucial for the proper adhesion of epoxy coatings. Any contaminants left on the concrete floor can prevent proper bonding, leading to a failed epoxy installation.
Removing Existing Coatings and Stains
The first step in preparing your garage floor is to remove any existing coatings or stains. This can be achieved using chemical strippers or mechanical methods such as grinding or shot blasting, depending on the type and condition of the previous finishes. It’s essential to test the concrete for oil spots by spraying water on the floor; areas where water beads indicate oil contamination requiring additional degreasing attention.
- Use chemical strippers for removing old coatings.
- Employ mechanical methods like grinding for stubborn stains.
- Identify oil spots by observing where water beads on the surface.
Degreasing Methods and Products
Degreasing is a critical step, especially in garage environments prone to oil spills. Use a commercial-grade degreaser specifically formulated for concrete preparation before epoxy application. To degrease, mix 1 part of the degreasing solution with 4 parts water, apply it to the floor, and scrub with a stiff-bristled broom.
For stubborn oil stains, consider applying a poultice made from degreaser and an absorbent material like cat litter or baking soda. Allow it to draw out the deep contamination before rinsing.
Final Cleaning Procedures
After degreasing, thoroughly rinse the entire surface with clean water to remove all chemical residues. It’s crucial to make sure the concrete is completely dry before proceeding to the next step, as moisture trapped in the concrete can cause epoxy failure.
By following these steps, you’ll ensure a clean and prepared concrete floor ready for epoxy installation.
How Garage Epoxy Installation Process Works: Step-by-Step
Understanding the step-by-step process of garage epoxy installation is crucial for a successful outcome. The process involves several critical steps that ensure a durable and visually appealing finish.
Surface Preparation Techniques
Surface preparation is the foundation of a successful epoxy installation project, accounting for 80% of its success. This step involves thorough cleaning and degreasing of the concrete floor to remove dirt, oil, and other contaminants that could interfere with the epoxy’s adhesion.
The surface must be prepared to create an optimal texture for the epoxy to bond with. This can be achieved through mechanical grinding or acid etching. Proper surface preparation ensures a strong bond between the epoxy and the concrete, leading to a long-lasting finish.
Etching and Profiling the Concrete
Etching is a critical step in preparing the concrete for epoxy coating. Most etching solutions contain acid that opens up the pores of the concrete, allowing the epoxy to form a strong bond with the surface. Acid etching creates a profile similar to fine sandpaper, which promotes epoxy bonding.
After etching, it’s essential to neutralize the acid with a solution of ammonia and water, followed by a thorough rinse to remove all residues. This step is crucial before proceeding with the epoxy application process.
Repairing Cracks and Filling Joints
Crack repair is essential before applying epoxy. Hairline cracks can be filled with epoxy crack fillers, while moving cracks and control joints require flexible polyurea. Control joints should be filled with a self-leveling joint filler that can accommodate minimal movement.
It’s crucial to allow all repair materials to fully cure according to the manufacturer’s specifications before proceeding with the epoxy application. This ensures a smooth and even finish for the epoxy floor, completing the step-by-step process.
Grinding vs. Etching: Which Method Is Right for Your Floor?
When it comes to preparing your garage floor for epoxy installation, the choice between grinding and etching can be crucial. Both methods aim to create a suitable surface for the epoxy to adhere to, but they differ in their approach and effectiveness.
Benefits of Mechanical Grinding
Mechanical grinding is a popular method for preparing concrete floors for epoxy coating. It involves using a floor grinder to physically remove the top layer of the concrete, exposing a fresh, porous surface. This process creates an ideal profile for epoxy adhesion. The benefits of mechanical grinding include:
- Effective removal of existing coatings and contaminants
- Ability to level uneven surfaces
- Creation of a consistent profile across the entire floor
Xtreme Polishing Systems offers single-phase 220V floor grinding machines suitable for residential and commercial garage floors. These machines are powerful, easy to use, and can be connected to a standard washer/dryer outlet.
Chemical Etching Process
Chemical etching is an alternative method that uses acid solutions to react with the concrete, creating microscopic pores that allow epoxy to penetrate and bond effectively. While this method can be effective, it has its limitations. Acid etching may not work well on troweled or power-finished concrete and won’t remove existing coatings.
Making the Right Choice for Your Project
When deciding between grinding and etching, consider the condition of your floor and the scope of your project. Grinding is generally preferred for commercial applications or floors with significant contamination, while etching may be sufficient for residential garages in good condition. It’s essential to weigh the benefits and limitations of each method to make an informed decision.
| Method | Effectiveness | Environmental Impact |
|---|---|---|
| Mechanical Grinding | Highly effective for removing coatings and leveling surfaces | Creates dust that must be controlled |
| Chemical Etching | Effective for creating microscopic pores for epoxy adhesion | Produces wastewater that requires proper disposal |
Mixing and Applying the Epoxy Base Coat
Mixing and applying the epoxy base coat is a critical phase in the epoxy flooring installation process. The epoxy base coat serves as the foundation for a durable and visually appealing garage floor. To achieve the desired results, it’s essential to follow the correct procedures for mixing and applying the epoxy.
Proper Mixing Techniques
Proper mixing of epoxy components is crucial for a successful application. Epoxy kits consist of resin and hardener packaged in separate containers. To begin mixing, open all containers and combine the hardener with the epoxy resin according to the product label and technical data sheet. It’s recommended to use an automatic mixing device, such as a drill with a jiffy mixer attachment, to ensure thorough blending. Mix the components for the specified time, typically 3-5 minutes, to ensure complete chemical activation.
- Follow manufacturer ratios exactly to avoid compromising the epoxy’s performance.
- Mix thoroughly to prevent uneven curing.
- Use a drill with a jiffy mixer attachment at medium speed to minimize air bubbles.
Application Methods and Tools
Once the epoxy is mixed, it’s essential to apply it to the garage floor efficiently. Begin application at the farthest corner from the exit, working in manageable sections of approximately 10×10 feet to maintain a wet edge throughout the process. Use a notched squeegee to spread the epoxy evenly across the floor. Follow up with a high-quality epoxy roller to ensure uniform coverage and thickness.
- Work in sections to maintain control over the application process.
- Use the right tools to achieve a smooth, even finish.
Coverage Rates and Thickness Guidelines
Coverage rates for epoxy vary by product but typically range from 200-300 square feet per gallon for a single coat application at 8-10 mils thickness. It’s crucial to follow the manufacturer’s guidelines for optimal thickness to ensure durability and prevent curing problems. Applying epoxy too thin can reduce its durability, while applying it too thick can cause curing issues.
- Plan your application area according to the epoxy’s coverage rate.
- Monitor the thickness to achieve the desired durability and finish.
By following these guidelines for mixing and applying the epoxy base coat, you can achieve a professional-looking and durable garage floor that meets your expectations.
Working with Color Flakes and Decorative Chips
Decorative color flakes offer a versatile way to enhance the appearance of your epoxy-coated garage floor while providing additional benefits. These flakes, also known as chips, not only add visual interest but also help hide imperfections and provide a slight texture to the floor, reinforcing the epoxy coating.
Selecting the Right Color Scheme
When it comes to selecting a color scheme for your garage floor, it’s essential to choose a combination that complements your home’s aesthetic. Popular choices include earth tones, blues/grays, or neutral blends that effectively hide dirt and stains. The right color can enhance the overall look of your garage, making it more visually appealing.
Broadcasting Techniques for Even Distribution
To achieve an even distribution of color flakes, broadcasting them while the epoxy base coat is still wet is crucial. Techniques such as the “chicken feed” method, where flakes are tossed upward and allowed to fall naturally onto the wet epoxy surface, or shaking them through your fingers, can ensure a uniform coverage. Practicing this technique on a tarp outside can help refine your application skills.
Partial vs. Full Coverage Options
You have the option to choose between partial coverage, where some of the base color remains visible, or full coverage, where the flakes completely hide the base coat. Full flake coverage not only provides maximum durability but also offers the most forgiving surface for hiding future wear patterns and imperfections. The choice depends on your aesthetic preference and the desired level of durability for your garage floor.
Applying the Clear Topcoat for Maximum Protection
Applying a clear topcoat is the final step in the garage epoxy installation process, providing a durable finish. This crucial step ensures that the epoxy floor is fully protected and maintains its appearance over time.
Types of Topcoat Options
When it comes to selecting a clear topcoat, there are several options available, including polyurethane, polyaspartic, and epoxy clear coats. Each type has its own benefits, such as UV stability, chemical resistance, and varying cure times. Choosing the right topcoat depends on specific needs and preferences.
The clear topcoat is essential for protecting the decorative elements and base coat while providing enhanced chemical and abrasion resistance. It is crucial to select a topcoat that matches the requirements of the garage environment.
Application Techniques for a Professional Finish
To achieve a professional finish, it’s essential to follow proper application techniques. Start by applying the clear topcoat in 10-by-10-foot sections, beginning at a point farthest from the exit. Use a 3/8-inch-nap roller to roll on the topcoat, working in one direction first, then perpendicularly to ensure even coverage.
Make sure to apply the material to the corners, edges, and seams using a clean paintbrush. Use a clean, high-quality roller with the appropriate nap length for smooth, bubble-free application. Work in systematic sections, maintaining a wet edge to prevent visible lap lines in the finished floor.
Adding Anti-Slip Additives for Safety
For added safety, consider incorporating anti-slip additives like aluminum oxide or polymer grit into the final coat, especially in areas prone to becoming wet. This enhances the traction of the floor, reducing the risk of slips and falls.
By following these guidelines and choosing the right clear topcoat, homeowners can ensure a durable, long-lasting epoxy floor that meets their needs and enhances the overall appearance of their garage.
Curing Time and Post-Installation Care
Proper curing and maintenance are key to maximizing the durability and appearance of your newly installed epoxy garage floor. After the epoxy installation is complete, it’s crucial to allow the coating to cure properly to achieve its full strength and durability.
Proper Curing Timeline
The curing timeline is a critical factor in the overall performance of your epoxy floor. Proper curing is essential for developing the full strength and durability of your epoxy floor coating system. Typically, it’s recommended that foot traffic waits at least 24 hours and automobiles wait at least 72 hours before parking on the newly coated floor. However, if the environment is humid or cold, it may take longer for the epoxy to cure completely.
- Initial cure time allows for light foot traffic after 24 hours, but avoid vehicle traffic for a minimum of 72 hours (longer in cool or humid conditions).
- Full chemical and abrasion resistance develops over 7-14 days, so use caution with heavy items and chemical exposure during this period.
- Temperature significantly affects cure time – warmer temperatures accelerate curing while cooler temperatures extend the process.
When to Resume Garage Use
It’s essential to be patient and not rush back into using your garage. Waiting the recommended time before resuming normal activities will ensure the longevity of your epoxy floor. Make sure to keep garage doors closed during the initial curing phase to prevent dust, debris, or insects from becoming embedded in the surface.
Initial Cleaning Guidelines
Avoid washing the floor or allowing water contact during the first week after installation to prevent water spotting or hazing in the clear coat. When resuming garage use, consider using protective mats under vehicle tires for the first month to prevent tire marking on the newly cured epoxy. By following these guidelines, you can maintain the appearance and durability of your epoxy garage floor for years to come.
Troubleshooting Common Epoxy Installation Issues
A successful epoxy installation requires careful preparation and attention to detail to avoid common pitfalls. Despite careful planning, issues can still arise during the epoxy installation process. Understanding how to troubleshoot these problems is crucial for achieving a durable and aesthetically pleasing epoxy floor.
Addressing Bubbles and Pinholes
Bubbles in epoxy coatings typically result from outgassing of air trapped in the concrete or applying epoxy in temperatures that are too high. To prevent bubbles, it’s recommended to apply epoxy during falling temperatures, typically late afternoon, and ensure the concrete surface is thoroughly prepared and dry.
- Ensure proper surface preparation to minimize trapped air.
- Apply epoxy during optimal temperature conditions.
Fixing Uneven Application
Uneven application of epoxy can lead to an unappealing finish. This issue can be corrected by applying an additional coating after lightly sanding the problem areas to create adhesion. It’s essential to follow the manufacturer’s instructions for application and drying times to achieve an even finish on the floor.
- Sand the uneven area to create a surface for the new coat.
- Apply a new coat according to the manufacturer’s instructions.
Dealing with Moisture-Related Problems
Moisture-related problems, such as blushing or delamination, indicate water vapor transmission through the concrete. Addressing moisture issues may require specialized moisture mitigation systems that can withstand hydrostatic pressure from water vapor in the concrete. Ensuring the concrete is dry before applying epoxy is crucial.
- Test for moisture before applying epoxy.
- Consider using moisture mitigation systems if necessary.
Long-Term Maintenance of Your Epoxy Garage Floor
Proper care of your epoxy garage floor ensures it remains in top condition for years to come. Maintaining your epoxy garage floor is not just about keeping it clean; it’s about preserving its durability and aesthetic appeal. Top Gun Garage in Naples, FL, recommends a few simple practices to extend the life of your epoxy-coated floor.
Routine Cleaning Practices
Regular cleaning is essential to maintain the appearance and longevity of your epoxy garage floor. Use a dust mop or soft-bristle broom to remove abrasive particles that could scratch the surface over time. For deeper cleaning, use a neutral pH cleaner specifically formulated for epoxy floors. Avoid using acidic or citrus-based cleaners, as they can dull the finish. Regular sweeping and occasional deep cleaning will keep your floor looking its best.
- Sweep regularly with a dust mop or soft-bristle broom.
- Use a neutral pH cleaner for deep cleaning.
- Avoid acidic or citrus-based cleaners.
Handling Spills and Stains
Even though epoxy is resistant to most substances, it’s crucial to clean spills promptly, especially automotive fluids or harsh chemicals. Use a mild detergent and water to clean the spill. Avoid using harsh chemicals or abrasive cleaners that can damage the epoxy coating. For stubborn stains, consider using a cleaning product specifically designed for epoxy floors.
Prompt action will prevent stains from setting in and damaging the epoxy surface.
When to Consider Recoating
Most professionally installed epoxy floors from Top Gun Garage in Naples, FL, will maintain their appearance for 5-10 years before requiring recoating. When the clear coat begins to show significant wear or loses its gloss, it’s time to consider recoating. Contact Top Gun Garage at (239) 488-7000 to discuss recoating options and restore your floor’s original beauty.
| Maintenance Task | Frequency | Benefits |
|---|---|---|
| Sweeping | Weekly | Removes abrasive particles, prevents scratches |
| Deep Cleaning | Monthly | Maintains appearance, removes dirt and grime |
| Recoating | Every 5-10 years | Restores original beauty, extends floor life |
Professional vs. DIY Epoxy Installation: Making the Right Choice
Epoxy garage floor installations can be done either professionally or through DIY kits, but which way is right for you? The decision between hiring professionals like Top Gun Garage in Naples, FL, and attempting a DIY epoxy floor coating project depends on several factors, including your skill level, available time, and the importance of the final result.
Advantages of Professional Installation by Top Gun Garage
Professional installation by Top Gun Garage ensures proper preparation, high-quality materials, and expert application techniques. Their team has access to commercial-grade epoxy products with higher solids content and superior chemical resistance compared to retail DIY kits. Additionally, Top Gun Garage is equipped with specialized equipment for proper concrete preparation, such as diamond grinders and shot blasters, which most DIYers cannot access. This results in a more durable and visually appealing garage floor.
- Proper preparation and high-quality materials
- Expert application techniques
- Access to commercial-grade epoxy products
- Specialized equipment for concrete preparation
When DIY Makes Sense
DIY epoxy garage floor installation may make sense for temporary solutions or outbuildings where a professional appearance is less critical. However, for your primary garage, the long-term value of professional installation typically outweighs the initial cost savings of a DIY floor coating project. Consider your specific needs and the expected outcome before deciding on the installation method.
Cost Comparison and Value Considerations
While DIY epoxy kits may seem cost-effective initially, they often lack the durability and finish quality of professional systems. When comparing costs, consider the long-term value and potential maintenance costs. Make sure to factor in the cost of materials, equipment, and your time when evaluating the overall cost of a DIY project. For a high-quality, long-lasting epoxy floor, professional installation by Top Gun Garage at (239)488-7000 is often the better choice.
Conclusion
Understanding the complete epoxy garage floor installation process helps you appreciate the craftsmanship and expertise that goes into a quality application. Whether you choose professional installation from Top Gun Garage or take on a DIY project, proper preparation remains the most critical factor for long-term success.
A properly installed epoxy coating transforms your garage from a utilitarian space into an extension of your home with enhanced functionality and appearance. The multi-step process of surface preparation, base coat application, decorative elements, and top coat finishing creates a durable system that protects your concrete for years.
For professional epoxy garage floor installation in Naples, FL, contact Top Gun Garage at (239)488-7000 to schedule a consultation. With proper care, your epoxy floor coating will maintain its attractive appearance and functional benefits for many years to come, making it a valuable investment for your home.
FAQ
What is the typical drying time for a garage epoxy floor coating?
The drying time for a garage epoxy floor coating can vary depending on the specific product and environmental conditions, but it usually takes between 24 to 72 hours to dry completely.
Can I apply epoxy coating over existing flooring or paint?
It’s generally not recommended to apply epoxy coating directly over existing flooring or paint, as it may not adhere properly; the surface should be thoroughly cleaned, etched, and prepared before application.
How do I choose the right color scheme for my epoxy garage floor?
When selecting a color scheme, consider the overall aesthetic you want to achieve, as well as the color of your walls, cabinets, and other design elements in the garage; you can also consider the type of decorative chips or flakes you plan to use.
What is the best way to clean an epoxy garage floor?
To clean an epoxy garage floor, sweep or blow leaves off the surface, then mop with a mild detergent and warm water; for tougher stains, a degreaser or a solution of baking soda and water can be used.
Can I install epoxy flooring over a concrete floor with cracks?
Yes, but it’s essential to repair the cracks before applying the epoxy coating; this typically involves filling the cracks with a concrete patching compound and allowing it to dry before proceeding.
What are the benefits of using a clear topcoat on my epoxy garage floor?
A clear topcoat provides an additional layer of protection against stains, scratches, and fading, while also enhancing the appearance of the floor with a glossy finish.
How often should I recoat my epoxy garage floor?
The frequency of recoating depends on the amount of traffic and wear the floor receives; typically, a well-maintained epoxy garage floor can last for 10 to 15 years or more before needing to be recoated.
Can I apply epoxy coating in cold or hot weather?
Epoxy coating application is typically recommended in temperatures between 60°F to 90°F (15°C to 32°C); extreme temperatures can affect the curing time and quality of the finish.
Is it necessary to use a primer before applying epoxy coating?
In some cases, a primer may be necessary to ensure proper adhesion of the epoxy coating to the concrete surface, especially if the surface is particularly porous or has been previously coated.