 Skip to content




When it comes to installing a durable, long-lasting garage floor coating, the foundation of success lies not in the coating itself, but in what happens before the first drop of epoxy or polyurethane touches the concrete. The garage floor preparation process is the make-or-break factor that separates professional-grade installations from weekend DIY disasters that begin peeling within months.
Professional flooring contractors understand that proper preparation accounts for roughly 80% of a successful garage floor project. This isn’t just industry folklore – it’s a reality born from decades of field experience and countless projects where shortcuts in the prep phase led to costly callbacks and customer dissatisfaction. The difference between a garage floor that looks stunning for 15+ years versus one that starts showing wear after the first winter lies entirely in the thoroughness of the initial preparation work.
The garage floor preparation process involves multiple critical steps that must be executed in precise sequence, each building upon the previous stage to create the ideal substrate for coating adhesion. From initial assessment and cleaning to concrete profiling and final moisture testing, every phase serves a specific purpose in ensuring the coating system bonds permanently to the concrete surface.
What makes this process particularly challenging is that concrete appears deceptively simple on the surface. Homeowners often assume their garage floor is “clean enough” or “smooth enough” for coating application, not realizing that concrete harbors invisible contaminants, has varying porosity levels, and may contain surface treatments that actively prevent proper adhesion. Professional contractors have learned through experience that assumptions about concrete condition lead to project failures, which is why systematic preparation protocols have become the cornerstone of successful installations.
The investment in proper preparation pays dividends not just in coating longevity, but in overall project success. When garage floor prep steps are executed correctly, the coating installation becomes straightforward, cure times are predictable, and the final appearance meets or exceeds customer expectations. Conversely, when preparation is rushed or incomplete, even the highest-quality coating systems will fail prematurely, creating warranty issues and damaging contractor reputations.
Key Takeaways
-
Surface contamination removal is non-negotiable: Oil stains, tire marks, previous coatings, and chemical residues must be completely eliminated before any coating application. Even microscopic contamination can prevent proper adhesion and cause coating failure.
-
Concrete profiling creates the mechanical bond: Smooth concrete surfaces lack the texture necessary for coating adhesion. Professional grinding or acid etching creates the optimal surface profile that allows coatings to mechanically lock into the concrete substrate.
-
Moisture testing prevents future problems: Concrete moisture vapor transmission can destroy coating systems from beneath. Proper moisture testing using calcium chloride or relative humidity methods identifies potential issues before they become expensive failures.
-
Crack and defect repair must happen during prep: Surface imperfections that aren’t addressed during preparation will telegraph through the coating system and become more pronounced over time. Professional repair techniques ensure a smooth, uniform final surface.
-
pH neutralization ensures chemical compatibility: Alkaline concrete can interfere with coating chemistry, while acidic residues from cleaning can prevent proper curing. pH testing and neutralization create the ideal chemical environment for coating adhesion.
-
Environmental conditions affect preparation quality: Temperature, humidity, and airflow during the preparation phase impact cleaning effectiveness, drying times, and surface condition. Professional contractors monitor and control these variables throughout the process.
-
Proper preparation saves time during installation: While thorough prep work requires upfront investment, it eliminates delays, rework, and application problems that can double or triple project timelines when corners are cut.
Understanding the Foundation: Why Garage Floor Preparation Matters
The science behind coating adhesion reveals why the garage floor preparation process demands such meticulous attention to detail. Coating systems rely on both mechanical and chemical bonds to achieve permanent adhesion to concrete surfaces. Mechanical bonding occurs when the coating flows into the microscopic peaks and valleys of properly profiled concrete, creating thousands of tiny anchors that lock the system in place. Chemical bonding happens when the coating molecules form cross-links with the concrete surface, creating a molecular-level connection that becomes stronger than the concrete itself.
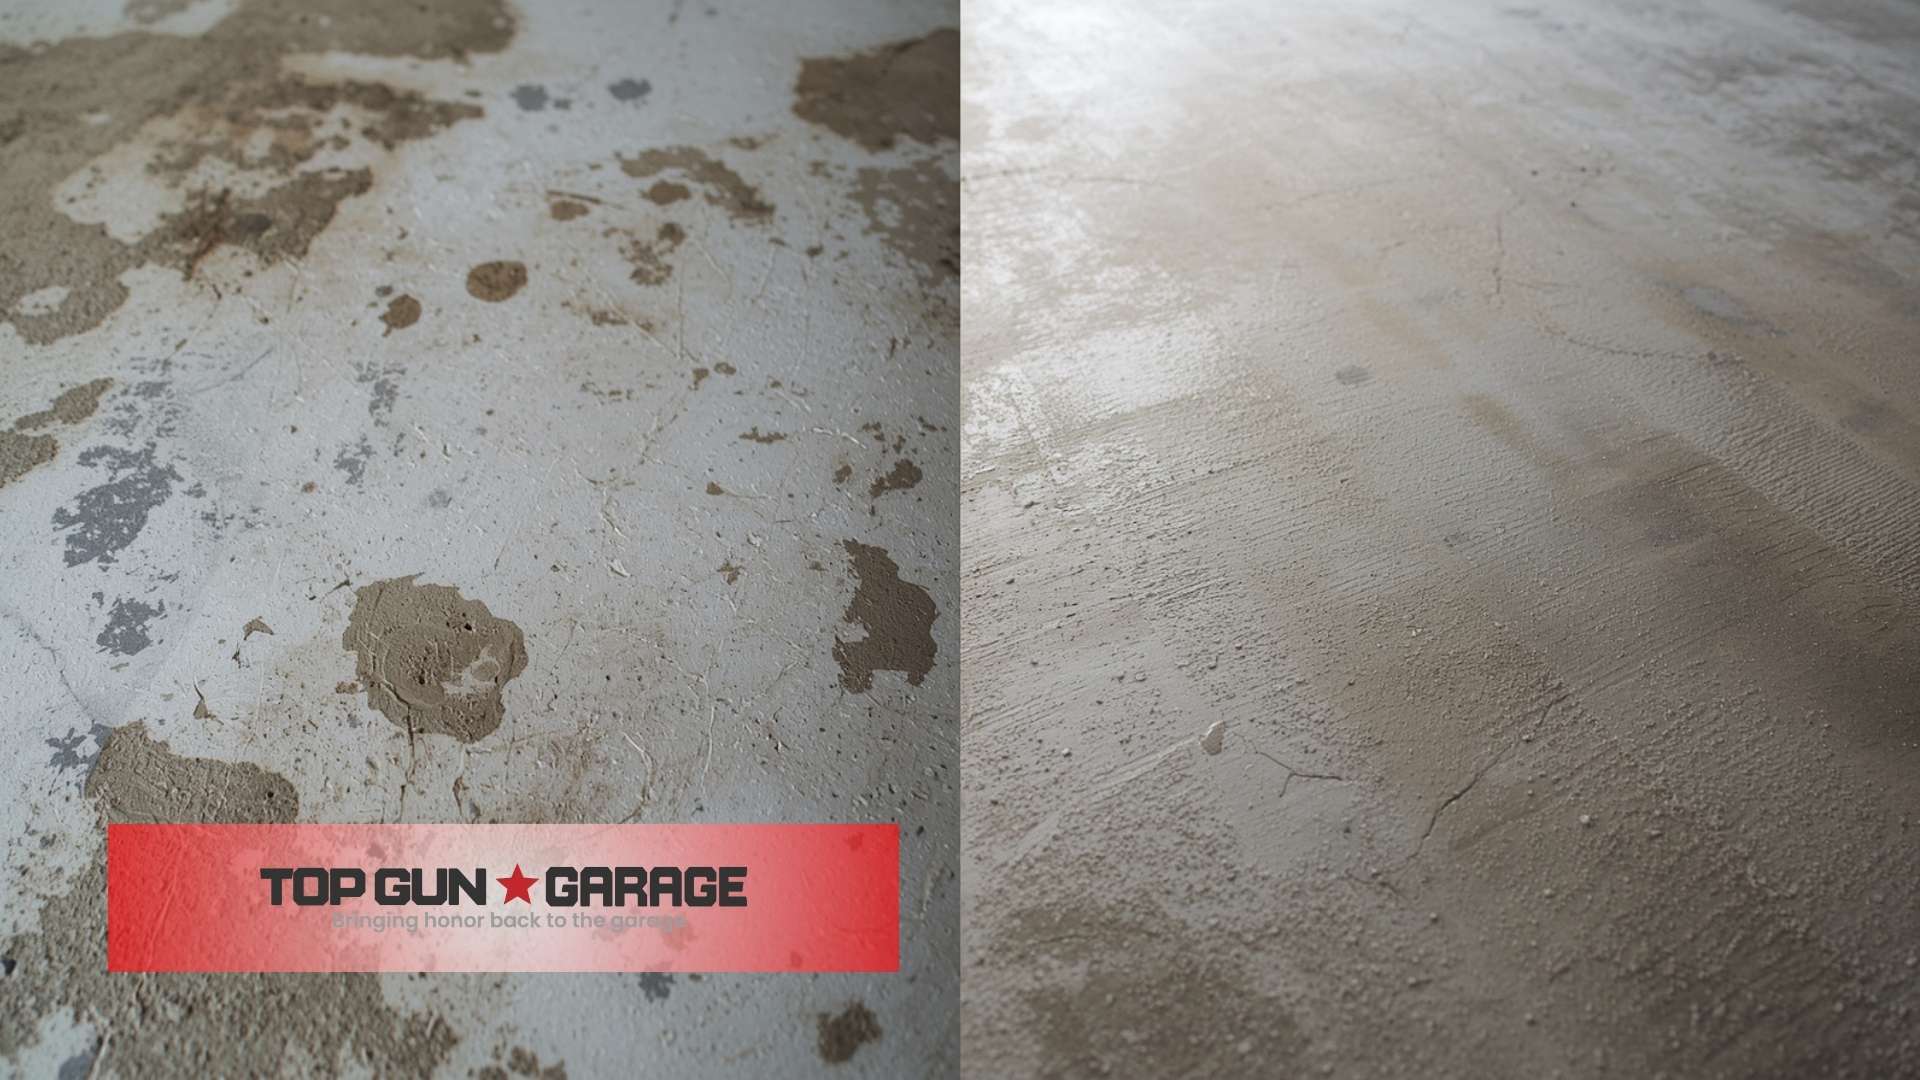
However, these bonding mechanisms only function when the concrete surface meets specific criteria for cleanliness, porosity, and chemical compatibility. Concrete that appears clean to the naked eye often harbors invisible contamination that prevents proper adhesion. Tire plasticizers, for example, can penetrate several millimeters into concrete pores, creating a contaminated layer that must be completely removed through mechanical preparation methods.
The porosity factor adds another layer of complexity to the preparation process. Concrete surfaces vary significantly in their porosity depending on finishing techniques, age, and environmental exposure. Dense, troweled concrete surfaces may have virtually no porosity, requiring aggressive mechanical profiling to create adequate texture for coating adhesion. Understanding concrete porosity is essential before applying any coating system. Conversely, rough or deteriorated concrete may have excessive porosity that leads to coating absorption and uneven appearance without proper sealing techniques.
Professional contractors also understand that concrete is a living material that continues to cure and change over time. New concrete releases moisture and alkaline compounds that can interfere with coating chemistry, while old concrete may have developed surface carbonation or contamination layers that prevent adhesion. The garage floor preparation process must account for these variables and adapt techniques accordingly to ensure consistent results across different concrete conditions.
Phase One: Assessment and Initial Cleaning
The professional garage floor preparation process begins long before any equipment touches the concrete surface. Comprehensive assessment forms the foundation of successful preparation, identifying potential challenges and determining the optimal approach for each specific project. This initial evaluation examines concrete condition, contamination levels, existing coatings, structural issues, and environmental factors that will influence the preparation strategy.
Contamination assessment requires both visual inspection and testing protocols to identify all substances that could interfere with coating adhesion. Oil and grease stains are obvious concerns, but experienced contractors also look for less apparent contaminants like tire plasticizers, previous coating residues, curing compounds, and chemical spills. Each type of contamination requires specific removal techniques, and identifying them early prevents delays and ensures the proper equipment and materials are available.
The initial cleaning phase employs multiple techniques to remove surface contamination and prepare the concrete for mechanical profiling. Degreasing agents specifically formulated for concrete surfaces break down oil and grease contamination, allowing it to be lifted from the concrete pores. These products work through emulsification, surrounding oil molecules and allowing them to be rinsed away with water. Professional techniques for removing years of oil stains ensure thorough contamination elimination. However, the selection of degreasing agents must consider the specific types of contamination present and ensure compatibility with subsequent coating systems.
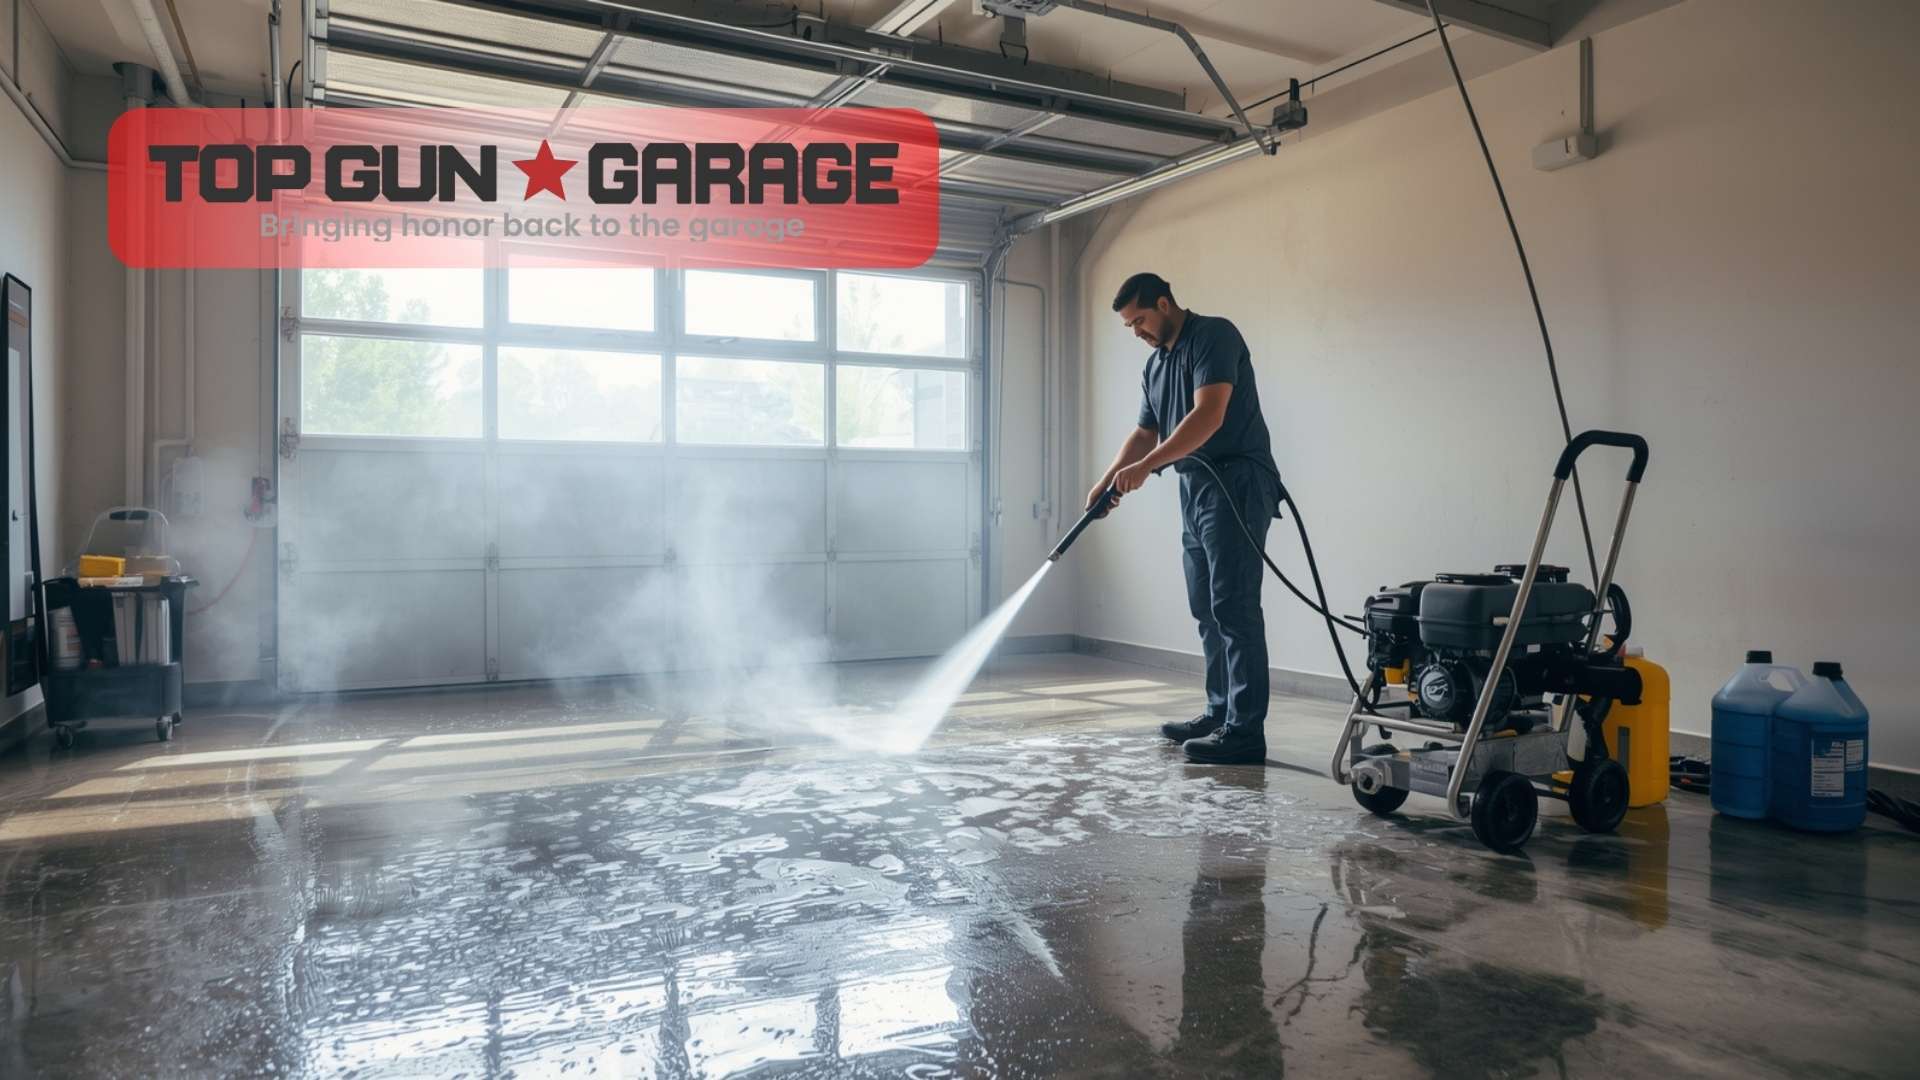
Power washing plays a crucial role in the initial cleaning process, but technique and equipment selection significantly impact effectiveness. Professional-grade pressure washers operating at 3000+ PSI with heated water provide superior cleaning power compared to consumer units. The combination of pressure, heat, and appropriate cleaning agents can remove years of accumulated contamination and surface degradation. However, pressure washing technique must avoid driving contamination deeper into concrete pores, which requires proper nozzle selection, distance control, and systematic cleaning patterns.
Chemical cleaning agents extend beyond simple degreasers to include specialized products for specific contamination types. Rust removers address metal staining and oxidation, while alkaline cleaners tackle organic contamination and general soiling. Some situations require acid-based cleaners to remove mineral deposits or concrete surface treatments, but these must be used carefully to avoid damaging the concrete or creating chemical incompatibilities with subsequent coatings.
The drying phase following initial cleaning is critical but often underestimated. Concrete must reach specific moisture levels before mechanical profiling can begin, and residual cleaning chemicals must be completely removed to prevent interference with coating adhesion. Professional contractors use moisture meters and pH testing to verify that cleaning is complete and the concrete is ready for the next preparation phase.
Phase Two: Mechanical Surface Profiling
Mechanical surface profiling represents the most critical phase of the garage floor preparation process, creating the surface texture necessary for optimal coating adhesion. This process removes the concrete surface layer that may contain contamination, weak material, or surface treatments while simultaneously creating the microscopic anchor points that enable mechanical bonding. The choice of profiling method depends on concrete condition, contamination levels, desired surface profile, and project timeline constraints.
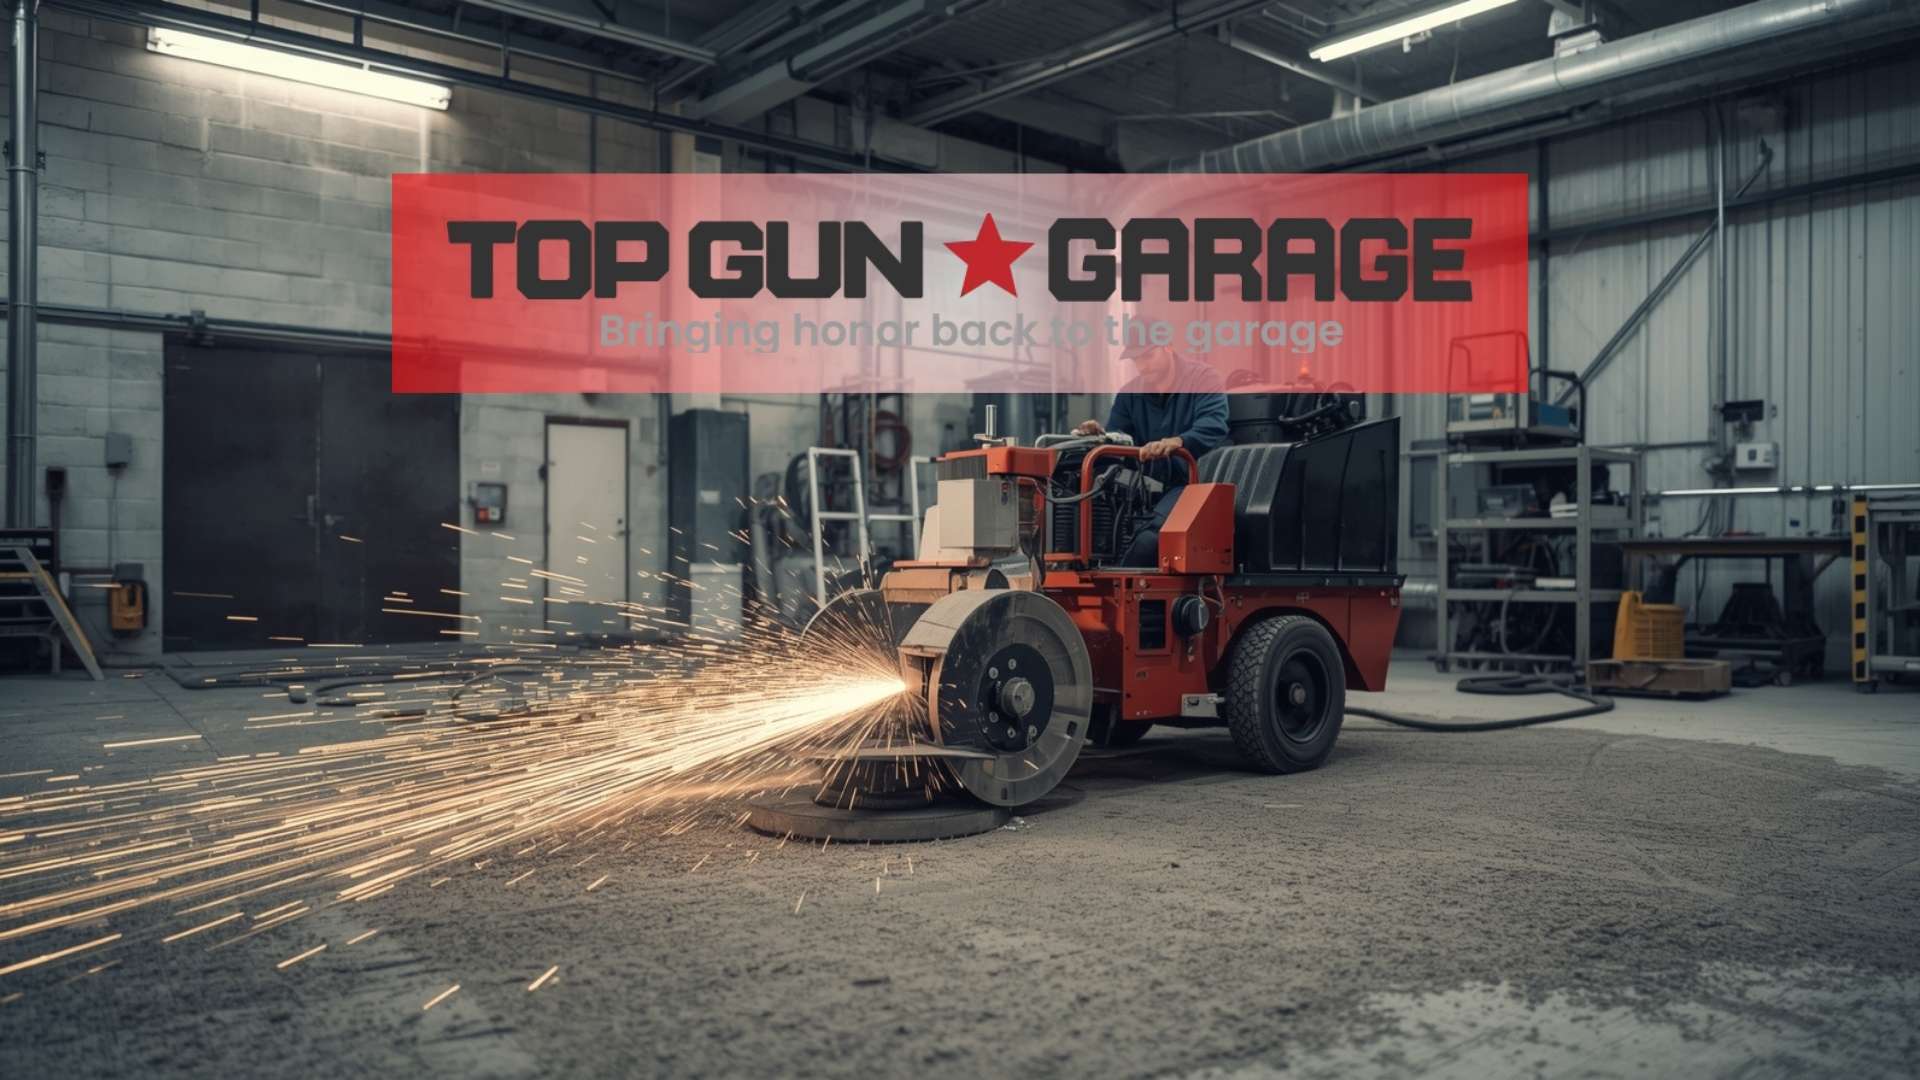
Diamond grinding has emerged as the preferred method for most professional garage floor preparations due to its precision, consistency, and versatility. Diamond grinding equipment uses industrial diamond segments to mechanically abrade the concrete surface, removing contamination and creating uniform texture across the entire floor area. Learning what concrete grinding preparation means helps homeowners understand this essential step. The process generates significant amounts of dust, requiring integrated dust collection systems that capture debris at the source and maintain safe working conditions.
The selection of diamond grit and segment configuration directly impacts the final surface profile and preparation efficiency. Coarse diamond segments remove material quickly and create aggressive surface profiles suitable for thick coating systems, while finer grits produce smoother finishes appropriate for thin decorative coatings. Professional contractors often use multiple grit sequences, starting with coarse diamonds to remove contamination and major surface irregularities, then progressing to finer grits to achieve the optimal final profile.
Shot blasting provides an alternative mechanical profiling method that uses steel shot propelled at high velocity to impact and texture the concrete surface. This process excels at removing heavy contamination and creating aggressive surface profiles, making it ideal for industrial applications or heavily contaminated floors. Shot blasting equipment includes integrated dust collection and shot recovery systems that recycle the steel media while capturing concrete debris and contaminants.
Acid etching remains a viable option for certain preparation scenarios, particularly when mechanical methods are impractical due to space constraints or equipment access limitations. Professional acid etching uses muriatic acid solutions to chemically dissolve the concrete surface layer, creating texture through controlled chemical erosion. However, acid etching requires careful neutralization and waste disposal procedures, and the results can be less predictable than mechanical methods.
Surface profile verification ensures that mechanical profiling achieves the texture requirements specified by coating manufacturers. Understanding the concrete surface profile needed prevents adhesion failures and ensures warranty compliance. Professional contractors use profile gauges, replica tape, or digital surface roughness meters to measure and document surface texture. These measurements confirm that the surface profile falls within the range specified for the selected coating system, typically between 25-75 microns for most garage floor coatings.
Quality control during mechanical profiling involves continuous monitoring of equipment performance, dust collection efficiency, and surface uniformity. Experienced operators recognize when diamond segments need replacement, adjust equipment settings for changing concrete conditions, and ensure complete coverage without over-processing any areas. This attention to detail prevents surface irregularities that could affect coating appearance and performance.
Phase Three: Repair and Defect Correction
The repair and defect correction phase addresses structural and cosmetic imperfections that could compromise coating performance or appearance. This critical step in the garage floor preparation process must be completed after mechanical profiling but before final cleaning and coating application. Professional repair techniques ensure that the finished floor surface is uniform, structurally sound, and free from defects that could telegraph through the coating system.
Crack repair begins with thorough evaluation of crack characteristics, including width, depth, length, and activity level. Static cracks that show no signs of movement can be effectively repaired using epoxy injection or routing and sealing techniques. Active cracks that continue to move due to structural settlement or thermal cycling require flexible repair materials and may need accommodation through control joint installation. The repair method selection directly impacts long-term coating performance and warranty coverage.
Spall and pop-out repairs address areas where concrete has broken away due to freeze-thaw damage, corrosion, or impact. These repairs typically require removal of loose material, cleaning of the repair area, and filling with appropriate patching compounds. Professional-grade repair mortars provide superior adhesion and durability compared to general-purpose concrete patching products, ensuring that repairs remain intact under coating systems and normal use conditions.
Control joint treatment represents a specialized aspect of garage floor repair that significantly impacts coating longevity. Existing control joints may be deteriorated, improperly sealed, or inadequately spaced for the intended coating system. Professional contractors evaluate joint condition and may recommend joint modification, additional joint installation, or specialized joint treatment products that accommodate movement while maintaining coating integrity.
Surface leveling addresses elevation variations that could affect coating thickness uniformity or create aesthetic issues. Professional techniques for fixing uneven garage floor surfaces create the ideal substrate for coating application. Self-leveling compounds specifically designed for use under coating systems can correct minor surface irregularities and create the smooth substrate necessary for optimal coating appearance. However, these products require careful selection to ensure chemical compatibility with the intended coating system and proper application techniques to achieve uniform thickness.
Expansion joint preparation involves cleaning, inspection, and preparation of joints that will remain unbridged by the coating system. These joints require specialized sealants or treatment methods that maintain their function while providing a clean, professional appearance. Improper expansion joint treatment can lead to coating failure at joint edges and compromise the overall project appearance.
Quality assurance for repair work includes verification of cure times, adhesion testing, and surface preparation of repair areas. Repair materials must achieve specified strength and adhesion properties before coating application, and the repair surfaces may require additional profiling to match the surrounding concrete texture. Professional contractors document repair locations and materials used for warranty and maintenance purposes.
Phase Four: Final Preparation and Quality Verification
The final preparation phase brings together all previous work and ensures the concrete substrate meets every requirement for successful coating application. This comprehensive verification process includes moisture testing, pH evaluation, cleanliness confirmation, and environmental condition assessment. Professional contractors understand that this final phase can make or break an otherwise perfect preparation job, as even minor oversights can lead to coating failure.
Moisture testing protocols vary depending on coating manufacturer requirements and project specifications, but all methods aim to identify concrete moisture levels that could interfere with coating adhesion or curing. Understanding why concrete moisture matters prevents costly coating failures and ensures long-term performance. Calcium chloride testing involves placing sealed containers with pre-weighed calcium chloride on the concrete surface for a specified period, then measuring moisture absorption to calculate vapor transmission rates. Relative humidity testing uses electronic probes inserted into drilled holes to measure moisture conditions within the concrete mass.
pH testing ensures that the concrete surface maintains chemical compatibility with the selected coating system. Alkaline conditions above pH 10 can interfere with coating chemistry and prevent proper curing, while acidic conditions below pH 6 may indicate cleaning chemical residues that require neutralization. Professional pH testing involves multiple measurement points across the floor area using calibrated meters or indicator solutions to ensure uniform conditions.
Surface cleanliness verification goes beyond visual inspection to include tactile testing and contamination detection methods. The water break test involves applying distilled water to the prepared surface and observing whether it forms uniform coverage or beads up due to contamination. Areas that fail the water break test require additional cleaning or re-profiling to remove residual contaminants that could prevent coating adhesion.
Environmental condition monitoring ensures that temperature, humidity, and airflow conditions support optimal coating application and curing. Most coating systems specify minimum and maximum temperature ranges, relative humidity limits, and surface temperature requirements that must be maintained throughout the application and initial cure period. Professional contractors use calibrated instruments to document these conditions and may recommend project delays when conditions fall outside acceptable ranges.
Final surface inspection involves systematic examination of the entire floor area to identify any defects, contamination, or preparation issues that require correction. This inspection typically uses high-intensity lighting to reveal surface irregularities and may include tactile examination to verify surface texture uniformity. Any issues identified during final inspection must be corrected before coating application begins.
Documentation and approval processes ensure that all preparation requirements have been met and provide a record for warranty and quality assurance purposes. Professional contractors typically provide detailed preparation reports that include moisture test results, pH measurements, surface profile verification, repair documentation, and photographic evidence of surface condition. This documentation protects both the contractor and customer by establishing that proper preparation protocols were followed.
At Top Gun Garage, our team has perfected the garage floor preparation process through years of experience and continuous refinement of our techniques. We understand that proper preparation is the foundation of every successful garage floor coating project, and we never compromise on quality or completeness of our prep work. Our systematic approach ensures consistent results and long-term customer satisfaction.
Frequently Asked Questions
How long does the complete garage floor preparation process take? The timeline varies based on floor size, condition, and contamination levels, but most residential garage floors require 1-3 days for complete preparation. Heavily contaminated or damaged floors may require additional time for thorough cleaning and repair work.
Can I prepare my garage floor myself, or should I hire professionals? While DIY preparation is possible, professional contractors have specialized equipment, experience, and knowledge that ensure optimal results. The cost of professional preparation is typically offset by improved coating performance and longevity.
What happens if moisture levels are too high for coating application? High moisture levels require additional drying time or moisture mitigation measures before coating application. Some coating systems include moisture-tolerant primers that can accommodate higher moisture levels.
How do you remove old garage floor coatings during preparation? Old coatings are typically removed through mechanical grinding or shot blasting. Chemical strippers may be used for certain coating types, but mechanical removal ensures complete elimination and proper surface profiling.
Is acid etching as effective as mechanical profiling methods? Acid etching can create adequate surface profile for some applications, but mechanical methods provide more consistent results and better contamination removal. Professional contractors typically prefer mechanical profiling for optimal coating performance.
What surface profile is required for garage floor coatings? Most garage floor coatings require surface profiles between 25-75 microns (CSP 1-3). Specific requirements vary by coating manufacturer and system type, so verification is essential for warranty compliance.
How do you handle cracks that might reappear after coating? Active cracks require flexible repair materials and may need control joint installation to accommodate movement. Static cracks can be permanently repaired with rigid materials when properly prepared and filled.
What environmental conditions are required during preparation? Temperature, humidity, and airflow requirements vary by preparation method and coating system. Generally, temperatures between 50-90°F and relative humidity below 85% provide optimal conditions for most preparation and coating work.
Conclusion
The garage floor preparation process represents far more than a preliminary step before coating application – it’s the foundation that determines whether a garage floor coating project succeeds or fails. Professional contractors who understand and implement comprehensive preparation protocols consistently deliver superior results that exceed customer expectations and provide decades of reliable performance.
The investment in proper preparation pays dividends throughout the life of the coating system. When garage floor prep steps are executed with precision and attention to detail, the resulting coating installation becomes straightforward, predictable, and durable. Conversely, shortcuts in preparation inevitably lead to premature failure, warranty claims, and customer dissatisfaction that can damage contractor reputations and business relationships.
The evolution of preparation techniques and equipment continues to improve the reliability and efficiency of the garage floor preparation process. Modern diamond grinding equipment, advanced cleaning chemicals, and sophisticated testing methods enable contractors to achieve consistent results across varying concrete conditions and project requirements. However, the fundamental principles of thorough contamination removal, proper surface profiling, and comprehensive quality verification remain unchanged.
For homeowners considering garage floor coating projects, understanding the importance of proper preparation helps in evaluating contractor proposals and making informed decisions. The lowest bid may not represent the best value if preparation shortcuts compromise long-term performance. Professional contractors who emphasize preparation quality and provide detailed preparation protocols typically deliver superior results that justify their investment in proper techniques and equipment.
The future of garage floor preparation will likely see continued advancement in equipment efficiency, environmental compliance, and quality verification methods. However, the core principle that preparation quality determines coating success will remain constant, ensuring that professional contractors who master these techniques will continue to deliver exceptional results for their customers.