Top Gun Garage • Fort Myers, FL

Floor Coatings That Won’t Crack Under 15,000 Pound RVs

|RV garage floor coating|RV garage floor coating|RV garage floor coating

Homeowners investing in RV garage floor coating face a critical challenge—standard residential garage floors weren’t designed to support the concentrated weight of Class A motorhomes, fifth wheels, and travel trailers exceeding 15,000 pounds. Traditional epoxy systems that perform adequately under passenger vehicles often fail catastrophically when subjected to the constant pressure and point-loading created by RV storage, developing stress fractures, delamination, and surface cracking within months of installation. Professional-grade polyurea and polyaspartic coating systems engineered specifically for heavy-duty applications provide the flexibility, adhesion strength, and load distribution properties necessary to protect concrete slabs supporting recreational vehicles weighing 10,000-20,000 pounds for decades without failure.

Overview

This comprehensive guide examines the unique requirements for RV garage floor coatings, explaining why recreational vehicle storage demands specialized coating systems far exceeding residential garage standards. You’ll discover how vehicle weight creates stress on concrete and coatings, the critical differences between standard and heavy-duty coating systems, proper concrete preparation requirements, substrate reinforcement techniques, coating selection criteria, installation best practices, and maintenance strategies. These insights ensure your RV garage floor withstands extreme loads while maintaining appearance and structural integrity for 15+ years.

Key Takeaways

  • RVs create 3-4 times more concentrated load pressure than passenger vehicles due to weight distribution across fewer contact points

  • Standard residential epoxy coatings lack the flexibility and adhesion strength to handle 15,000+ pound RVs without cracking

  • Polyurea and polyaspartic systems provide superior elasticity, allowing them to flex with concrete movement under extreme loads

  • Proper concrete preparation including crack repair, structural assessment, and moisture testing prevents coating failure under heavy vehicles

  • Substrate reinforcement with carbon fiber or steel mesh may be necessary for older concrete slabs supporting Class A motorhomes

  • Coating thickness of 20-40 mils provides adequate protection compared to 10-15 mils for standard residential applications

  • Professional installation ensures proper load distribution, uniform coverage, and long-term performance under recreational vehicle storage

Understanding RV Weight and Load Distribution

Class A motorhomes represent the heaviest recreational vehicles typically stored in residential garages, with loaded weights ranging from 15,000 to 30,000 pounds for luxury diesel pushers. Class C motorhomes and larger travel trailers fall into the 10,000-18,000 pound range, while fifth wheels commonly weigh 12,000-20,000 pounds when fully loaded for travel. These massive vehicles create concentrated point loads at each tire contact patch, generating pressures exceeding 200 PSI on garage floor surfaces compared to 40-60 PSI from standard passenger vehicles.

The load distribution pattern from RVs differs fundamentally from cars and light trucks, concentrating weight across four to six relatively small tire contact areas rather than distributing force across eight contact points with larger surface areas. A 20,000-pound Class A motorhome on dual rear axles creates approximately 3,300 pounds of force per tire, compressed into contact patches measuring just 30-50 square inches. This concentrated loading generates substantial stress on both the concrete slab and any applied coating, requiring materials engineered to handle repeated compression cycles without deformation or delamination.

Static weight represents only part of the challenge—dynamic loading from vehicle entry, exit, and turning movements multiplies stress on floor coatings significantly. When an RV turns during parking maneuvers, tire scrubbing creates lateral shear forces that attempt to peel coatings away from concrete substrates. Temperature-related expansion and contraction further compounds these stresses, as the concrete slab beneath a 15-ton RV undergoes thermal cycling that would crack rigid coating systems within the first year of service.

Why Standard Epoxy Fails Under RVs

Traditional residential epoxy floor coatings formulated for passenger vehicle storage lack the mechanical properties necessary to withstand RV storage demands. Standard epoxy systems cure to a rigid, brittle finish that cannot accommodate the substrate deflection occurring when concrete slabs compress under 15,000+ pound loads. When the concrete flexes even minutely under extreme weight, rigid epoxy coatings develop microcracks that propagate into visible stress fractures, eventually causing widespread coating failure.

The adhesion strength of basic epoxy systems—typically 250-350 PSI—proves inadequate for the shear forces generated by heavy RV tires during turning and parking movements. As RVs maneuver into storage positions, tire scrubbing creates lateral forces that exceed the bond strength between standard epoxy and concrete, causing the coating to delaminate in high-stress areas. These delamination zones expand with each vehicle movement, ultimately requiring complete coating removal and replacement.

Hot tire pickup accelerates epoxy degradation under RVs more severely than with passenger vehicles due to the extreme tire temperatures generated by highway travel and the concentrated weight pressing heated rubber into the coating surface. RVs returning from trips carry tire temperatures exceeding 150°F, hot enough to soften standard epoxy formulations and allow rubber compounds to bond chemically with the coating. The combination of heat and extreme weight creates permanent tire marks and surface damage that resist cleaning and progressively weaken the coating’s protective properties.

Moisture-related failures occur more frequently under RVs because the constant weight load drives water vapor through concrete pores and into the coating interface. Standard epoxy systems without proper moisture vapor barriers trap ascending moisture beneath the coating, creating hydrostatic pressure that overcomes adhesion and causes bubbling and delamination. The problem intensifies in humid climates where vapor transmission rates already challenge coating adhesion, making RV weight the final stress that triggers catastrophic failure.

Heavy-Duty Coating Systems for RV Storage

Professional-grade polyurea coatings provide the optimal solution for RV garage floors, combining superior flexibility with exceptional adhesion strength and impact resistance. Polyurea’s elastomeric properties allow the coating to stretch and flex with concrete substrate movement, accommodating the compression and deflection that occurs under extreme vehicle weights without developing stress cracks. The material’s tensile strength exceeding 2,000 PSI and elongation values reaching 400% enable it to absorb dynamic loads and shear forces that would fracture rigid epoxy systems.

Polyurea basecoat systems specifically engineered for industrial applications deliver adhesion strengths exceeding 500 PSI, nearly double that of standard residential epoxy coatings. This superior bond strength resists delamination from tire scrubbing, thermal stress, and moisture vapor pressure, maintaining coating integrity even under the most demanding RV storage conditions. The rapid cure time of polyurea—often achieving full strength within 24 hours—minimizes downtime and allows RV owners to resume vehicle storage quickly after installation.

Polyaspartic coating systems represent another excellent option for RV garages, offering properties similar to polyurea with enhanced UV stability and extended working time during application. These systems cure to a flexible yet durable finish that handles heavy loads while resisting yellowing, chemical damage, and abrasion. Professional installers often combine polyaspartic topcoats with polyurea basecoats, creating hybrid systems that optimize performance for specific RV storage requirements and environmental conditions.

Hybrid epoxy-polyurea systems provide a cost-effective alternative for RV garages with moderate use, using high-build epoxy primers for initial adhesion and moisture control, followed by flexible polyurea topcoats that handle vehicle loads. This layered approach balances material costs while ensuring the critical top surface possesses the flexibility and durability necessary for RV storage. However, pure polyurea or polyaspartic systems still represent the gold standard for garages housing Class A motorhomes or experiencing daily vehicle movement.

Concrete Preparation for Heavy Vehicle Loads

Substrate evaluation represents the critical first step in RV garage floor preparation, requiring professional assessment of concrete condition, structural integrity, and load-bearing capacity. Concrete slabs supporting RVs must possess minimum compressive strength of 3,000 PSI, with 3,500-4,000 PSI preferred for Class A motorhomes and heavy fifth wheels. Professional contractors perform concrete strength testing using rebound hammers or core samples, identifying weak areas requiring reinforcement before coating application.

Crack repair assumes heightened importance for RV garage floors because even hairline fractures propagate rapidly under extreme vehicle weights, telegraphing through coatings and causing premature failure. All cracks require routing, cleaning, and filling with high-strength polyurea or epoxy repair mortars that bond mechanically and chemically to surrounding concrete. Control joints and expansion joints need flexible polyurea fillers that accommodate ongoing substrate movement while preventing coating stress concentration at joint locations.

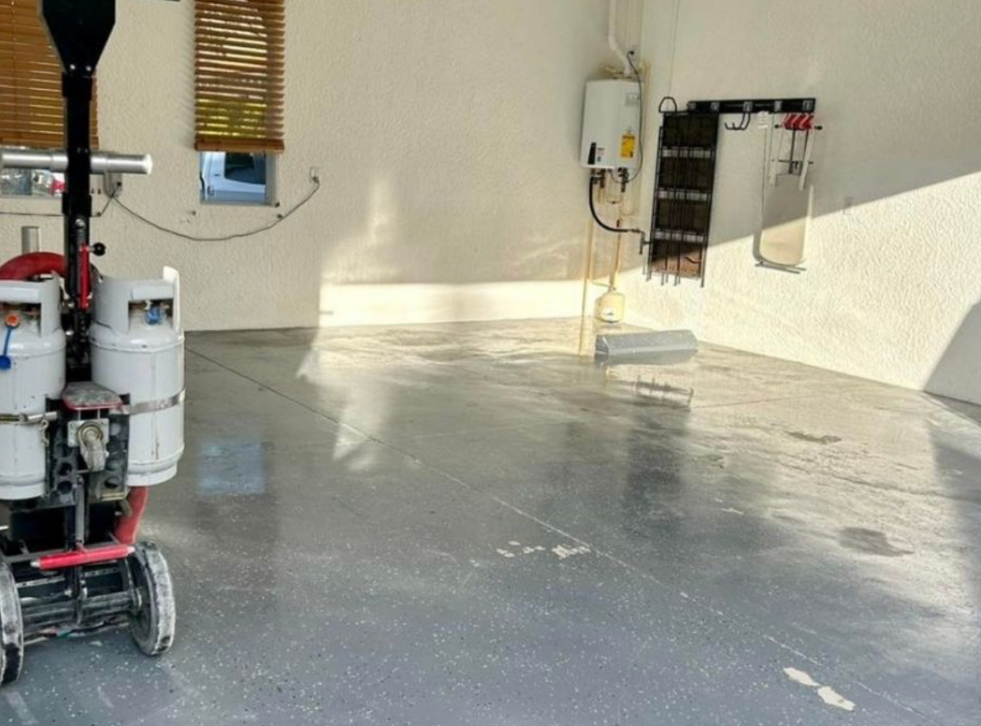
Diamond grinding creates the optimal surface profile for heavy-duty coatings, opening concrete pores to achieve CSP-3 to CSP-4 profiles that maximize mechanical interlocking between coating and substrate. This aggressive preparation removes surface contaminants, laitance, and weak concrete while creating the rough texture necessary for high-strength adhesion. Shot blasting provides an acceptable alternative, though diamond grinding offers superior dust control and more consistent profile depth across large RV garage floor areas.

Moisture testing protocols become absolutely critical for RV garage floors, as the constant vehicle weight amplifies moisture-related coating failures. Professional installers perform calcium chloride tests and relative humidity probe measurements, identifying concrete slabs with vapor transmission rates exceeding coating system tolerances. High moisture readings require moisture mitigation primers or complete vapor barrier systems that prevent ascending water from compromising coating adhesion under the extreme pressures generated by RV storage.

Substrate Reinforcement Techniques

Older concrete slabs—particularly those poured before modern residential standards adopted steel reinforcement—may require structural enhancement before supporting heavy RVs and coating systems. Carbon fiber mesh embedded in high-strength epoxy provides an effective reinforcement solution, distributing loads across wider areas and preventing crack propagation that would damage floor coatings. Professional contractors apply carbon fiber in grid patterns across the entire slab or concentrate reinforcement in high-stress zones where RV tires contact the floor.

Fiber-reinforced polymer (FRP) overlays create a composite structural layer that dramatically increases slab load-bearing capacity while providing an ideal substrate for polyurea coating application. These systems bond 1/8″ to 1/4″ thick reinforced layers directly to existing concrete, effectively creating a new structural surface capable of handling extreme vehicle weights. The technique proves particularly valuable for RV garages with questionable slab quality or those experiencing existing structural issues like settling or heaving.

Self-leveling concrete toppings address surface irregularities while adding structural mass that improves load distribution under heavy vehicles. High-strength toppings ranging from 1/4″ to 1″ thickness level uneven floors, fill shallow depressions, and create uniformly smooth surfaces that prevent stress concentration in coating systems. These toppings cure to strengths exceeding 5,000 PSI, providing robust foundations for polyurea or polyaspartic coatings while improving overall garage floor performance.

Control joint enhancement prevents the common failure mode where RV weight causes concrete slabs to settle differentially across control joints, creating height differentials that crack coating systems. Professionals install or enhance control joints with proper depth and spacing, then fill joints with flexible polyurea sealants that accommodate ongoing movement while maintaining coating continuity. This approach allows the concrete to move as designed without transferring stress to the protective coating layer.

Coating Thickness and Build Requirements

RV garage floor coatings require substantially greater thickness than residential applications to provide adequate protection and load distribution properties. Minimum coating thickness of 20 mils for polyurea systems—double the 10 mil standard for passenger vehicle garages—ensures sufficient material depth to handle compression forces and prevent premature wear. Professional installations for Class A motorhome storage often specify 30-40 mil total system thickness, incorporating multiple coating layers that build strength and durability.

Base coat application establishes the critical foundation layer, with professional systems using 10-15 mil polyurea basecoats that penetrate concrete pores and create maximum adhesion strength. This initial layer must cure to full strength before additional coats, ensuring proper interlayer bonding and preventing delamination between coating layers under heavy loads. Installers often incorporate colored quartz or vinyl flake into base coats, adding texture and slip resistance while building overall system thickness.

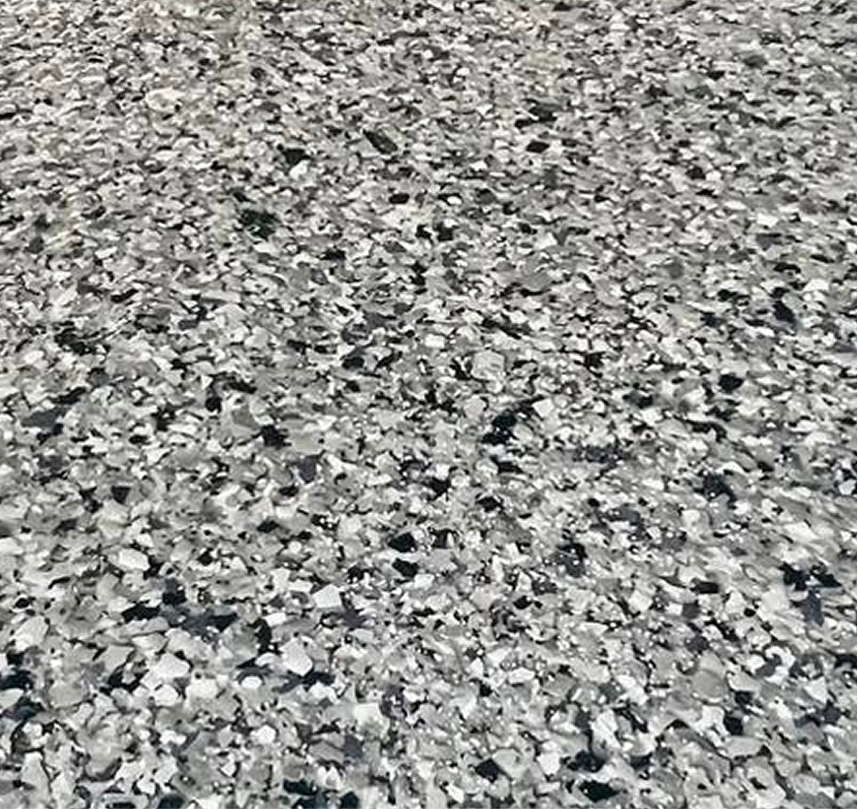
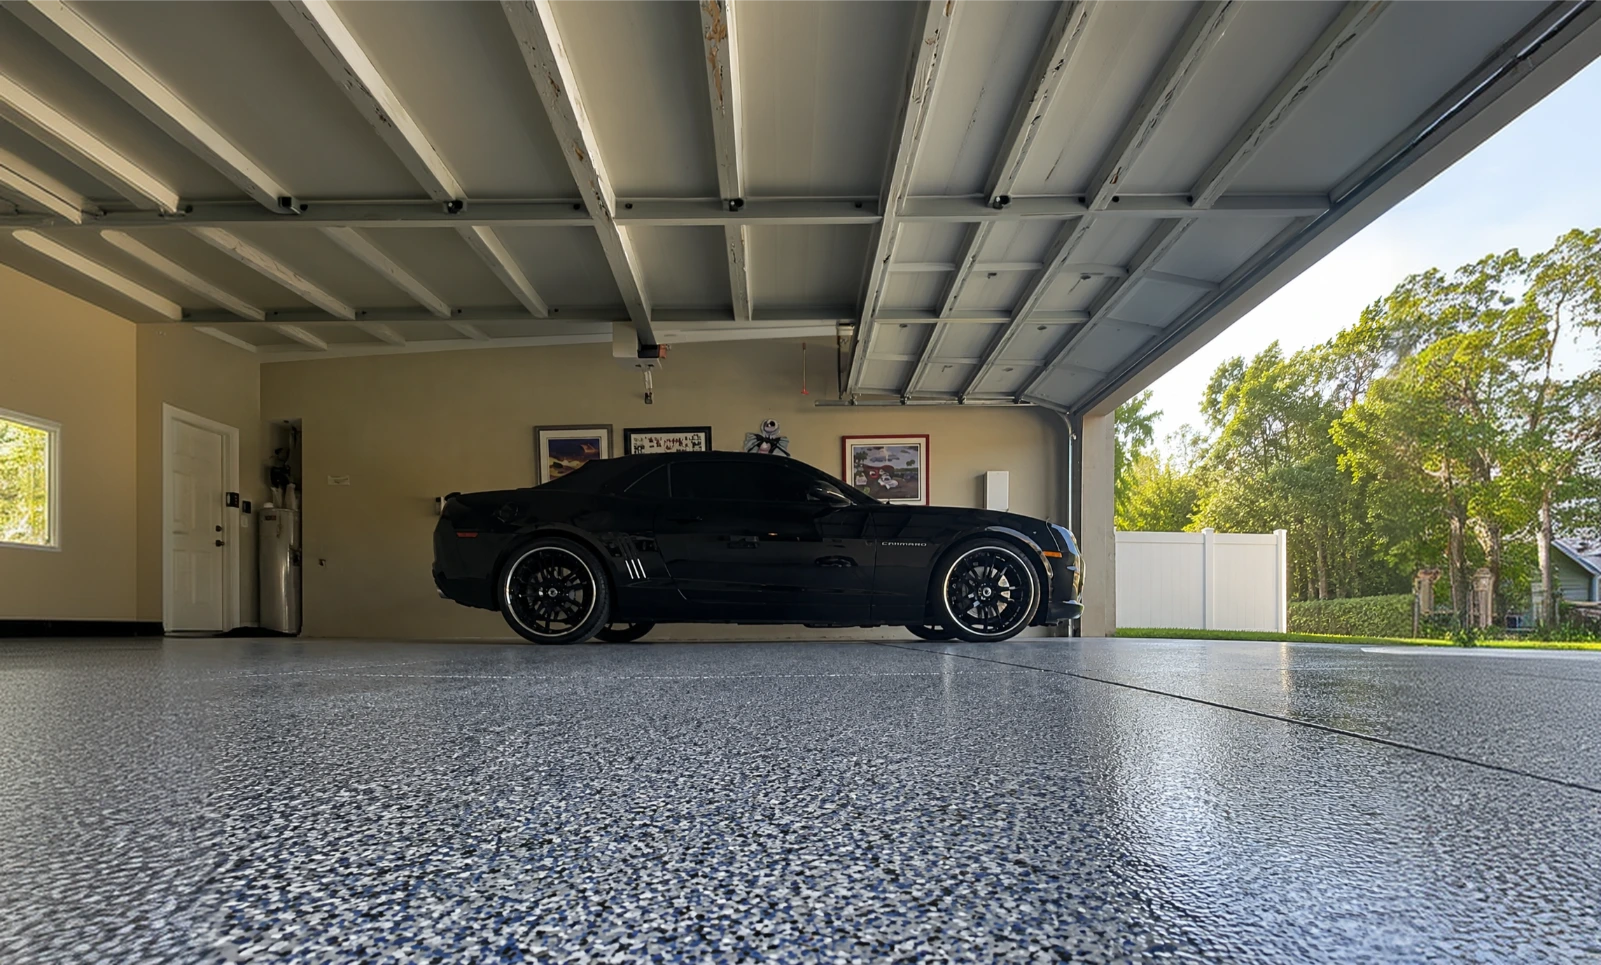
Decorative broadcast layers serve both aesthetic and functional purposes in RV garage coatings, with full-broadcast systems using decorative flakes at saturation levels providing superior impact resistance and load distribution. The flake layer creates a textured surface that helps distribute point loads across wider areas, reducing stress concentration under RV tires while adding visual interest and customization options. Professional installers ensure complete flake encapsulation within topcoat layers, preventing flake displacement under vehicle traffic.

Clear topcoat layers protect decorative elements while providing the final wear surface that contacts RV tires and withstands chemical exposure, UV radiation, and mechanical abrasion. Multiple topcoat applications building to 10-15 mil thickness create durable surfaces that maintain appearance and performance through years of heavy vehicle use. Some professional systems incorporate specialized abrasion-resistant additives or ceramic particles in topcoats, further enhancing durability for the most demanding RV storage applications.

Installation Best Practices for RV Garages

Temperature and humidity control during installation dramatically impacts coating performance under heavy vehicle loads, with professional installers monitoring conditions closely to ensure optimal curing. Polyurea and polyaspartic systems tolerate wider environmental ranges than epoxy, but extreme temperatures still affect cure rates, adhesion development, and final mechanical properties. Ideal installation conditions range from 60-80°F with relative humidity below 85%, parameters that allow coatings to develop maximum strength and flexibility necessary for RV support.

Installation sequences require careful planning to maintain proper cure times between layers while minimizing garage downtime for RV owners. Professional contractors schedule multi-layer applications to allow each coat adequate cure time—typically 4-8 hours for polyurea—before applying subsequent layers or allowing light traffic. The complete system often requires 24-48 hours to achieve handling strength and 5-7 days to reach full cure, during which RV parking must occur elsewhere.

Edge detailing and transition areas demand special attention in RV garages to prevent coating failure at stress concentration points. Door thresholds where RVs enter receive reinforced coating applications or specialized threshold systems that handle repeated tire impact and turning forces. Wall-floor transitions incorporate cove base applications that prevent moisture intrusion and provide smooth surfaces that resist damage from tire contact during parking maneuvers.

Quality control testing throughout installation verifies proper adhesion, appropriate thickness, and uniform coverage across the entire floor surface. Professional contractors perform pull-off adhesion tests at multiple locations, confirming bond strength exceeds manufacturer specifications and project requirements. Thickness measurements using wet film gauges during application and dry film gauges after cure ensure the coating system achieves specified mil build necessary for heavy vehicle support.

Load Distribution and Performance Testing

Professional RV garage floor coatings undergo performance testing that simulates real-world loading conditions and verifies the system can handle specified vehicle weights. Adhesion testing using calibrated pull-off equipment confirms coating bond strength exceeds 500 PSI—the minimum threshold for reliable performance under heavy RVs. Test failures indicate inadequate surface preparation, moisture issues, or improper coating application requiring remediation before garage use.

Impact resistance testing assesses coating ability to withstand dropped tools, equipment impacts, and the dynamic loading from RV movement across the floor surface. Professional-grade systems withstand impacts that would crack or chip residential coatings, maintaining integrity even when subjected to severe mechanical stress. This durability proves critical in RV garages where maintenance activities and equipment storage create additional impact hazards beyond vehicle loading alone.

Abrasion resistance measurements quantify coating durability under the tire scrubbing and traffic wear generated by frequent RV movement. Taber abrader testing simulates years of vehicle traffic in controlled laboratory conditions, predicting coating lifespan and identifying formulations that maintain appearance despite heavy use. High-performance polyurea systems demonstrate abrasion resistance 300-400% superior to standard epoxy, translating to dramatically extended service life in RV storage applications.

Flexibility testing evaluates coating ability to stretch and recover from substrate deflection under extreme loads without cracking or delaminating. Mandrel bend tests and elongation measurements confirm polyurea and polyaspartic systems maintain flexibility through temperature extremes and aging, ensuring long-term performance as concrete slabs compress and expand under RV weight and environmental cycling.

Maintenance for RV Garage Floors

Routine cleaning protocols for RV garage floors differ from residential garage maintenance due to the heavier contamination from large vehicle tires and more extensive undercarriage debris. Regular sweeping removes gravel, dirt, and debris that could embed in coating surfaces or cause scratches under vehicle weight. Deep cleaning procedures using pH-neutral cleaners and soft-bristle brushes remove oil drips, tire marks, and road film without damaging protective coatings or compromising their chemical resistance.

Periodic inspection identifies developing issues before they compromise coating performance or require expensive repairs. Homeowners should examine RV tire contact areas quarterly, looking for signs of coating compression, wear patterns, or developing stress cracks that indicate potential problems. Early detection allows minor repairs that prevent failure progression, extending coating lifespan and maintaining garage floor appearance through years of heavy use.

Protective measures including tire cradles, distribution plates, or leveling blocks reduce point-load stress on garage floors during extended RV storage periods. These accessories spread vehicle weight across larger surface areas, decreasing pressure on any single point and minimizing coating compression. Professional RV owners often implement these protective strategies for long-term storage situations where vehicles remain stationary for months at a time.

Recoating schedules for RV garage floors typically range from 7-12 years depending on vehicle weight, usage frequency, and coating system quality. Professional-grade polyurea systems in well-maintained garages housing single RVs with occasional movement can exceed 15 years before requiring topcoat renewal. High-traffic situations with multiple vehicles or daily RV movement may necessitate topcoat refreshing at 5-7 year intervals to maintain optimal appearance and protection.

Cost Considerations and Return on Investment

Heavy-duty RV garage floor coating systems cost 50-100% more than standard residential applications due to increased material requirements, specialized preparation, and enhanced coating formulations. Typical installations range from $6-$15 per square foot for professional-grade polyurea systems compared to $3-$7 per square foot for basic epoxy coatings inadequate for RV storage. The investment protects underlying concrete from damage that could cost $10,000-$30,000 to repair or replace, making professional coating systems highly cost-effective insurance against structural failure.

Material selection dramatically impacts total project costs, with premium polyurea systems commanding higher prices than hybrid or polyaspartic alternatives. However, the superior performance and extended lifespan of top-tier systems often results in lower lifecycle costs when calculated over 15-20 year service periods. Homeowners investing in Class A motorhomes valued at $200,000-$500,000 typically find that premium floor coating costs represent reasonable protection for their substantial vehicle investments.

DIY installation appears tempting for cost-conscious RV owners but rarely delivers the performance necessary for heavy vehicle storage. Professional contractors possess specialized equipment including plural-component spray systems, diamond grinders, and moisture testing instruments that ensure proper installation. The risk of coating failure from improper DIY application—potentially requiring complete removal and professional reinstallation—makes professional installation the only prudent choice for RV garage floors.

Long-term value extends beyond coating performance to include increased home resale value and enhanced property appeal for buyers seeking RV storage capability. Professionally coated RV garages represent significant selling features in markets where recreational vehicle ownership remains popular, often justifying premium pricing and accelerating home sales. The combination of functional benefits and property value enhancement makes heavy-duty garage floor coating investments financially sound decisions for serious RV enthusiasts.

Frequently Asked Questions

What coating thickness do I need for a 15,000 pound RV? RV garage floors supporting 15,000+ pound vehicles require minimum 20 mil coating thickness, with 30-40 mils recommended for Class A motorhomes. Professional polyurea systems built to these specifications provide adequate strength and flexibility to handle extreme loads without cracking or delaminating.

Will standard epoxy work under my travel trailer? Standard residential epoxy coatings lack the flexibility and adhesion strength necessary for RVs exceeding 8,000 pounds. Travel trailers weighing 10,000+ pounds require professional-grade polyurea or polyaspartic systems engineered specifically for heavy vehicle storage to prevent premature coating failure.

How long does RV garage floor coating take? Professional installations typically require 2-3 days including surface preparation, concrete repairs, and multi-layer coating application. Complete cure times range from 24 hours for light traffic to 5-7 days for full RV weight loading, depending on coating system and environmental conditions.

Can I park my RV immediately after coating? No—polyurea coatings require minimum 24-48 hours before supporting RV weight, with full cure taking 5-7 days. Parking heavy vehicles prematurely risks coating deformation, adhesion failure, and permanent damage. Follow installer recommendations for cure times specific to your coating system.

What’s the best coating for Class A motorhomes? Pure polyurea systems provide optimal performance for Class A motorhomes due to superior flexibility, 500+ PSI adhesion strength, and excellent load distribution properties. These professional-grade coatings handle the extreme point loads and dynamic stresses from vehicles weighing 20,000-30,000 pounds without failure.

Do I need to reinforce my garage floor slab? Concrete slabs with compressive strength below 3,000 PSI, existing structural cracks, or age-related deterioration may require reinforcement before RV storage. Professional assessment determines whether carbon fiber mesh, FRP overlays, or structural toppings are necessary for safe heavy vehicle support.

How do I prevent hot tire pickup? Polyurea and polyaspartic coatings resist hot tire pickup through superior thermal stability that prevents softening at temperatures exceeding 200°F. Unlike epoxy which softens around 150°F, these advanced systems maintain dimensional stability regardless of tire temperature or parking duration.

What maintenance does RV garage coating require? Regular sweeping to remove debris, quarterly cleaning with pH-neutral solutions, and periodic inspection of high-wear areas maintain coating performance. Professional topcoat renewal every 7-12 years refreshes appearance and extends system lifespan through decades of heavy vehicle use.

Can coating fix existing concrete cracks? Coating systems provide protection but don’t repair structural concrete damage. All cracks require proper routing, cleaning, and filling with high-strength repair mortars before coating application. Unrepaired cracks propagate through coatings under RV weight, causing premature failure.

Is professional installation worth the cost? Absolutely—professional installation ensures proper surface preparation, adequate coating thickness, correct material selection, and warranty coverage. DIY installations rarely achieve the performance necessary for heavy RVs and often fail within months, requiring expensive professional remediation.

Conclusion

RV garage floor coating systems must exceed residential garage standards substantially to handle the extreme loads, concentrated pressures, and dynamic stresses created by recreational vehicles weighing 15,000 pounds or more. Professional-grade polyurea and polyaspartic coatings provide the flexibility, adhesion strength, and durability necessary to support Class A motorhomes, fifth wheels, and travel trailers without cracking or delaminating. Proper concrete preparation, adequate coating thickness, substrate reinforcement when necessary, and professional installation ensure RV garage floors withstand decades of heavy vehicle storage while maintaining appearance and structural integrity.

Top Gun Garage specializes in heavy-duty floor coating installations designed specifically for recreational vehicle storage in Southwest Florida. Contact us today for professional assessment, detailed recommendations, and expert installation that ensures your garage floor handles your RV investment safely for 15+ years.

REQUEST YOUR FREE PROJECT CONSULTATION