 Skip to content



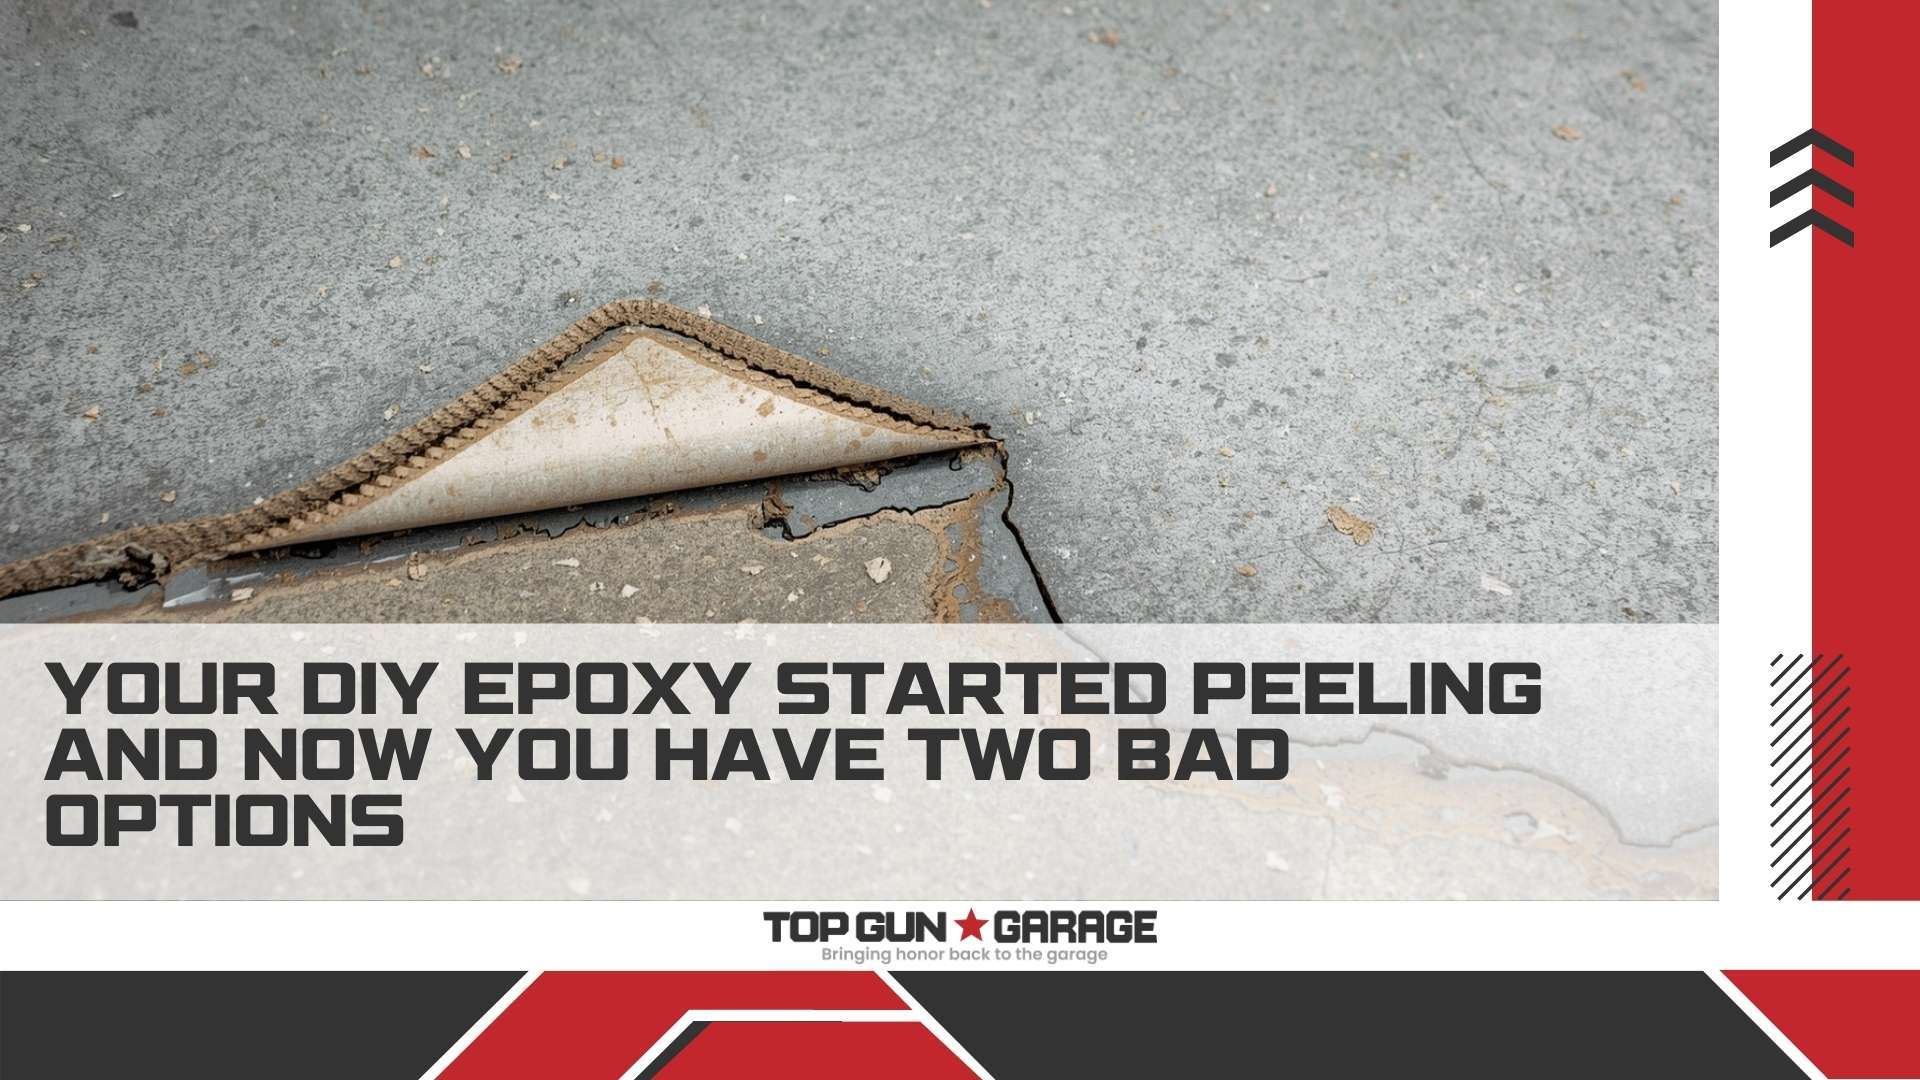
That weekend DIY garage floor project seemed straightforward—clean the concrete, roll on the epoxy floor peeling fix kit from the hardware store, and enjoy a showroom finish for years to come. But now, just months later, you’re staring at bubbling edges, lifting corners, and entire sections of coating that peel away when you walk across them. The epoxy floor peeling fix you thought would transform your garage has become an eyesore that’s getting worse by the week, and you’re realizing that DIY epoxy coating isn’t as simple as the box promised.
Homeowners facing peeling DIY epoxy installations confront two equally unappealing options: attempt spot repairs that rarely last more than 6-12 months, or commit to complete removal and professional reinstallation costing $3,000-$6,000 for a standard two-car garage. Neither choice recovers your initial investment in time, materials, and effort, and both demand significant additional expense. Understanding why DIY epoxy fails, what causes the peeling, and why professional installation prevents these problems helps you make an informed decision about salvaging your garage floor.
Overview
This article examines the harsh reality facing homeowners whose DIY epoxy floors have started peeling, detailing the two repair options available and why neither provides an ideal solution. You’ll learn the specific reasons DIY epoxy installations fail prematurely, the limitations and costs of patch repair attempts, the extensive process required for complete removal and reinstallation, and how professional contractors prevent peeling through proper surface preparation and moisture management. We’ll also explore warning signs that predict DIY epoxy failure and strategies for minimizing losses when your garage floor coating fails.
Key Takeaways
-
DIY epoxy peeling stems from inadequate surface preparation, moisture issues, and improper product application
-
Spot repairs rarely last beyond 12 months because they don’t address underlying adhesion problems
-
Complete epoxy removal requires diamond grinding equipment, proper disposal, and costs $2-$4 per square foot
-
Professional installation with moisture testing and proper surface profiling prevents 90% of peeling failures
-
Attempting to coat over peeling epoxy guarantees future failure and wastes additional money
-
The total cost of DIY failure plus professional correction exceeds initial professional installation by 40-60%
Why Your DIY Epoxy Floor Started Peeling
The primary cause of DIY epoxy floor peeling fix failures involves inadequate surface preparation that prevents proper adhesion between coating and concrete. Concrete surfaces contain a weak layer called laitance a powdery residue of cement particles that must be completely removed through diamond grinding to expose the aggregate and create the rough profile necessary for epoxy bonding. DIY kits recommend acid etching, but this process rarely removes enough surface contamination or creates sufficient profile depth for durable adhesion.
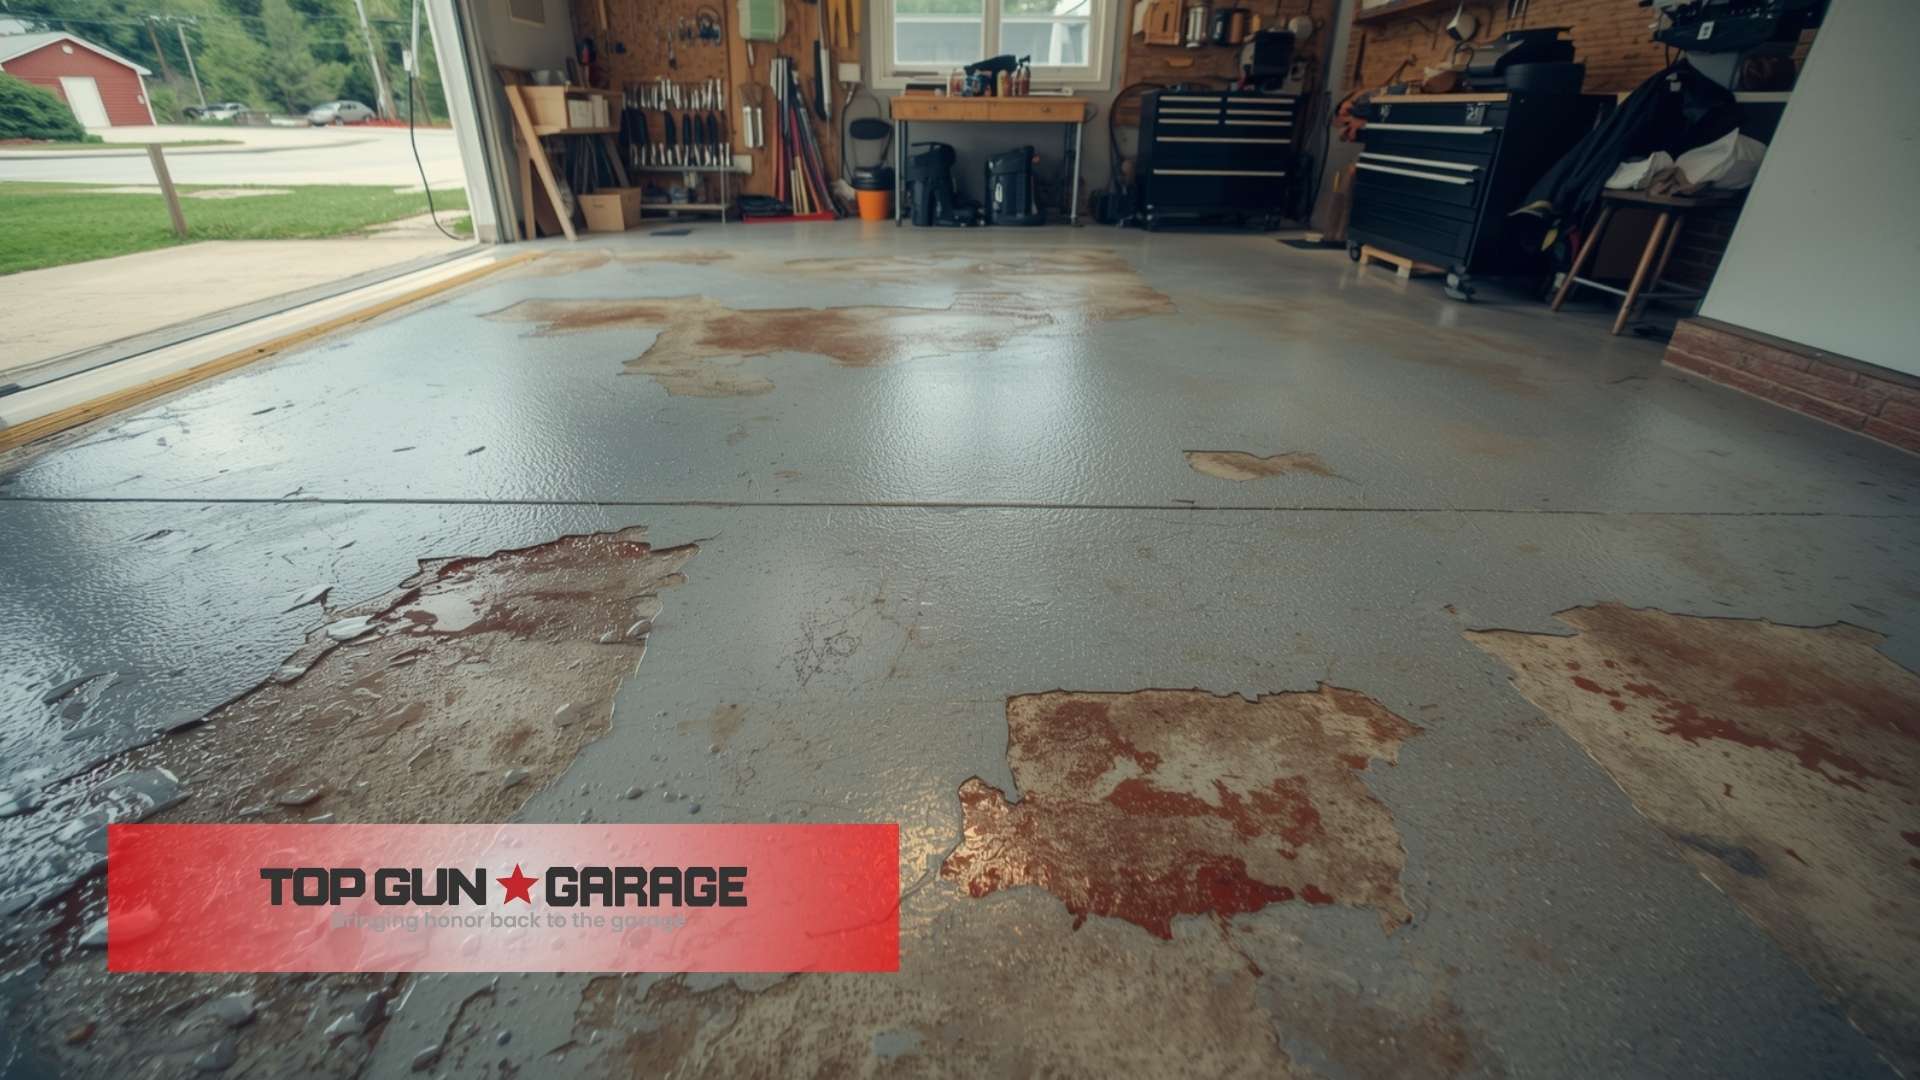
Moisture issues represent the second most common cause of DIY epoxy delamination. Concrete slabs absorb water from the ground beneath, with vapor continuously migrating upward through the porous concrete matrix. When epoxy coating blocks this vapor transmission, pressure builds beneath the coating until adhesion fails and the epoxy lifts away from the concrete. Professional installers perform moisture testing using calcium chloride tests or relative humidity probes before installation, but DIY instructions rarely mention this critical step.
Product quality and application errors compound preparation failures. Hardware store DIY kits contain thinner coatings with lower solids content than professional-grade systems, providing weaker adhesion and less durability. Temperature and humidity conditions during application critically affect curing, but DIY installers often work during unsuitable conditions without realizing the impact. Skipping primer application a step many DIY instructions list as optional—eliminates the bonding agent that helps epoxy adhere to difficult concrete surfaces.
Understanding Epoxy Delamination and Adhesion Failure
Epoxy delamination occurs when the bond between coating and concrete proves weaker than the internal strength of the cured epoxy itself. Rather than breaking apart, the entire coating layer separates from the substrate, often in large sheets that peel away with minimal force. This adhesion failure indicates the epoxy never achieved proper mechanical bonding with the concrete it simply sat atop the surface like a sticker waiting to be removed.
Traffic loads and thermal cycling accelerate delamination once the process begins. Vehicle weight creates shear forces that propagate lifting at weak adhesion points, with each tire pass extending the peeling area. Temperature changes cause concrete and epoxy to expand and contract at different rates, creating stress at the bond interface that further compromises adhesion. What starts as small edge lifting quickly spreads across the entire floor within months.
The progression from minor bubbling to widespread failure happens rapidly because moisture continues entering through any breach in the coating. Once water penetrates beneath the epoxy, it spreads laterally between coating and concrete, attacking adhesion across expanding areas. This explains why attempting to ignore small peeling spots always leads to complete coating failure—the damage propagates exponentially once moisture access occurs.
Option 1: Attempt Spot Repairs (Rarely Works Long-Term)
Spot repairs involve removing the loose epoxy from the affected area, cleaning and preparing the exposed concrete, and applying new epoxy over the damaged section. This approach seems cost-effective, requiring only materials ($50-$150) and a weekend of labor. Sand the peeling area, clean with solvents, apply primer, and coat with matching epoxy the process appears straightforward and promises to restore appearance without major investment.
However, spot repairs fail to address the underlying conditions that caused the original peeling. If inadequate surface preparation caused the failure, spot repairs performed with similar preparation techniques will fail again. If moisture vapor transmission compromised adhesion, patching without vapor barriers guarantees the new coating will delaminate. Industry professionals report spot repair longevity of 6-12 months before the same failure patterns reoccur.
Color matching presents another challenge that makes spot repairs visually obvious. Epoxy changes shade slightly as it cures and ages, making new patches noticeably different from surrounding coating. The transition between old and new epoxy creates visible lines even when repairs are carefully feathered. Homeowners attempting spot repairs often report their garage floor looks worse than before—a patchwork of different colored sections with visible repair boundaries.
The emotional and financial frustration of failed spot repairs leads most homeowners to eventually pursue complete removal anyway. This means spot repair attempts waste additional money on materials and time that could have been invested in permanent solutions. Professional contractors recommend against spot repairs except in cases where localized damage resulted from specific trauma (dropped tools, spills) rather than systemic adhesion failure.
Option 2: Complete Removal and Reinstallation
Complete epoxy removal represents the only reliable solution for widespread delamination but requires significant investment in equipment, time, and professional services. Diamond grinding with specialized floor preparation machines removes the failed coating along with the top layer of concrete, exposing fresh aggregate and creating the proper surface profile for new installation. Rental grinders cost $200-$400 per day, or professional removal services charge $2-$4 per square foot depending on coating thickness and adhesion strength.
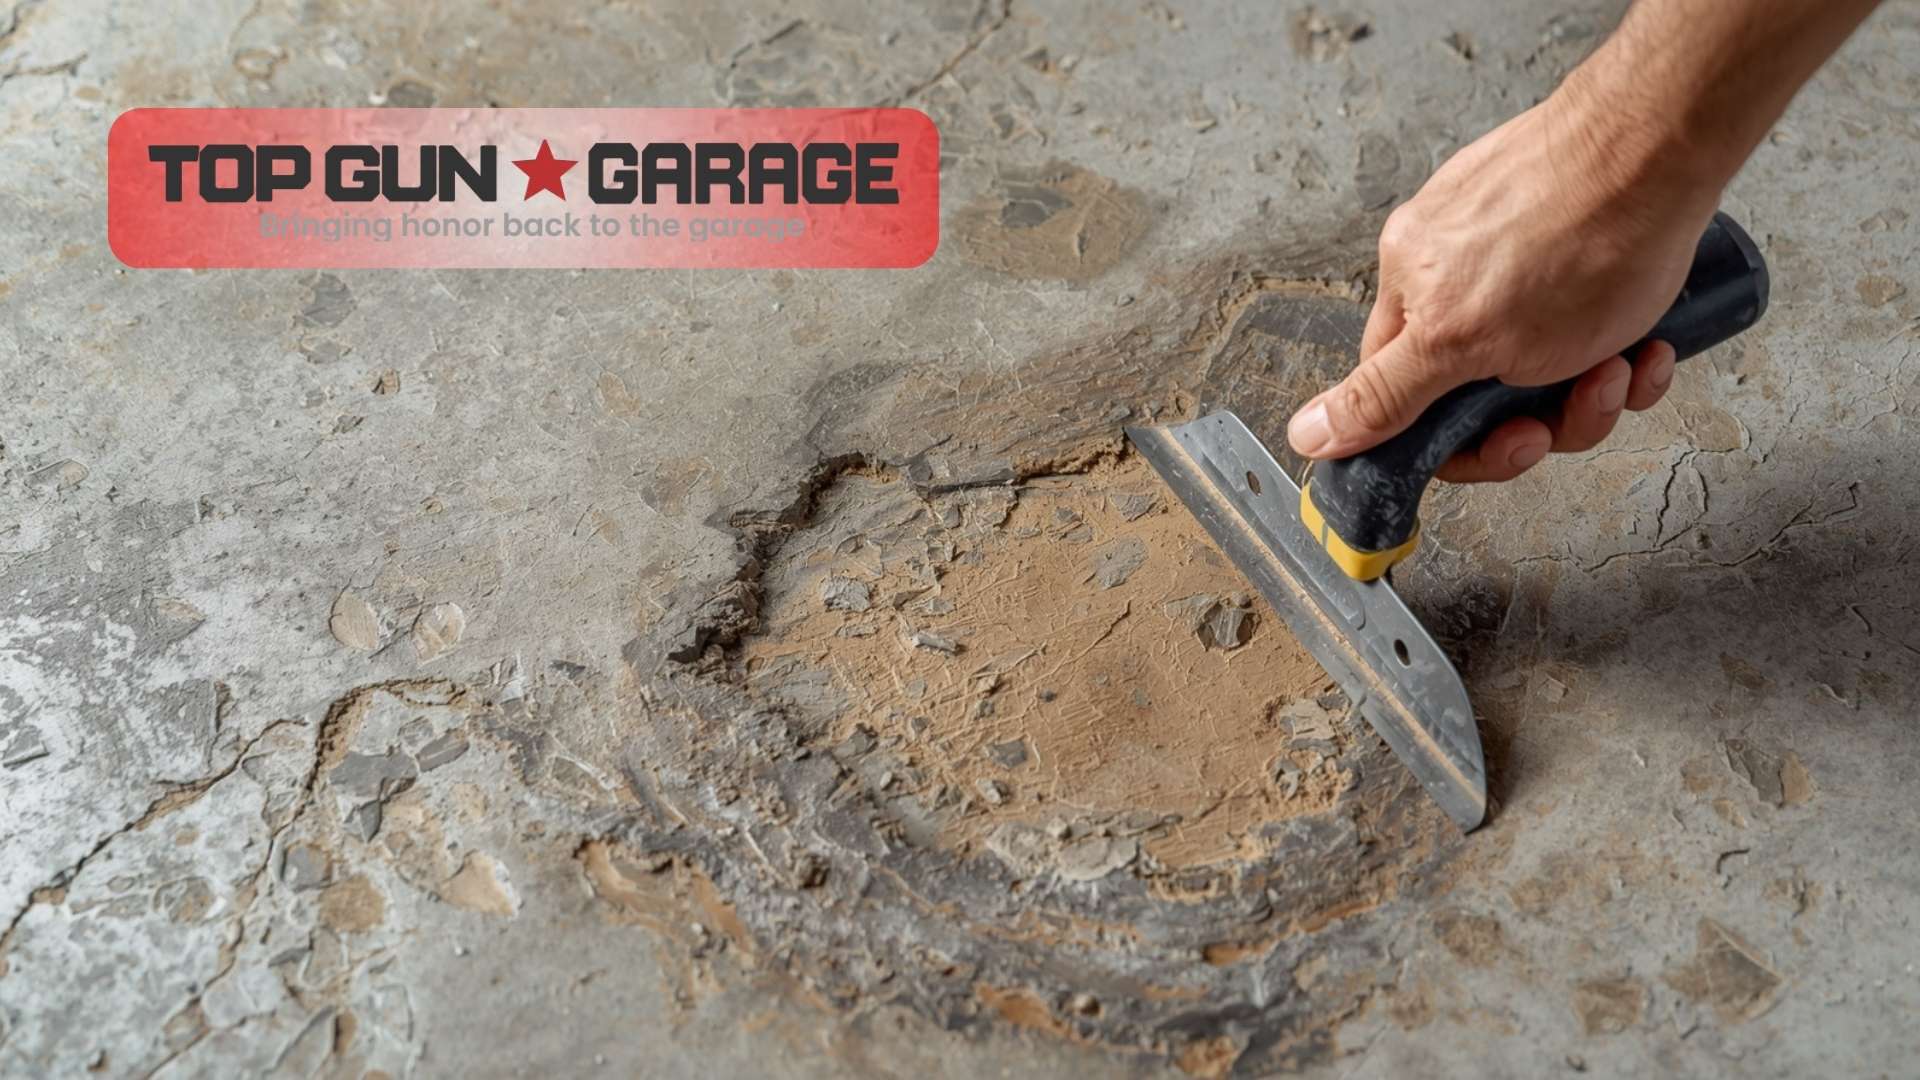
The removal process generates enormous amounts of dust and debris requiring proper containment and disposal. Grinding creates silica dust a serious respiratory hazard requiring N95 or P100 respirators and proper ventilation. Coating debris mixed with concrete dust fills multiple contractor bags, with disposal fees adding $100-$300 to project costs. Most homeowners underestimate the physical demands and mess involved, leading many to hire professionals after attempting DIY removal.
Professional reinstallation following removal includes moisture testing, proper surface profiling, primer application, and quality coating systems that address the failures that caused the original peeling. This complete approach costs $5-$12 per square foot depending on coating system and decorative options. For a 400 square foot two-car garage, total removal and professional reinstallation ranges from $3,000-$6,000—substantially more than the initial DIY kit costing $200-$400.
Why Professional Installation Prevents Peeling
Professional garage floor contractors use diamond grinding equipment that removes laitance and creates the CSP (Concrete Surface Profile) of 3-4 required for optimal epoxy adhesion. This mechanical preparation exposes aggregate and creates microscopic peaks and valleys that provide mechanical keying for the coating to lock into. The difference between professional grinding and DIY acid etching explains why professionally installed floors achieve 10-15 year lifespans while DIY installations fail within 1-2 years.
Moisture testing protocols identify high vapor transmission rates that require specialized barriers before coating application. Professional installers use calcium chloride tests to measure moisture vapor emission rates, applying moisture vapor barriers when readings exceed coating system tolerances. This testing adds $100-$200 to installation costs but prevents the moisture-related delamination responsible for 60-70% of epoxy failures.
Quality coating systems used by professional contractors contain 3-4 times the solids content of DIY kits, providing superior adhesion strength and durability. Professional-grade epoxies or polyurea systems resist hot tire pickup, chemical damage, and thermal stress that compromise thinner DIY coatings. The combination of proper preparation, moisture management, and quality materials explains why professional installations carry 10-15 year warranties while DIY kits offer no warranty beyond the product itself.
The True Cost of DIY Epoxy Failure
Calculating the complete financial impact of DIY epoxy failure includes the initial kit purchase ($200-$400), wasted preparation time (16-24 hours), failed spot repair attempts ($100-$200), and eventual professional removal and reinstallation ($3,000-$6,000). This total of $3,500-$7,000 exceeds the cost of hiring professionals initially by 40-60%. Homeowners who choose DIY to save money end up spending significantly more while enduring months of frustration and an unusable garage floor.
The opportunity cost of the garage being out of service during multiple failed repair attempts adds further value loss. DIY installation takes the garage offline for 3-5 days, spot repairs another 2-3 days each attempt, and complete removal/reinstallation another 3-5 days—potentially 15-20 days of garage access lost. For families with limited vehicle parking or storage needs, this repeated disruption creates significant inconvenience.
Emotional stress and marital tension surrounding failed home improvement projects carry costs difficult to quantify. The disappointment of watching a significant investment deteriorate, arguments about pursuing additional repairs versus cutting losses, and embarrassment when visitors see the failing floor all impact household wellbeing. Professional contractors report that clients who attempt DIY before hiring them express regret about not choosing professional installation initially.
Warning Signs Your DIY Epoxy Will Fail
Edge lifting around the perimeter indicates the first stage of adhesion failure, usually appearing 2-6 months after installation. Coating edges curl upward away from the concrete, often starting at door openings or where the garage floor meets walls. This lifting occurs because edges experience the greatest stress from temperature changes and traffic, making marginal adhesion fail first.
Bubbling or blistering beneath the coating surface signals moisture vapor pushing up from below or air trapped during application. These bubbles start small but grow larger as vapor continues accumulating beneath the coating. Pressing on bubbles often causes them to crack and peel away, revealing white powdery residue or damp concrete underneath. Once bubbling begins, complete delamination typically follows within 3-6 months.
Tire marks that won’t clean off indicate hot tire pickup—rubber bonding with softened epoxy due to inadequate coating thickness or improper curing. While hot tire pickup doesn’t always lead to peeling, it demonstrates the coating lacks the hardness and chemical resistance of properly installed systems. DIY coatings showing hot tire pickup within the first year will likely develop adhesion problems as well.
What Not to Do When Epoxy Starts Peeling
Attempting to coat over peeling epoxy without removing the failed coating guarantees rapid failure of the new layer. The new epoxy bonds only to the old peeling coating, not the concrete beneath, so it lifts away as the original coating continues delaminating. This creates an even bigger mess requiring more extensive removal work. Professional contractors refuse to coat over peeling epoxy specifically because it ensures warranty claims and customer dissatisfaction.
Using patch compounds or concrete repair products to fill gaps left by peeled coating doesn’t address adhesion problems and creates uneven surfaces. These materials have different thermal expansion rates than epoxy, creating stress points where future cracking and peeling will occur. The resulting bumpy, discolored floor looks worse than the original peeling. Proper repair requires removing all failed coating and returning to bare concrete.
Ignoring small peeling areas hoping they won’t spread guarantees the problem will worsen. Moisture enters through any breach in the coating, spreading laterally beneath the epoxy and attacking adhesion across expanding areas. What starts as a 6-inch peeling spot becomes a 6-foot section within months. Early intervention through complete removal costs less than waiting until the entire floor has failed.
Making the Best of a Bad Situation
Accept that DIY epoxy failure represents a learning experience rather than a permanent financial disaster. Many homeowners successfully complete challenging projects but find garage floor coating requires specialized equipment and expertise beyond typical DIY capabilities. Recognizing this limitation and hiring professionals for the reinstallation prevents future failures and provides the durable floor you originally wanted.
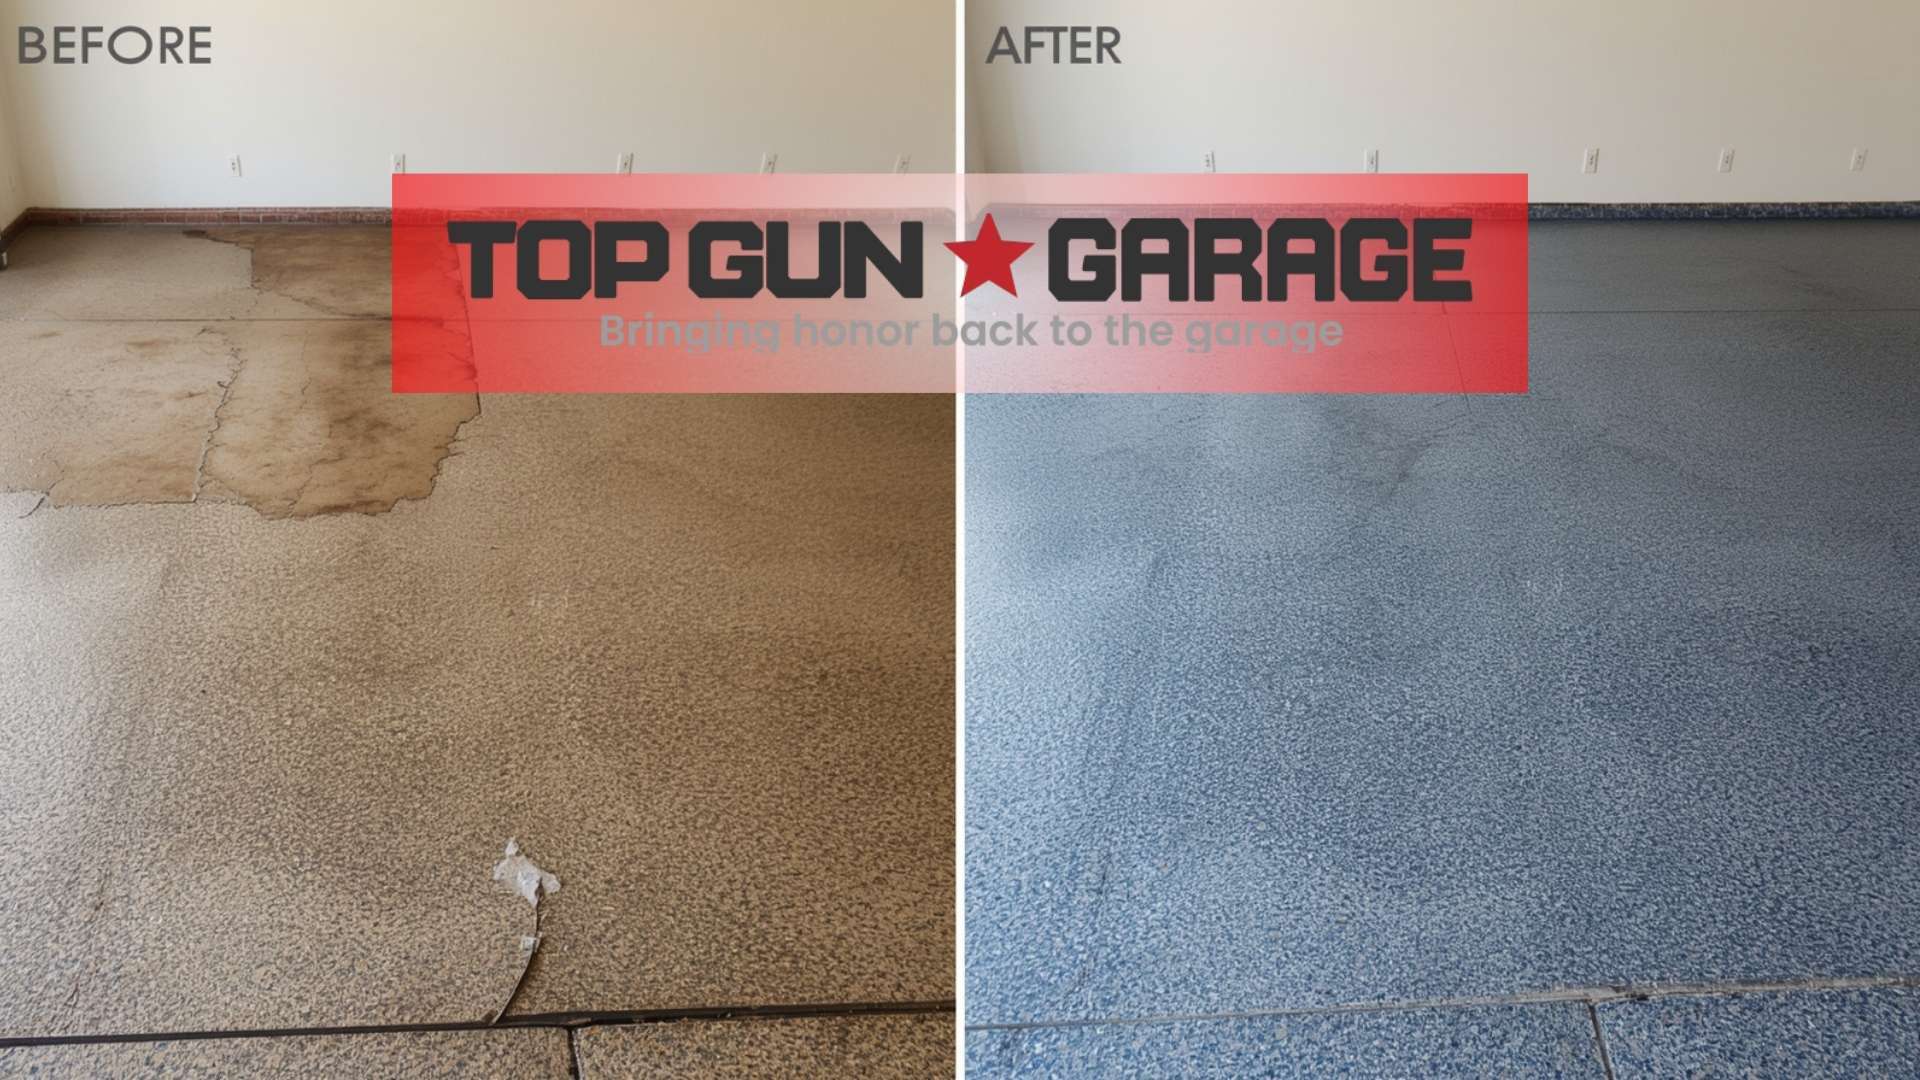
Consider upgrading to polyurea or polyaspartic systems during professional reinstallation rather than repeating the epoxy installation. These advanced coatings offer superior adhesion, faster curing, and better resistance to the conditions that cause epoxy peeling. While initial costs run 20-30% higher than epoxy, the longer lifespan and lower failure rates provide better value.
Research and vet professional contractors carefully to avoid hiring installers who use the same inadequate preparation methods that caused your DIY failure. Request references, verify they perform moisture testing, confirm they use proper grinding equipment rather than acid etching, and ensure comprehensive written warranties. The contractor selection process matters as much as the coating system itself.
When to Cut Your Losses
If peeling affects more than 25-30% of the floor area, spot repairs become impractical and complete removal represents the only viable option. At this stage, attempting repairs wastes money that should be invested in permanent solutions. Professional assessment helps determine whether damage has progressed beyond the point where anything short of complete removal makes financial sense.
Consider the floor’s intended use and importance when evaluating repair options. Utility garages used primarily for storage might tolerate patch repairs and gradual deterioration, while show garages or frequently used spaces demand complete professional reinstallation. The decision should reflect how the space functions rather than emotional attachment to salvaging the DIY investment.
Time your professional reinstallation to minimize disruption and maximize value. If you’re planning to sell your home within 2-3 years, professional garage floor installation provides excellent return on investment while eliminating an eyesore that detracts from property value. For long-term homeowners, investing in quality installation provides decades of service and enjoyment.
Frequently Asked Questions
Can I successfully repair peeling DIY epoxy with another DIY kit? No, spot repairs using DIY kits fail 80-90% of the time because they don’t address the underlying preparation or moisture issues that caused the original peeling. Successful repairs require professional surface preparation, moisture testing, and quality coating systems.
How long does DIY garage floor epoxy typically last before peeling? DIY epoxy installations begin showing peeling within 6-24 months, with most failures occurring in the first year. Inadequate surface preparation and moisture issues cause premature delamination that professional installations avoid through proper protocols.
What causes epoxy floor peeling after installation? The primary causes include inadequate surface preparation failing to remove laitance, moisture vapor transmission pushing coating away from concrete, contaminated surfaces preventing adhesion, skipped primer application, and improper curing conditions during installation.
Is it cheaper to patch peeling epoxy or remove everything? While patching costs less initially ($50-$150), it rarely lasts beyond 6-12 months before failing again. Complete removal and professional reinstallation ($3,000-$6,000) provides permanent solution and costs less than multiple failed patch attempts over time.
Can professionals repair my peeling DIY epoxy without complete removal? Professional contractors can attempt spot repairs for localized damage but recommend complete removal when peeling exceeds 25-30% of floor area. Systemic adhesion failures require removing all coating to ensure new installation bonds properly.
Why does my epoxy bubble and peel in some areas but not others? Uneven moisture vapor transmission through concrete causes localized bubbling and peeling. Areas above plumbing, near floor drains, or with higher moisture content fail first while drier sections maintain adhesion longer.
How much does professional epoxy removal cost? Professional removal costs $2-$4 per square foot depending on coating thickness and adhesion strength. A 400 square foot two-car garage typically costs $800-$1,600 for complete coating removal using diamond grinding equipment.
What’s the difference between professional and DIY epoxy products? Professional epoxy systems contain 3-4 times higher solids content, include proper primers and topcoats, and come in multiple components for specific applications. DIY kits use thinner formulations with lower adhesion strength and durability.
Can I prevent epoxy peeling with better surface preparation? Yes, proper diamond grinding to CSP 3-4 profile, complete laitance removal, moisture testing with barriers when needed, and primer application prevent 90% of peeling failures. These steps require professional equipment and expertise.
Should I hire the same contractor who did my original coating? If a professional installation failed, verify the contractor performs moisture testing, uses proper grinding equipment, and provides comprehensive warranties before hiring again. Many “professional” installers use inadequate preparation methods similar to DIY approaches.
Conclusion
Discovering your DIY epoxy floor has started peeling creates a frustrating dilemma with no easy solutions spot repairs rarely last beyond a year, while complete removal and professional reinstallation costs more than hiring professionals initially. The combination of inadequate surface preparation, moisture issues, and DIY product limitations causes 80-90% of DIY garage floor coatings to fail within two years, leaving homeowners facing expensive corrections. Understanding why DIY epoxy peeling fix attempts fail, recognizing the limitations of patch repairs, and accepting that professional installation represents the only permanent solution helps minimize losses and ensures your garage floor finally delivers the durability and appearance you originally wanted.
Top Gun Garage specializes in failed coating removal and professional reinstallation using proper surface preparation, moisture testing, and quality coating systems. Contact us for a comprehensive assessment and discover how we transform failed DIY projects into beautiful, durable garage floors backed by comprehensive warranties.