 Skip to content



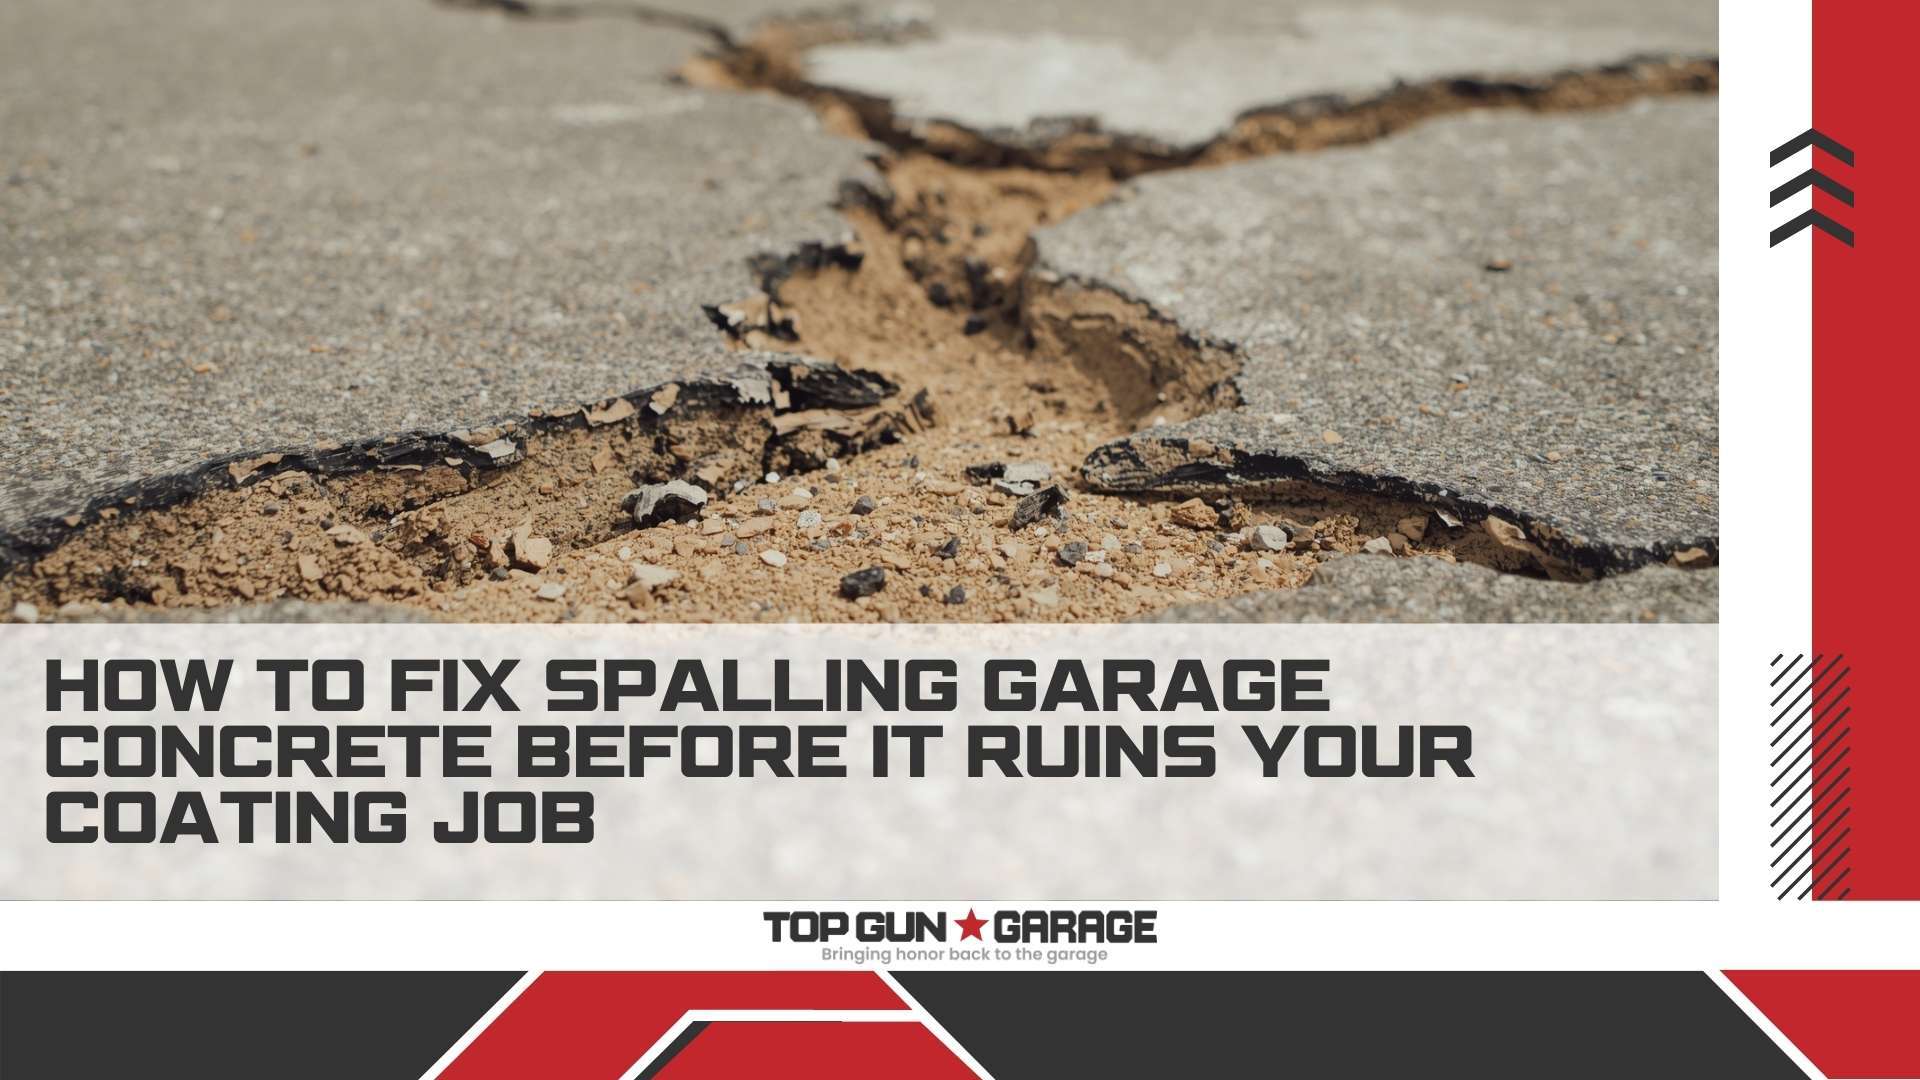
Spalling concrete represents one of the most common yet overlooked problems that homeowners face when preparing for garage floor spalling repair and coating installations. This surface deterioration, characterized by flaking, chipping, or pitting of the concrete layer, occurs when moisture trapped beneath the surface causes the top layer to separate and break away. Addressing garage floor spalling repair properly before applying any coating system is essential—attempting to coat over damaged concrete guarantees premature failure, wasted investment, and the need for complete removal and reinstallation within 12-24 months.
Overview
This comprehensive guide explains how to identify spalling damage, understand its root causes, assess repair requirements, select appropriate materials, execute professional-grade repairs, and prevent future deterioration. You’ll learn the difference between surface spalling and structural damage, discover proven repair techniques used by professional contractors, understand when DIY repairs are sufficient versus when expert intervention is necessary, and gain insights into preventing spalling recurrence after coating installation. These strategies ensure your garage floor coating adheres properly and performs flawlessly for 15+ years.
Key Takeaways
-
Spalling occurs when moisture, freeze-thaw cycles, or chemical damage causes concrete surface layers to flake and break away
-
Repairing spalling before coating prevents adhesion failure, bubbling, and premature coating delamination
-
Proper repairs require thorough cleaning, removal of loose material, application of bonding agents, and high-quality patching compounds
-
Deep spalling exceeding 1/4 inch depth or covering 20%+ of floor area requires professional assessment and repair
-
Prevention strategies including proper drainage, moisture barriers, and regular maintenance extend concrete life significantly
-
Attempting to coat over unrepaired spalling guarantees coating failure within 12-24 months
-
Professional contractors use specialized materials and techniques ensuring repairs bond seamlessly with existing concrete
Understanding Concrete Spalling in Garages
Concrete spalling manifests as surface deterioration where the top layer of concrete flakes, chips, or breaks away from the underlying substrate. This damage ranges from superficial scaling affecting only the top 1/8 inch to deep spalling penetrating 1-2 inches or more into the concrete slab. Garage floors experience spalling more frequently than other concrete surfaces due to exposure to moisture, vehicle traffic, chemical spills, and in northern climates, freeze-thaw cycling combined with de-icing salt exposure.
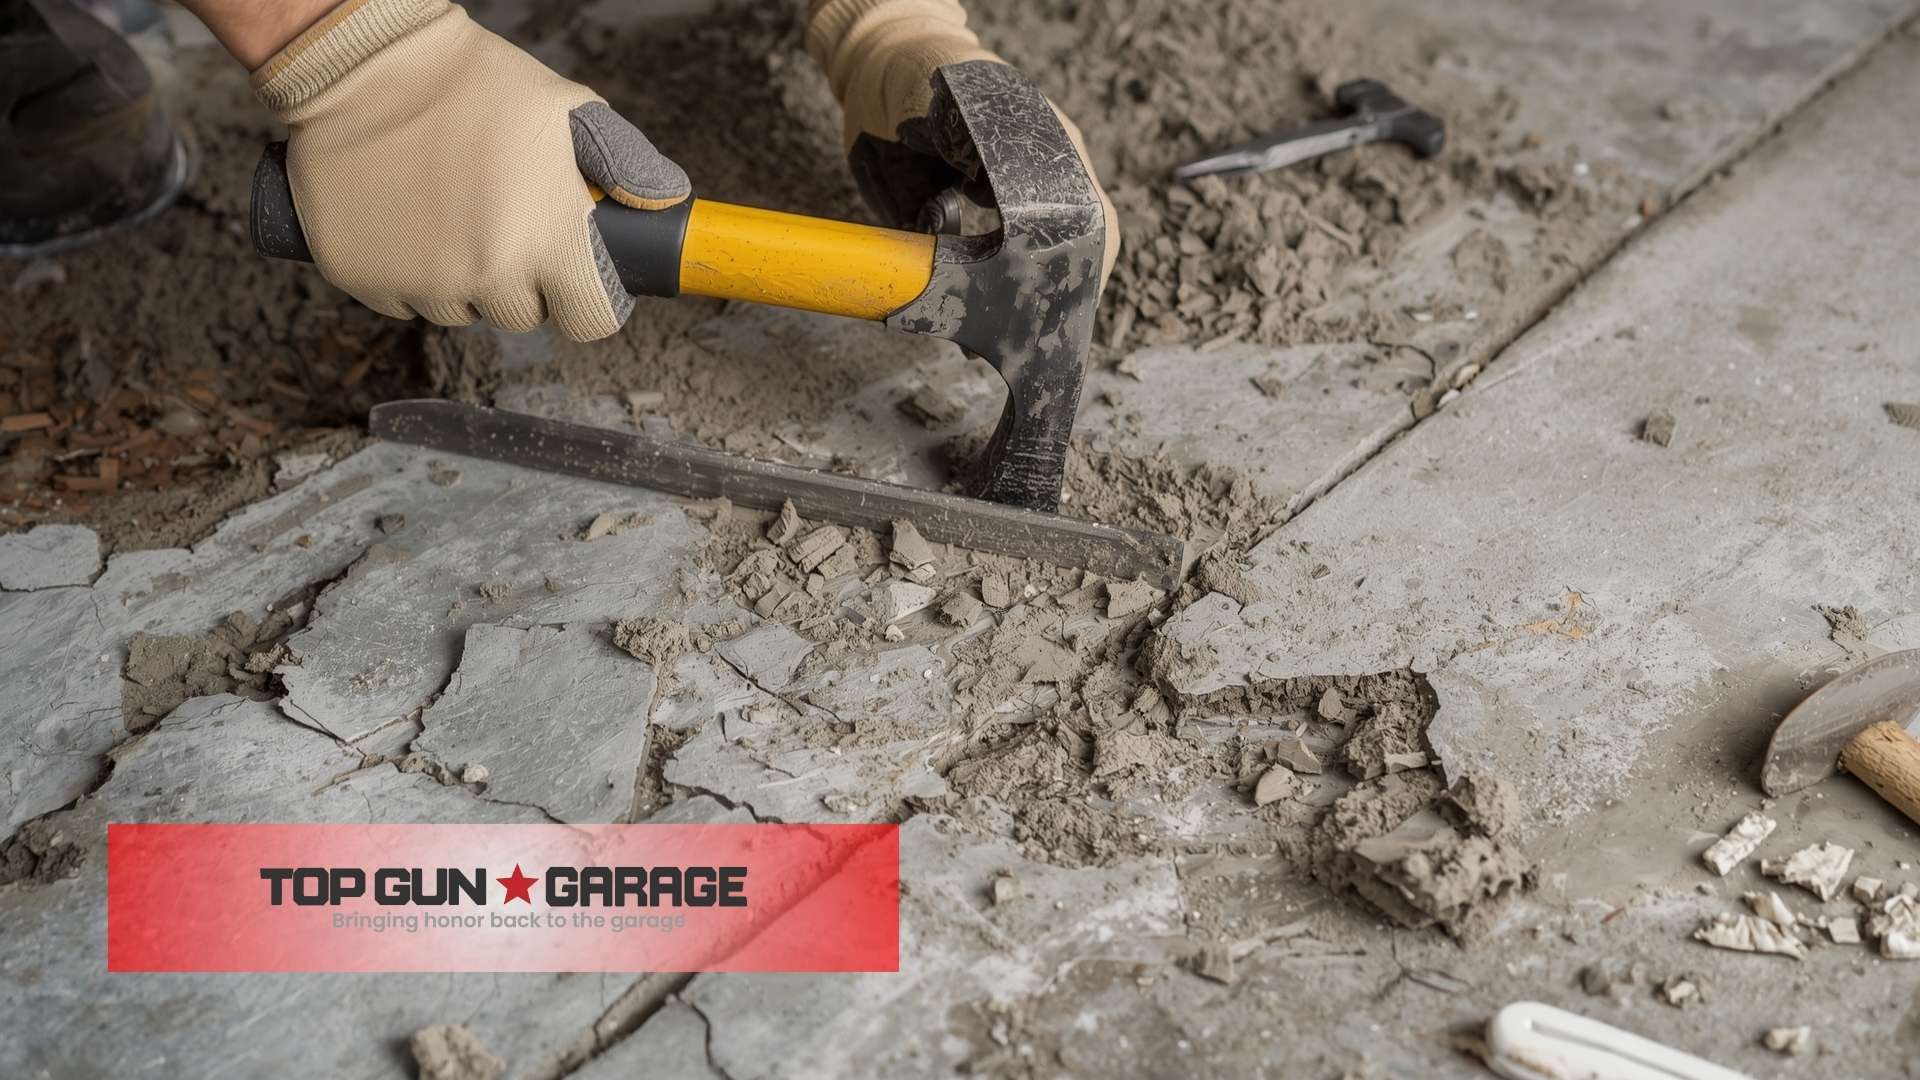
The primary cause of spalling involves moisture penetration into concrete pores that expands when frozen, creating internal pressure that fractures the surface layer. In Florida and other humid climates, moisture vapor transmission from below the slab pushes upward through porous concrete, carrying dissolved minerals that crystallize near the surface and cause delamination. Poor concrete finishing techniques, premature sealing that traps moisture during curing, or use of low-quality concrete mixes also contribute significantly to spalling susceptibility.
Why Spalling Must Be Repaired Before Coating
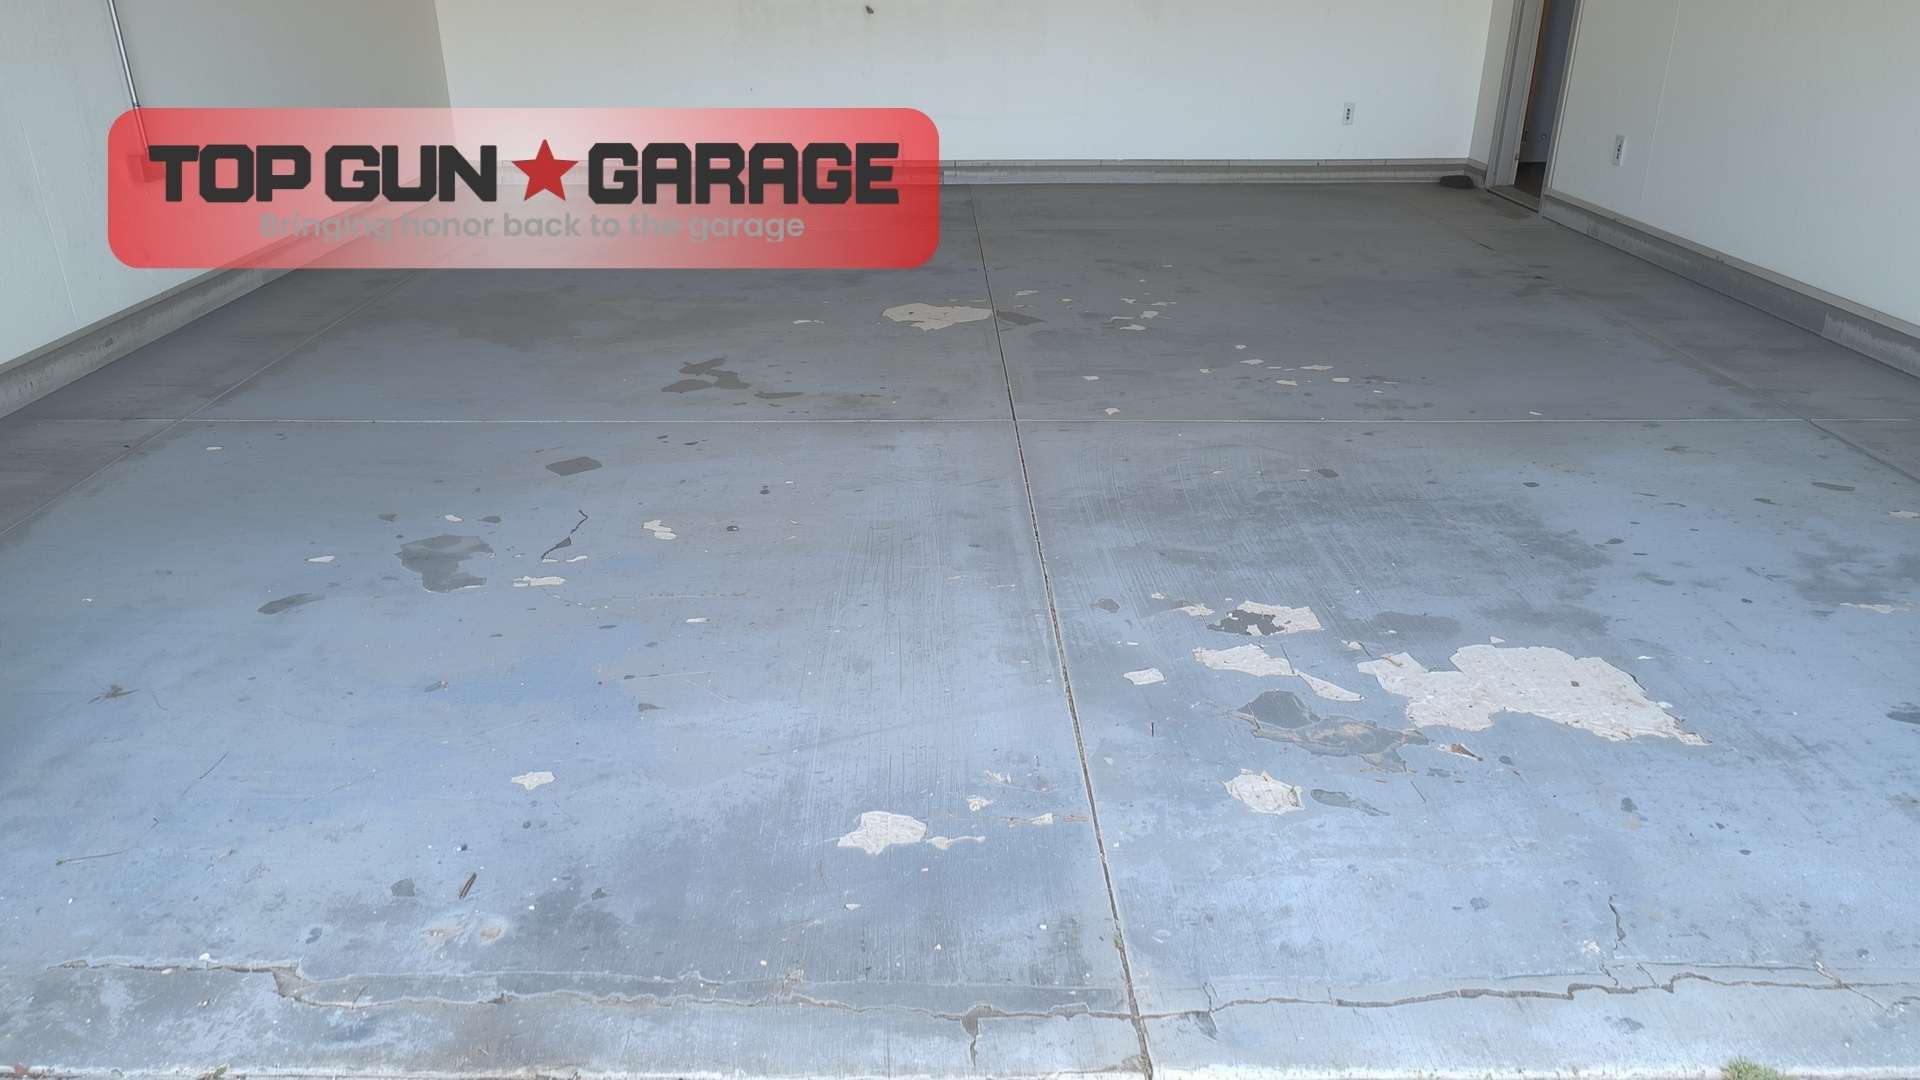
Attempting to apply epoxy, polyurea, or any coating system over spalled concrete creates a recipe for rapid failure. Coatings require sound, solid substrate for proper adhesion—damaged, flaking concrete cannot provide the mechanical bond necessary for long-term coating performance. When installers coat over spalling damage, the coating initially appears successful but begins delaminating within weeks or months as the underlying damaged concrete continues deteriorating and separating from the substrate.
Professional coating manufacturers specify that surfaces must be structurally sound, free from loose material, and properly profiled for coating adhesion. Spalling creates voids, weak layers, and unstable surfaces that prevent coatings from bonding chemically and mechanically. The investment in quality coating systems—typically $3-$8 per square foot—becomes completely wasted when applied over unrepaired damage, requiring expensive coating removal, proper concrete repair, and complete reinstallation.
Assessing Spalling Damage Severity
Visual inspection combined with physical testing determines whether spalling requires simple surface repair or extensive concrete rehabilitation. Examine the entire garage floor systematically, noting areas where surface material flakes away easily, where the concrete surface appears powdery or chalky, or where depressions and pitting cover significant portions. Use a screwdriver or chisel to probe suspected areas—sound concrete resists penetration while damaged areas crumble or allow easy tool insertion.
Classify spalling into three categories based on depth and extent: surface scaling affecting less than 1/8 inch depth covering under 10% of floor area represents minor damage suitable for DIY repair. Moderate spalling penetrating 1/4 to 1/2 inch deep or affecting 10-20% of the surface requires more substantial repair with quality materials and proper technique. Severe spalling exceeding 1/2 inch depth, covering more than 20% of the floor, or accompanied by structural cracking demands professional evaluation to determine whether repairs suffice or complete slab replacement becomes necessary.
Materials Needed for Spalling Repair
Professional-grade concrete repair requires specific materials designed to bond with existing concrete and withstand garage floor stresses. High-quality hydraulic cement or polymer-modified repair mortars provide superior adhesion and durability compared to standard concrete mixes. These specialized products contain bonding agents that create chemical connections with existing concrete rather than relying solely on mechanical adhesion. Select repair materials rated for exterior use and designed to withstand freeze-thaw cycling in colder climates or moisture exposure in humid regions.
Bonding agents or primers applied before patching compound significantly improve repair longevity and adhesion strength. These liquid products penetrate into sound concrete surrounding damaged areas, creating a bridge between old and new material. Additional supplies include wire brushes or grinders for removing loose material, pressure washers for thorough cleaning, concrete surface profiling tools, trowels for application, and proper safety equipment including respirators, eye protection, and gloves.
Step-by-Step Spalling Repair Process
Begin by thoroughly removing all loose, damaged, or weak concrete using chisels, grinders, or scarifying equipment. This critical step ensures repair materials bond only to sound concrete—any remaining unstable material will continue deteriorating and undermine repairs. Create clean, defined edges around repair areas, undercutting slightly to provide mechanical keying for the patch material. Remove all dust, debris, oil stains, and contaminants using industrial vacuums and pressure washing, allowing surfaces to dry completely before proceeding.
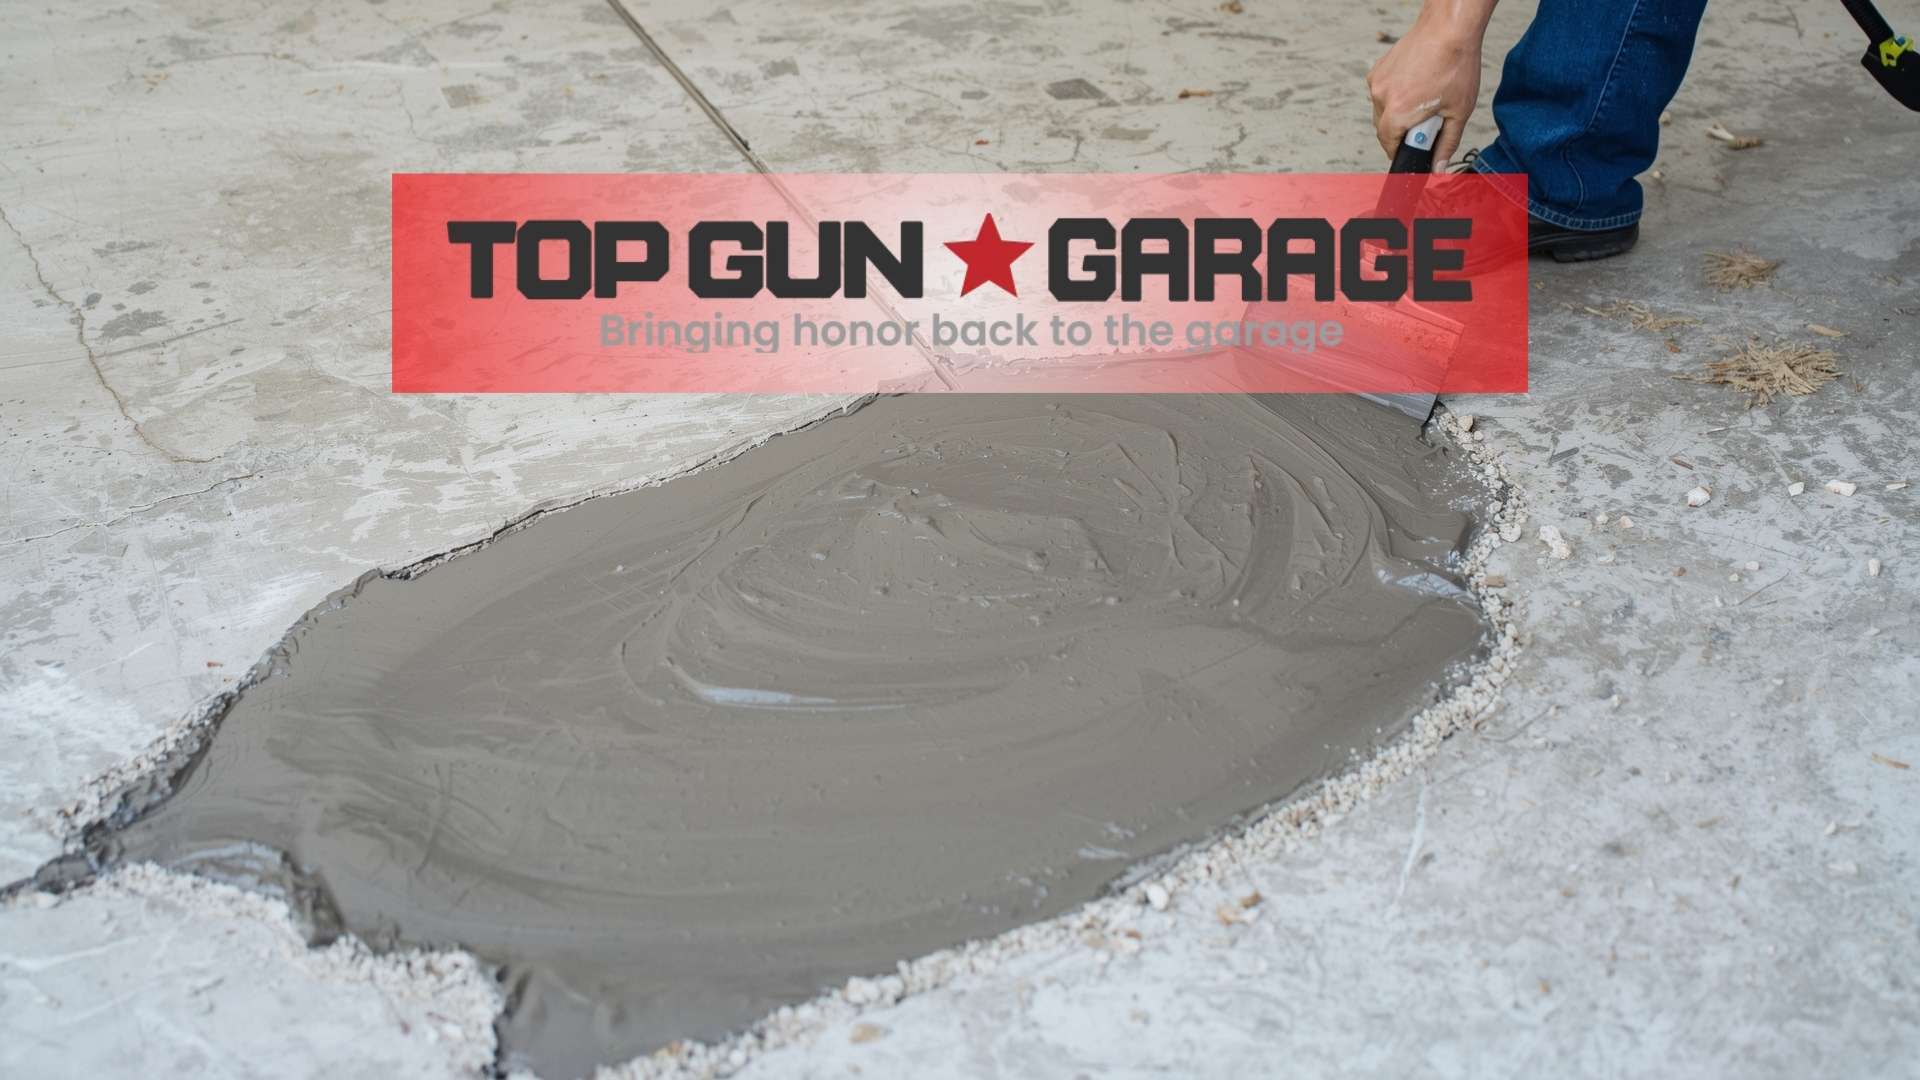
Apply bonding agent according to manufacturer specifications, typically brushing or rolling a thin coat over the prepared area. Mix repair mortar to proper consistency—too wet creates shrinkage and weakness while too dry prevents proper consolidation and bonding. Apply patching material in layers no thicker than manufacturer recommendations, typically 1/4 to 1/2 inch per lift, allowing each layer to partially cure before adding subsequent layers for deep repairs. Trowel surfaces level with surrounding concrete, feathering edges to create smooth transitions. Follow proper curing protocols including moisture retention and protection from traffic for minimum 24-72 hours depending on product specifications.
When to Call Professional Contractors
Extensive spalling covering large areas, deep damage penetrating more than 1 inch, or spalling accompanied by significant structural cracking requires professional assessment and repair. Contractors possess specialized equipment including walk-behind grinders, shot blasters, and industrial dust collection systems that ensure proper surface preparation impossible to achieve with consumer tools. Professional repair materials often unavailable to homeowners include fast-setting polymer mortars, self-leveling compounds, and advanced bonding systems specifically engineered for demanding garage environments.
Contractors experienced in garage floor preparation understand the relationship between concrete moisture conditions, substrate quality, and coating performance. They perform moisture testing to identify whether elevated vapor transmission contributed to spalling and implement appropriate moisture mitigation strategies before coating installation. Professional hiring requires careful vetting, but ensures repairs meet industry standards and support long-term coating success rather than providing temporary cosmetic fixes.
Preventing Future Spalling Damage
Proper concrete finishing during initial installation represents the best spalling prevention strategy. New concrete requires adequate curing time—minimum 28 days—before applying sealers or coatings that might trap moisture and cause premature surface deterioration. Avoid using de-icing salts on garage floors in winter climates, opting instead for sand or calcium chloride alternatives less damaging to concrete surfaces. Maintain proper drainage around garage entrances to prevent water pooling and infiltration into concrete pores.
Apply quality concrete sealers every 2-3 years to protect against moisture penetration, chemical spills, and surface wear. Regular maintenance including prompt cleanup of automotive fluids, battery acid, and other chemicals prevents chemical etching that weakens concrete surfaces. For homes in high-humidity climates, installing moisture vapor barriers beneath new concrete slabs during construction eliminates the primary moisture source causing spalling and coating failures.
Coating Installation After Repairs
Allow repaired areas to cure completely before proceeding with coating installation—typically 7-14 days depending on repair material, patch depth, and environmental conditions. Professional installers perform moisture testing to verify repairs have achieved adequate strength and moisture levels compatible with coating systems. The entire floor requires diamond grinding or shot blasting to create uniform surface profile, ensuring repaired areas integrate seamlessly with surrounding concrete and provide consistent coating adhesion.
Proper surface preparation following spalling repair involves achieving concrete surface profile (CSP) ratings specified by coating manufacturers, typically CSP 2-4 for epoxy and polyurea systems. This preparation removes any weak surface layer (laitance), opens concrete pores for mechanical bonding, and creates uniform texture across repaired and original areas. Professional installers apply primer coats specifically formulated to penetrate deeply and seal concrete, followed by base coats, decorative elements, and protective topcoats that deliver the performance and appearance homeowners expect.
Cost Considerations for Spalling Repair
DIY spalling repairs for minor surface damage typically cost $50-$200 in materials for standard two-car garages, representing cost-effective preparation before coating installation. Professional spalling repair services range from $2-$8 per square foot depending on damage severity, repair depth, and surface area affected. While professional repair increases upfront costs, it ensures coating systems adhere properly and perform throughout their expected 10-15 year lifespan.
Compare repair costs against the alternative: coating failure requiring complete removal and reinstallation typically costs $5-$12 per square foot—double or triple the cost of proper initial repair and coating. Insurance policies rarely cover coating failures resulting from inadequate surface preparation, making spalling repair a critical investment in long-term garage floor value. Budget-conscious homeowners achieve best results by investing in thorough concrete repair rather than cutting corners that guarantee premature coating failure and costly do-overs.
Common Spalling Repair Mistakes
The most critical error involves applying coating systems over spalling damage without proper repair, assuming coatings will “seal” or “fix” deteriorated concrete. Coatings provide protection for sound concrete but cannot restore structural integrity to damaged surfaces. Using standard concrete mix instead of polymer-modified repair mortars results in poor bonding, shrinkage cracking, and repairs that separate from surrounding concrete within months.
Inadequate removal of loose, damaged material leaves weak layers beneath repairs that continue deteriorating and cause patch failure. Applying repair materials too thick in single applications creates shrinkage stress and cracking—proper technique requires building depth through multiple thin layers. Skipping bonding agents or primers eliminates the chemical adhesion necessary for long-term repair performance. Insufficient curing time before coating installation prevents repairs from achieving full strength, leading to coating delamination when traffic and environmental stresses exceed weak repair capacity.
Frequently Asked Questions
What causes concrete spalling in garage floors? Spalling results from moisture penetration, freeze-thaw cycling, chemical damage, poor finishing techniques, or low-quality concrete mixes. Trapped moisture expands and contracts, creating internal pressure that fractures surface layers causing flaking and chipping damage.
Can I apply epoxy coating over spalled concrete? No, coating over spalled concrete guarantees failure within 12-24 months. Damaged concrete cannot provide the sound substrate necessary for proper coating adhesion. All spalling must be repaired completely before coating installation.
How deep does spalling damage typically penetrate? Surface spalling affects 1/8 inch or less, moderate damage penetrates 1/4 to 1/2 inch, and severe spalling extends 1/2 inch to 2 inches deep. Damage exceeding 1/2 inch or covering over 20% of floor area requires professional assessment.
What materials work best for repairing garage floor spalling? Polymer-modified repair mortars or hydraulic cement designed for exterior use provide superior performance. These products contain bonding agents creating chemical connections with existing concrete, unlike standard concrete mixes relying only on mechanical adhesion.
How long must spalling repairs cure before coating? Repairs require 7-14 days curing time before coating installation, depending on repair material, patch depth, and environmental conditions. Professional contractors perform moisture testing to verify repairs have achieved adequate strength and compatible moisture levels.
Can I repair spalling damage myself? Minor surface spalling affecting less than 10% of floor area and penetrating under 1/4 inch suits DIY repair with proper materials and techniques. Extensive, deep, or structurally significant damage requires professional contractor assessment and repair.
How much does professional spalling repair cost? Professional repair ranges $2-$8 per square foot depending on damage severity, depth, and affected area. While adding upfront cost, proper repair ensures coating systems perform throughout their 10-15 year expected lifespan.
Will spalling return after repair and coating? Proper repairs using quality materials, combined with moisture management and quality coating systems, prevent spalling recurrence. Regular maintenance, prompt chemical cleanup, and avoiding de-icing salts further protect against future damage.
What’s the difference between spalling and scaling? Scaling affects only the top surface layer (1/16 inch or less) while spalling involves deeper concrete deterioration penetrating 1/8 inch to several inches. Both require repair before coating but scaling typically needs less extensive treatment.
How do I prevent concrete spalling in new garages? Use quality concrete mixes, allow proper 28-day curing before sealing, install moisture vapor barriers beneath slabs, maintain drainage preventing water infiltration, avoid de-icing salts, and apply protective sealers every 2-3 years.
Conclusion
Addressing garage floor spalling repair thoroughly before coating installation represents the single most important factor determining long-term coating success and performance. By understanding spalling causes, accurately assessing damage severity, selecting appropriate repair materials, executing proper repair techniques, and implementing prevention strategies, homeowners ensure their garage floor coatings adhere properly and perform flawlessly for 15+ years. The investment in comprehensive spalling repair—whether DIY for minor damage or professional for extensive deterioration—prevents coating failures, eliminates wasted expenses, and protects your garage floor investment.
Top Gun Garage provides expert assessment, professional-grade repairs, and comprehensive coating solutions specifically designed for Southwest Florida conditions. Contact us today for a detailed evaluation and discover how proper preparation and quality materials deliver garage floors that look stunning and perform perfectly for decades.